


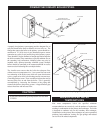
60
NOTE:
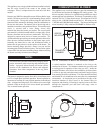
When the combustion air blower is removed for any
reason, the inlet to the burner must be covered to prevent
foreign objects from falling into the burner. A foreign
object such as a nut, bolt, wire or other metallic items will
cause a rapid non-warrantable failure of the burner on
operation.
NOTE:
Use care when removing and handling the burner. Sharp
objects or impact may damage or tear the woven burner
flame surface.
Burner Cleaning Procedure
Remove any visible dust or dirt block age from the surface of the
burner with a vacuum. Compressed air may also be blown across
the burner surface to clean the “pores” of the woven burner port
material.
The burner may best be cleaned by im mers ing the burner port
area in a so lu tion of dishwashing detergent and hot water. Do
not use chlorine based sol vents or cleaning agents on the burner.
Allow the burner to remain in the so lu tion for a short period of
time to remove dust, dirt and oil or grease laden contaminants.
Rinse the burner thoroughly with clean water to remove any
residue from the detergent cleaner. The burner should be air
dried quickly after removal from the cleaning so lu tion and
rinsing to prevent any oxida tion or rusting of the ferrous
components in the burner port material.
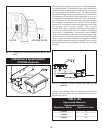
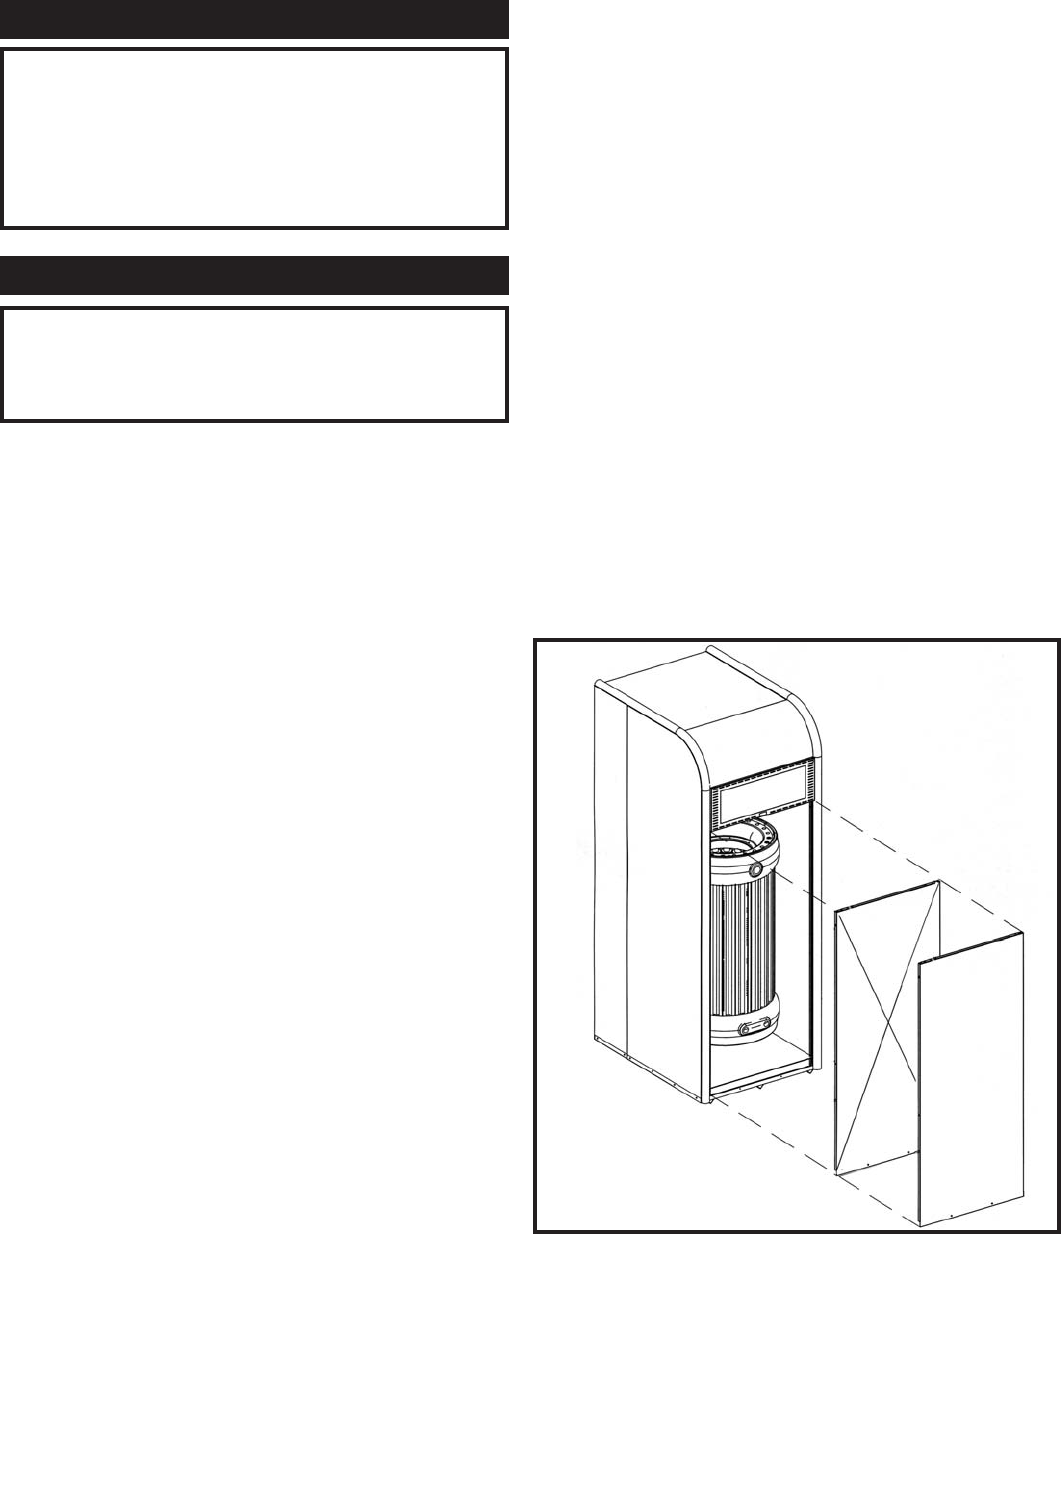
E. CHANGING THE HOT SURFACE IGNITER
1. Turn off main electrical power to the appliance.
2. Turn off main manual gas shutoff to the appliance.
3. Carefully pull back the insulation flaps to expose the
burner mounting flange.
4. Locate the Hot Surface Igniter.
5. Disconnect the two power leads to the hot surface
igniter.
6. Loosen and remove the two wing nuts that mount the
igniter.
7. Lift the igniter vertically out of the burner
mounting flange. Use care, do not hit or break
the silicon carbide igniter.
8. Check the replacement igniter for cracks or
damage before installing.
9. Ensure that the fiber gasket used to seal the base
of the igniter to the burner flange is reinstalled
to seal the base of the replacement igniter.
10. Carefully insert the igniter into the mounting point
on the burner flange and position on the mounting
studs.
11. Reinstall the two wing nuts and tighten by hand
only. Over tightening the wing nuts may break
the ceramic mounting flange.
12. Ensure that the igniter gasket is properly installed
and seals the point of contact between the igniter
and burner mounting flange.
13. Reconnect the power leads to the igniter.
14. Replace the insulation blanket flaps.
15. Turn on main gas supply.
16. Turn on main power.
17. Test fire the appliance to ensure proper operation.
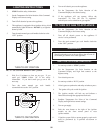
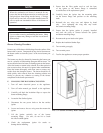
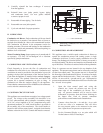
FIG. 77 Location of Primary Heat Exchanger