


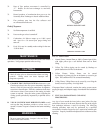

61
NOTE:
All gaskets/sealant on disassembled components or jacket
panels must be replaced with new gaskets/ sealant on
reassembly. Gasket and sealant kits are available from your
distributor.
F. PRIMARY HEAT EXCHANGER INSPECTION
1. Turn off all power to the appliance.
2. Turn off main gas to appliance.
3. Remove the front outer jacket door.
4. Remove the front inner jacket door.
5. Check the heat exchanger surface for soot. If soot
is present, heat ex chang er must be cleaned and
problem corrected.
6. Remove burner as described in Burner Maintenance
procedure.
7. Check “V” baffles on the exchanger. Remove and
clean if necessary.
8. Remove soot from heat exchanger with a stiff
bristle brush. Use a vacuum to remove loose soot
from surfaces and inner chamber.
9. The heat exchanger can be removed by
disconnecting all water piping to the bypass and
secondary heat exchanger, removing the screws
holding the heat exchanger to the top of the inner
jacket. and sliding the heat exchanger towards the
front of the appliance. Once the heat exchanger
is removed, a garden hose can be used to wash
the tubes to ensure that all soot is removed from
the heat exchanger surfaces. NOTE: Do not wet
the insulation blankets on the inside of the outer
jacket panels.
10. Ensure that any soot present on the burner is
removed. See Burner Cleaning Procedure.
11. Carefully reinstall the heat ex chang er and “V”
baffles if removed from the appliance.
12. Reinstall inner jacket panels, burner, manifolds,
wires and hoses. Use new gasket material to
ensure a proper air seal.
13. Reassemble all gas and water pip ing. Test for gas leaks.
14. Reassemble outer jacket panels.
15. Cycle unit and check for proper operation.
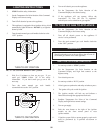
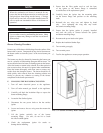
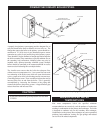
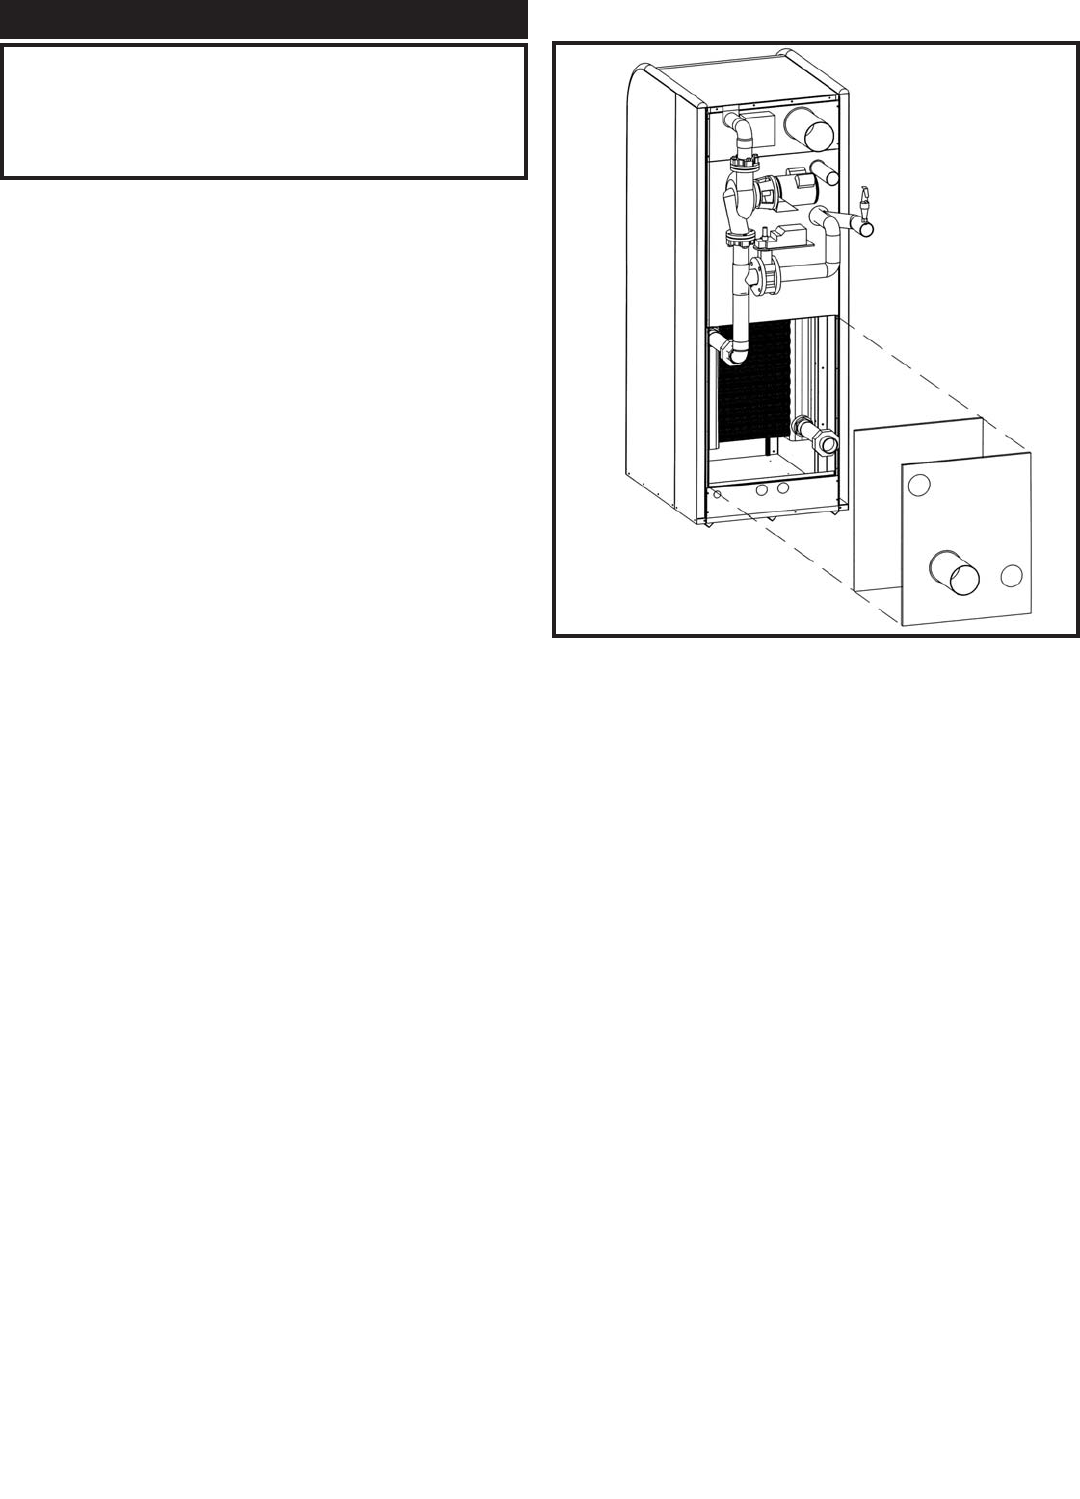
G. SECONDARY HEAT EXCHANGER INSPECTION
FIG. 78 Location of Secondary Heat Exchanger
1. Turn off all power to the appliance.
2. Turn off main gas to appliance.
3. Break the union, pump flange and bypass valve
flange to remove the pump and external portion
of the bypass assembly.
4. Remove the inner jacket door.
5. Check the heat exchanger surface for soot or
fouling. If soot is present, heat exchanger must
be cleaned and problem corrected.
6. Check “V” baffles on the exchanger. Remove and
clean if necessary.
7. Remove soot from heat exchanger with a soft
bristle brush. Use care not to damage coating on the exterior
of the secondary heat exchanger. Use a vacuum to remove
loose soot from surfaces and inner chamber.
8. The heat exchanger can be removed by
disconnecting all water piping to the bypass and
secondary heat exchanger and sliding the heat
exchanger towards the rear of the appliance. Once
the heat exchanger is removed, a garden hose can
be used to wash the tubes to ensure that all surface deposits
are removed from the exterior of the heat
exchanger surfaces.