65NetBotz Appliance User’s Guide
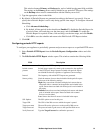
Authorization card swipes. There are two levels of authorization for cards in the Rack Access
System. A Level One card does not require authorization from another card to access assigned doors. A
Level Two card has the “Requires authorization card swipe” checkbox selected. When a Level Two card
is swiped, it must be followed by a swipe from a Level One card before the Auto-Lock timer expires in
order to access the door. Both cards must have valid access to the door in order for access to be granted.
If the Auto Lock timer expires without the Level One swipe, the Level Two card must be swiped again
before the authorization swipe can occur.
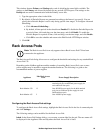
If a door is “assigned” to a card, it means that the card is authorized to access that door. As part of the
assigning process, a schedule is created that controls when the card is authorized to access the door.
Registering a card manually
If you have the ID for a card, you can manually register the card. To manually register a card:
1. Click Add... on the Rack Access System dialog.
2. Enter the Card ID, User Name, and Description. The Card ID and User Name fields are required.
Note: The Card ID field is only validated against previously registered cards (and cards in the
Unregistered Cards list). Also, the Card ID does not necessarily correspond to the printed
information on a card. Entering the printed text may not properly register the card.
Editing card information
To edit the information on an existing card:
1. Select the card from the list of registered cards.
2. Click Edit...
3. Change the necessary information.
Deleting a card
To delete a registered card:
1. Select the card from the list of registered cards.
2. Click Remove.
3. Click Yes to confirm the deletion, or click No to cancel. The card will still be listed in italicized
red font in the list. In order to remove the card, you must either click OK or Apply to commit the
changes. You will not be able to re-enter the card into the Unregistered Card list until the change
is committed.
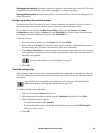
Assigning doors to a card
Access to the hardware protected by a Rack Access System is achieved by assigning doors to the various
cards registered to your appliance. Each card can have access to multiple doors, and can also be limited
to a scheduled time of access that can be different for each door.
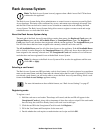
If a door is already assigned to the card, it is shown in italicized font in both the Assigned Doors and All
Available Doors panes.
Note: If you have assigned a door to a card but still cannot access the door with the card,
check to make sure that the access schedule is set correctly. An assigned door with no valid
access times is equivalent to an unassigned door. Also, make sure that you have applied your
changes by clicking Apply at the bottom of the dialog before they become active.


