


How to Create Bobbin Work
7
PREPARING FOR BOBBIN WORK
311
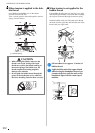
a S mark
b z mark
c Bobbin case
h
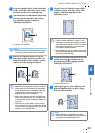
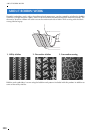
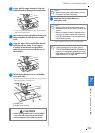
Wind a decorative thread around the
bobbin by hand. After winding the bobbin
so it is filled as shown below (about 80%),
cut the thread.
For precautions on winding the bobbin for
embroidering, refer to step
b of “Selecting the
Pattern” on page 318.
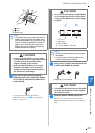
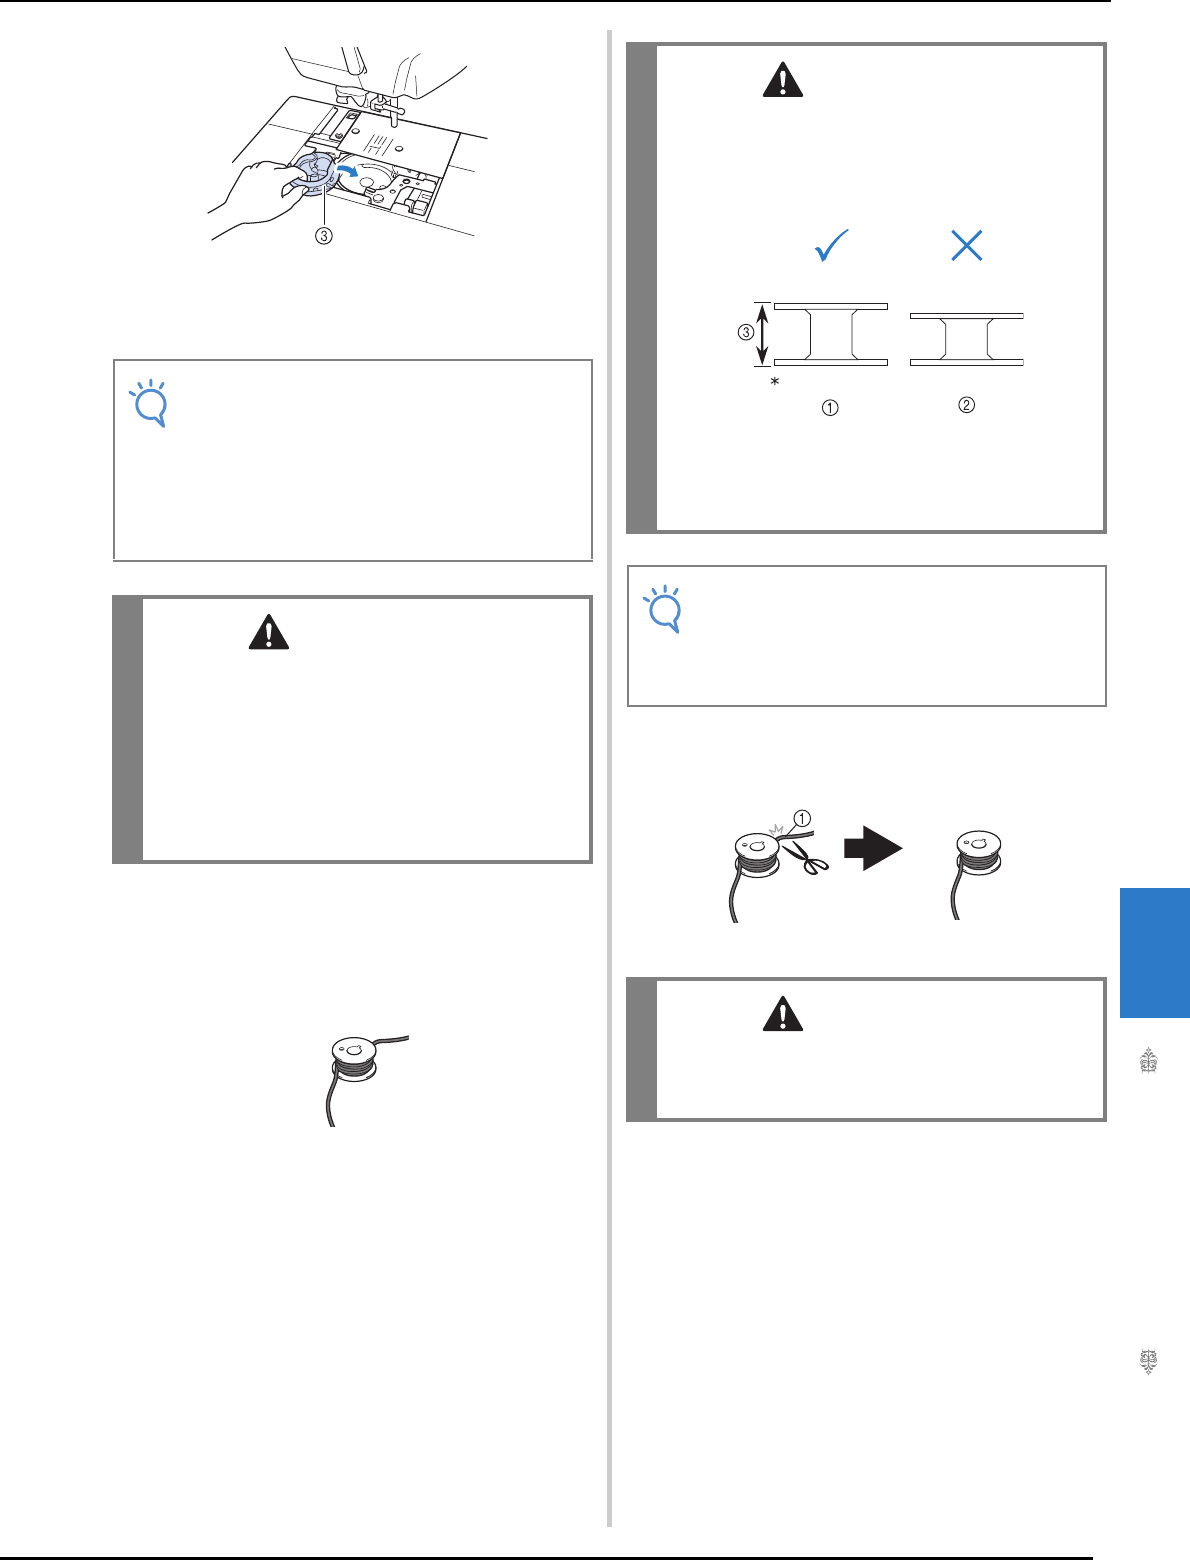
i
Using scissors carefully trim the thread tail
as close to the bobbin as possible.
a Beginning of wound thread
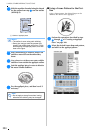
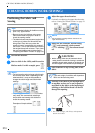
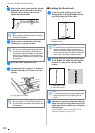
j
Install the bobbin wound with thread.
Whether or not tension should be applied to the
bobbin thread depends on the type of thread being
used.
Note
• The bobbin case (gray) cannot be used for
sewing in any way other than bobbin work.
After sewing bobbin work, refer back to the
steps in “Preparing the Bobbin Thread” on
page 310 for removing and cleaning the
bobbin case (gray), and then reinstall the
standard bobbin case (black).
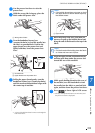
CAUTION
• Be sure to use the bobbin case (gray) when
creating bobbin work. Using any other bobbin
case may result in the thread becoming
tangled or damage to the machine.
• Make sure that the bobbin case is correctly
installed. If the bobbin case is incorrectly
installed, the thread may become tangled or
the machine may be damaged.
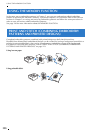
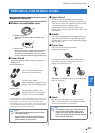
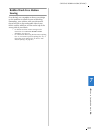
CAUTION
• Be sure to use the machine’s included bobbin
or one designed specifically for this machine.
Using any other bobbin may result in damage
or injuries.
* Actual size
a This model
b Other models
c 11.5 mm (approx. 7/16 inch)
Note
• Slowly and evenly wind the thread around
the bobbin.
• For best results, wind the bobbin so the
thread is snug and not twisted.
CAUTION
• If thread extends beyond the top of the bobbin
too much, the thread may become tangled or
the needle may break.