


SEWING THE STITCHES
Utility Stitches
149
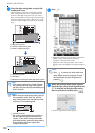
3
a
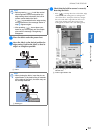
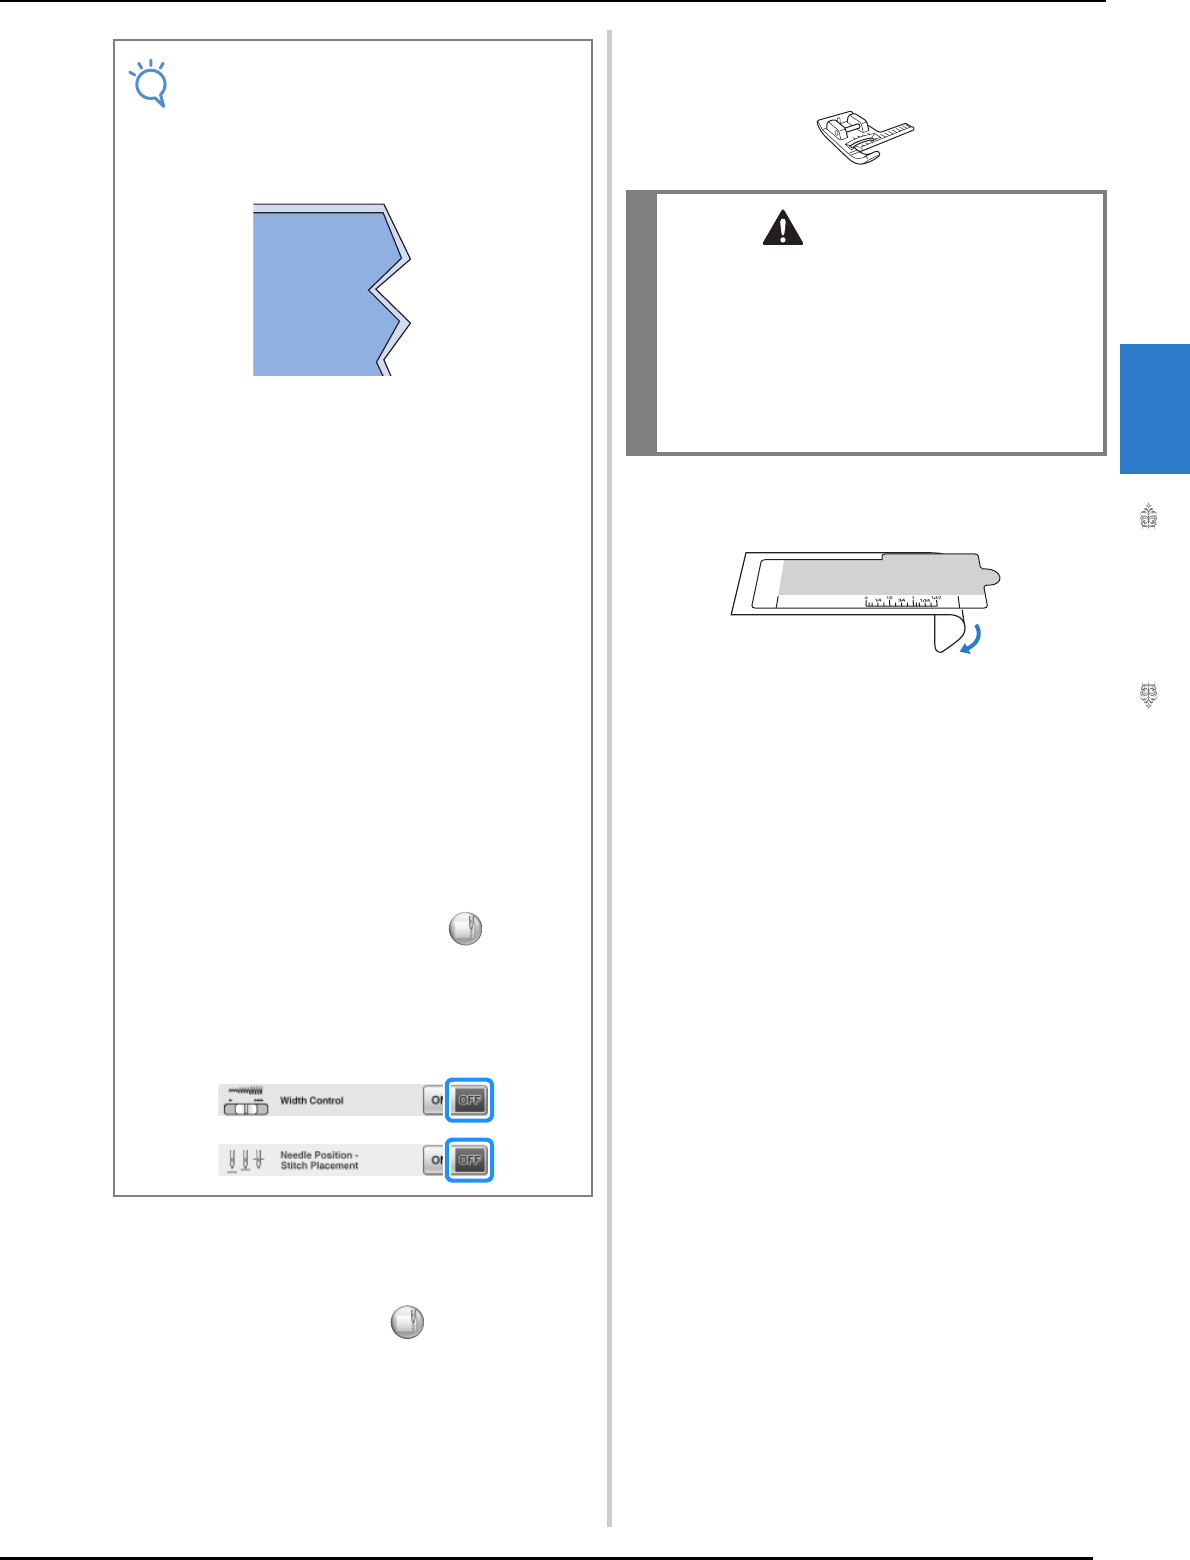
Select a stitch.
* Edge sewing using the built-in camera cannot be
used with patterns where appears in gray
when the pattern is selected.
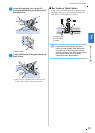
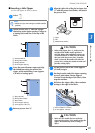
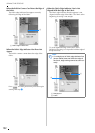
b
Attach the vertical stitch alignment foot
“V”.
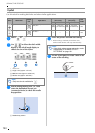
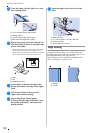
c
Peel off the transparent sheet of the edge
sewing sheet.
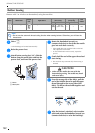
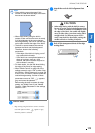
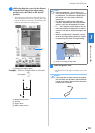
Note
• Clean stitching cannot be sewn if this
function is used when the edge of the fabric
has corners as shown below.
• When edge sewing using the built-in
camera, make sure that the room is evenly
lit. If the brightness in the room changes
while edge sewing, the built-in camera may
not be able to detect the edge of the fabric.
• The built-in camera detects the contrast
between the fabric and the background.
Therefore, observe the following
precautions.
– If the edge of the fabric is fraying, cut off
any excess fabric threads.
– If the fabric has a complicated pattern, is
sheer or is glossy, such as a vinyl
material, the built-in camera may not be
able to detect it correctly.
• For best results, iron the fold when folding
the edge of the fabric for edge sewing.
• When “Width Control” on page 1/8 of the
settings screen is set to “ON” or when “Nee-
dle Position – Stitch Placement” on page 3/8
is set to “ON”, the built-in camera cannot be
used with edge sewing. If either of these
parameters are set to “ON”, appears
gray and cannot be selected.
Before using the built-in camera for edge
sewing, set “Width Control” and “Needle
Position – Stitch Placement” in the settings
screen to “OFF”.
CAUTION
• When edge sewing with the built-in camera,
be sure to use the vertical stitch alignment foot
“V”. In order to maintain a fixed distance from
the edge of the fabric, the needle will slightly
move to either side, even when sewing with a
straight stitch. If a different presser foot is
used, it may be hit by the needle, causing the
needle to break or resulting in injuries.