


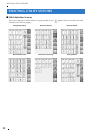


SEWING THE STITCHES
98
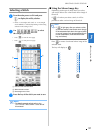
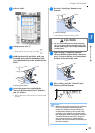
h
Insert the bobbin case in its original
position, and then attach the needle plate
cover.
i
After reinstalling the needle plate cover,
select any of the straight stitches.
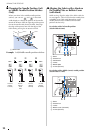
j
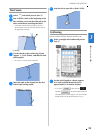
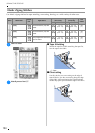
Insert needle and attach the straight stitch
foot.
a Notch
b Pin
k
Start sewing.
* After sewing, make sure to remove the straight stitch
needle plate and the straight stitch foot, and reinstall
the regular needle plate, the needle plate cover and
the presser foot “J”.
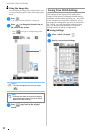
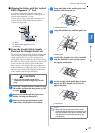
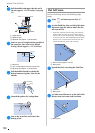
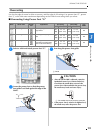
■ Basting
a
Select and attach presser foot “J”.
b
Press the “Reverse/Reinforcement Stitch”
button to sew reinforcement stitches, then
continue sewing.
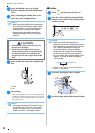
c
Sew while keeping the fabric straight.
d
End the basting with reinforcement stitches.
Memo
• When using the straight stitch needle plate,
all straight stitches become middle needle
position stitches. You cannot change the
needle position using the width display.
• Always secure the needle plate before
inserting the bobbin case into its original
position.
CAUTION
• Selecting other stitches will cause an error
message to be displayed.
• Slowly rotate the handwheel toward you
(counterclockwise) before sewing and make
sure that the needle is not contacting the
straight stitch foot and straight stitch needle
plate.
Memo
• To prevent puckering on fine fabrics, use a
fine needle, size 75/11, and a short stitch
length. For heavier fabrics, use a heavier
needle, size 90/14, and longer stitches.
Memo
• When you use the basting stitch for
gathering, do not use a reinforcement stitch
at the beginning; you should lift the presser
foot, rotate the handwheel toward you
(counterclockwise), pull up the bobbin
thread and pull a length of top and bobbin
thread out from the rear of the machine.
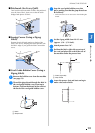
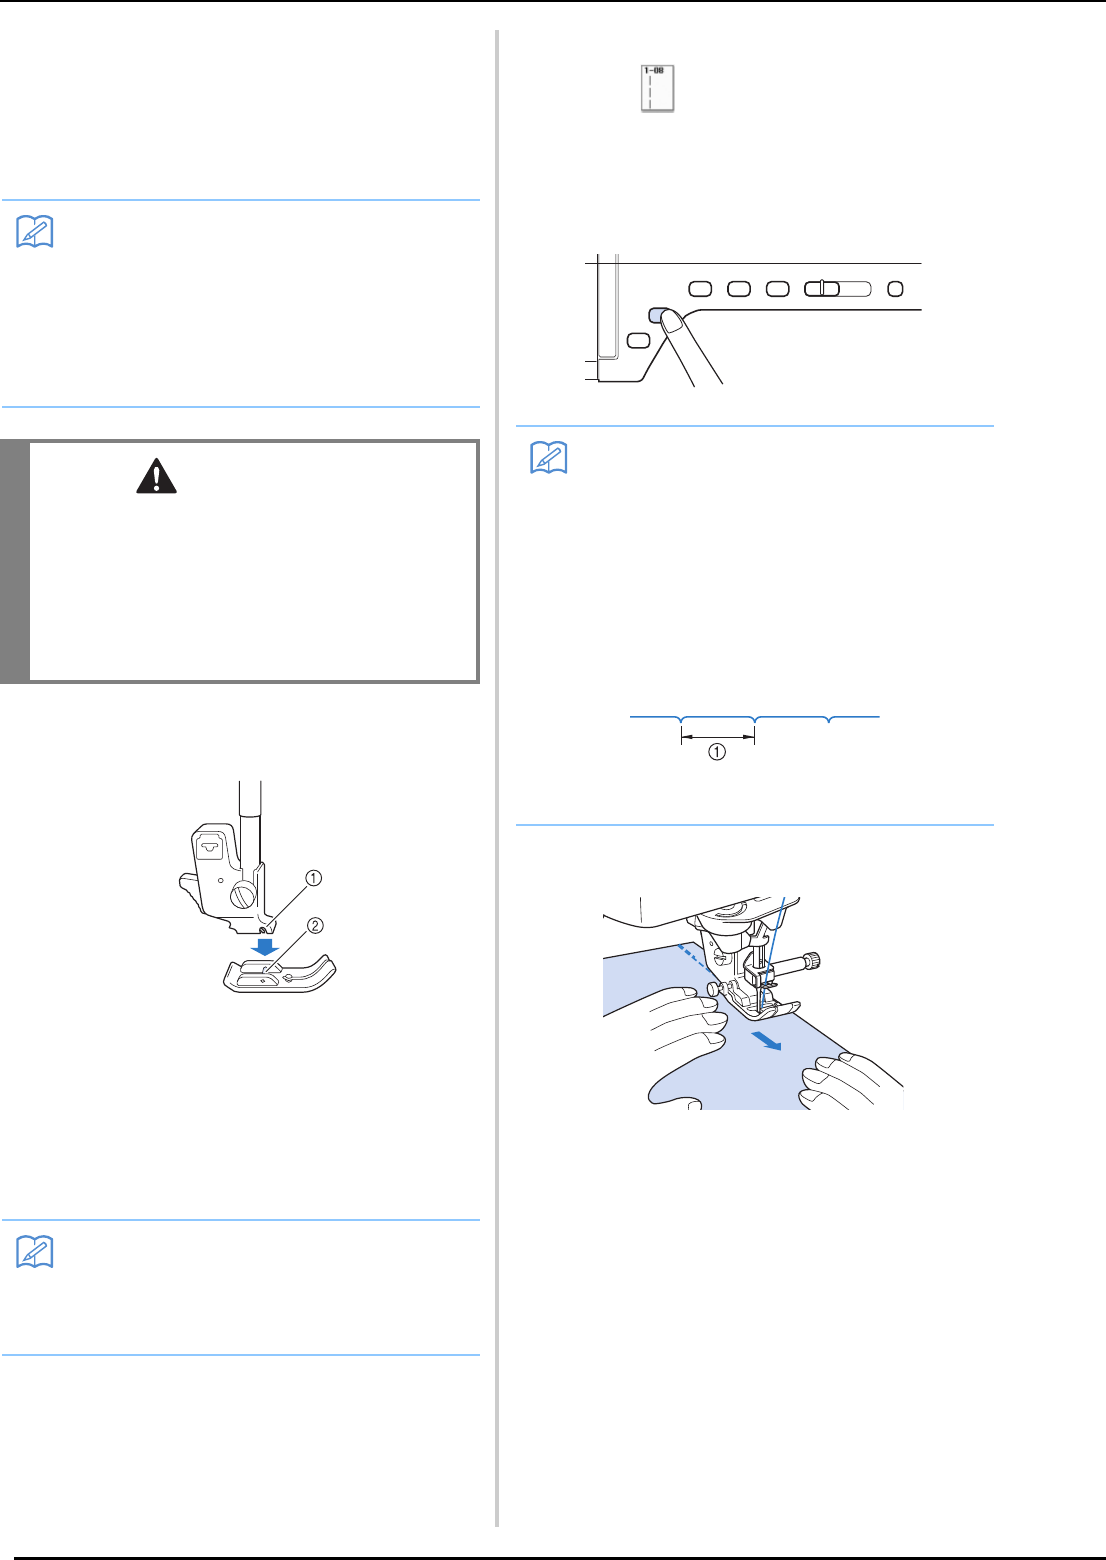
• You can set the stitch length between 5 mm
(approx. 3/16 inch) and 30 mm (approx.
1-3/16 inches)
a Between 5 mm (approx. 3/16 inch) and 30 mm
(approx. 1-3/16 inches)