


PREPARING THE FABRIC
Embroidery
203
5
■ Inserting the Fabric
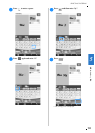
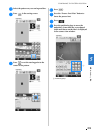
Press → → →
→ in this order to display a
video example of hoping the fabric in the
embroidery frame (see page 46). Follow the steps
explained below to complete the operation.
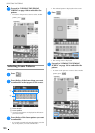
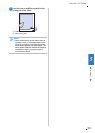
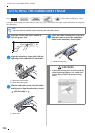
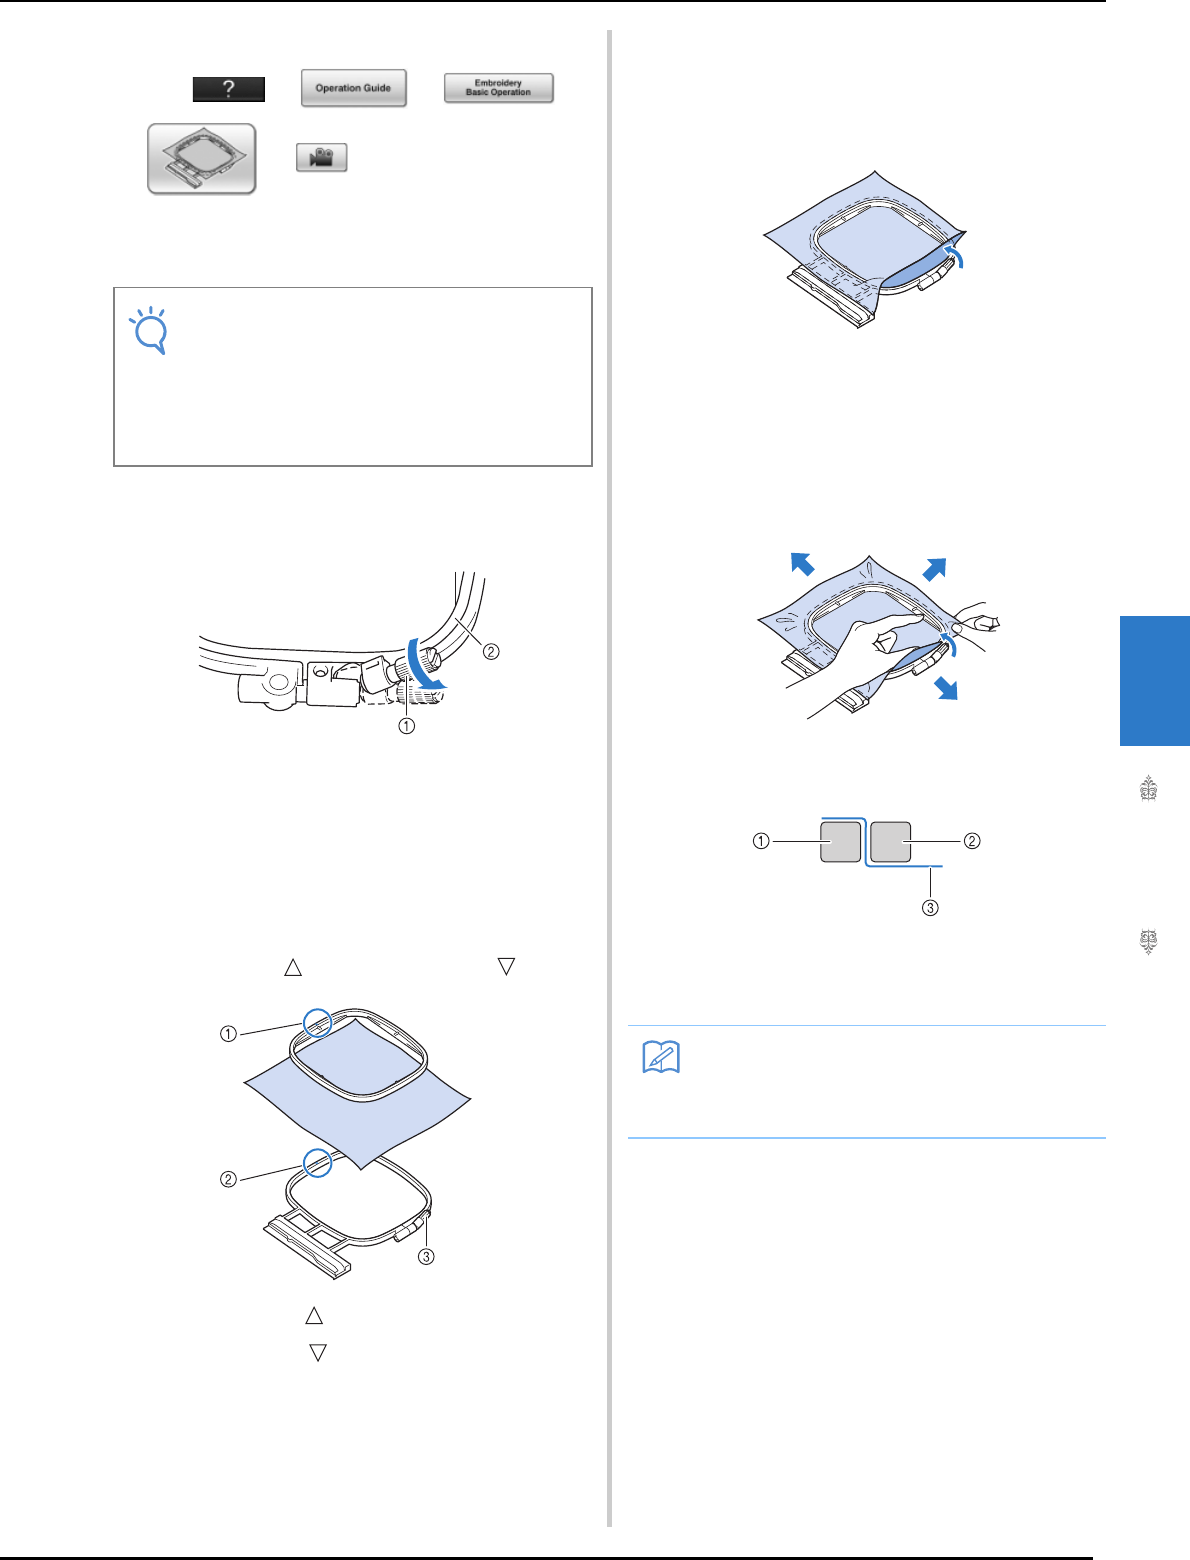
a
Lift-up and loosen the frame adjustment
screw and remove the inner frame.
a Frame adjustment screw
b Inner frame
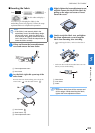
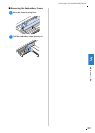
b
Lay the fabric right side up on top of the
outer frame.
Re-insert the inner frame making sure to align the
inner frame’s with the outer frame’s .
a Inner frame’s
b Outer frame’s
c Frame adjustment screw
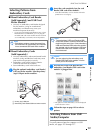
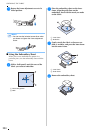
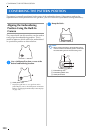
c
Slightly tighten the frame adjustment screw,
and then remove the slack in the fabric by
pulling on the edges and corners. Do not
loosen the screw.
d
Gently stretch the fabric taut, and tighten
the frame adjustment screw to keep the
fabric from loosening after stretching.
* After stretching the fabric, make sure the fabric is
taut.
* Make sure the inside and outside frames are even
before you start embroidering.
a Outer frame
b Inner frame
c Fabric
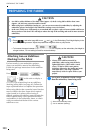
Note
• If the fabric is not securely held in the
embroidery frame, the embroidery design
will sew out poorly. Insert the fabric on a
level surface, and gently stretch the fabric
taut in the frame. Follow the steps below to
insert the fabric correctly.
Memo
• Stretch the fabric from all four corners and
all four edges. While stretching the fabric,
tighten the frame adjustment screw.