


PRINT AND STITCH (COMBINING EMBROIDERY PATTERNS AND PRINTED DESIGNS)
Embroidery
225
5
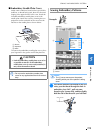
Outputting the Background
Image and Positioning Image
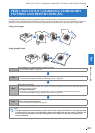
Use USB media or the computer to output the
following three images from the machine.
* File name may differ depending on the PDF file
selected.
• [xxx]r.pdf (Example: E_1r.pdf)
An image flipped on a vertical axis (for an iron-
on transfer)
• [xxx]n.pdf (Example: E_1n.pdf)
An image that is not flipped (for printing on
printable fabric)
• [xxx]p.pdf (Example: E_1p.pdf)
An image that is not flipped, but has positioning
marks attached (for positioning)
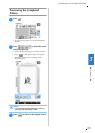
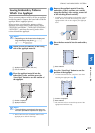
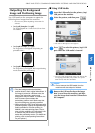
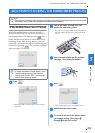
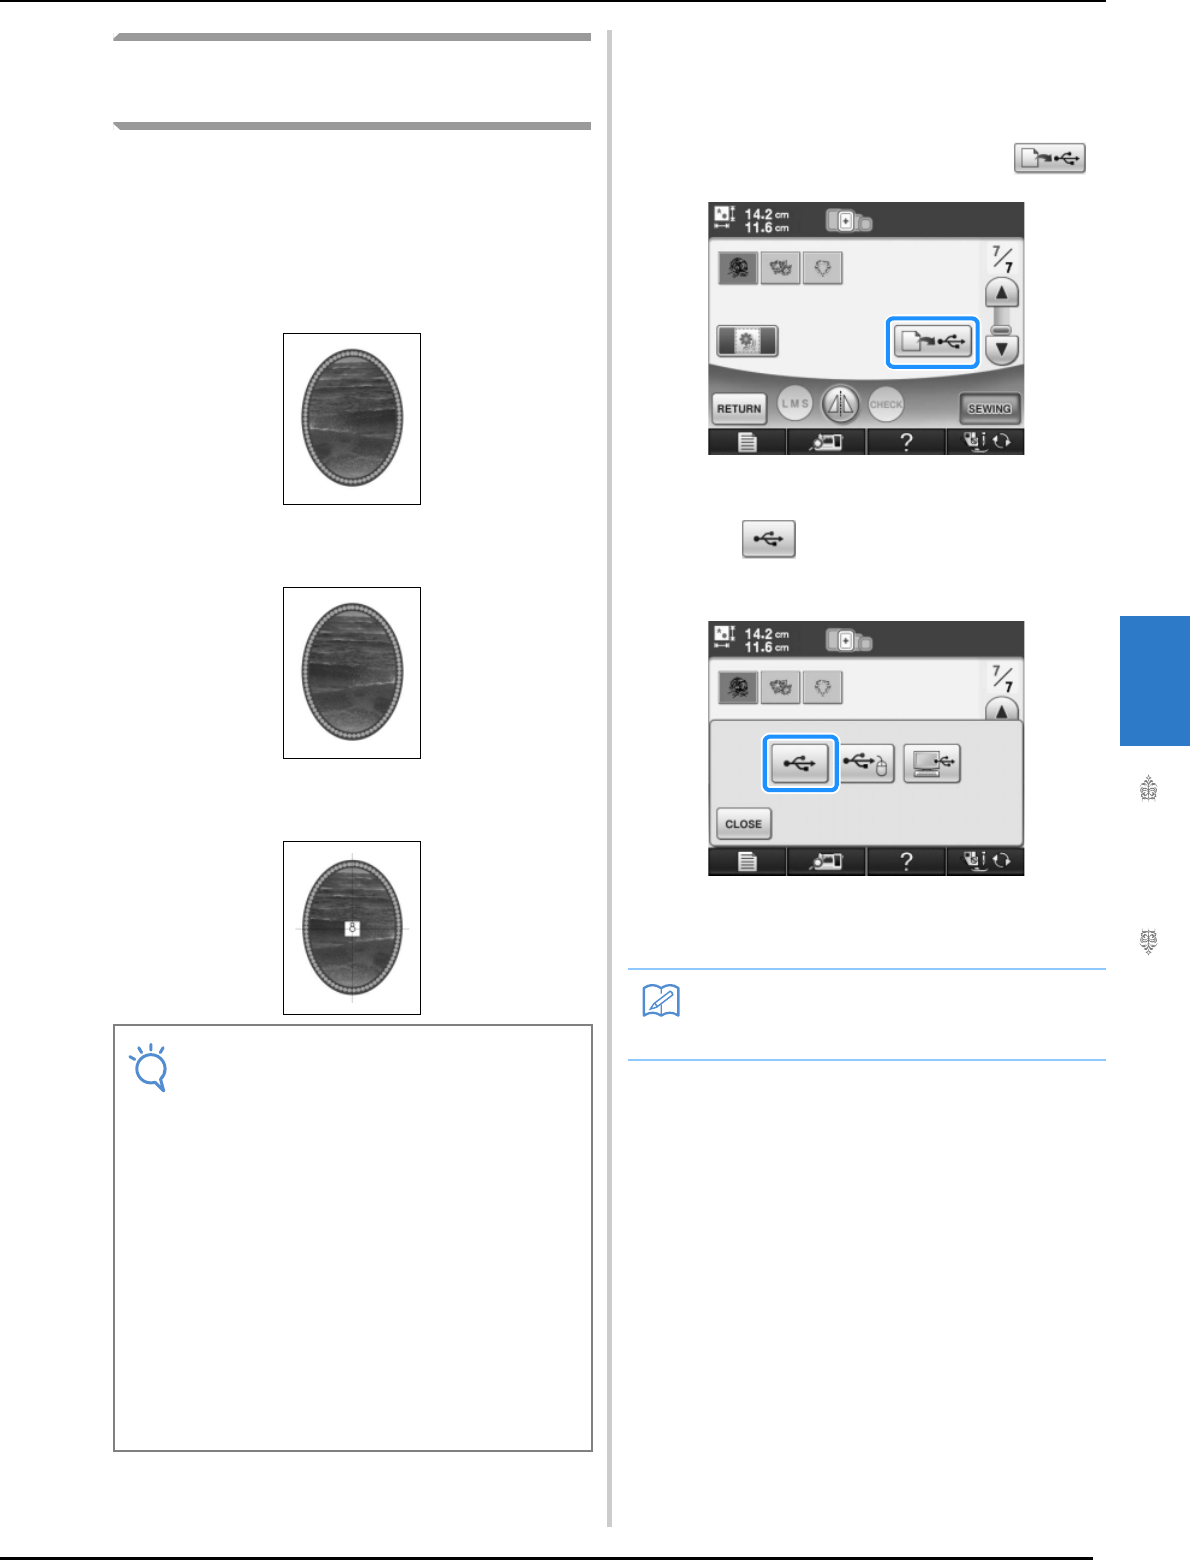
■ Using USB Media
a
Insert the USB media into the primary (top)
USB port on the machine.
b
Select the pattern, and then press .
→ The select USB output screen appears.
c
Press to select the primary (top) USB
port where the USB media is inserted.
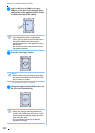
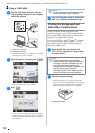
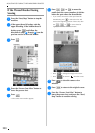
→ Two files of the background image only and one file
for aligning embroidery into position are copied
(PDF format) onto the USB media.
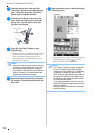
d
Remove the USB media where the image
data is saved from the machine, and then
copy the image data from the USB media to
the computer.
Note
• Print the background and embroidery
position sheet in their original dimensions. If
an image is printed in a different size, the
sizes of the embroidery pattern and
background may not match. In addition, the
built-in camera cannot detect the
embroidery position mark. Make sure that
the print settings are correctly specified.
• When printing the PDF file of the image with
positioning marks, specify the highest image
quality possible for full-color printing. In
addition, use matte printing paper. Due to
poor printing conditions, the machine’s built-
in camera may not be able to correctly
detect the positioning marks. (For details on
printing, refer to the operating instructions
for your printer.)
Memo
• Do not remove the USB media from the
machine until data output is finished.