


SEWING AN EMBROIDERY PATTERN
220
b
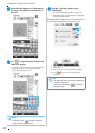
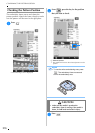
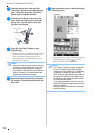
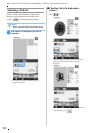
Lower the presser foot, then press the
“Start/Stop” button to start embroidering.
After 5-6 stitches, press the “Start/Stop”
button again to stop the machine.
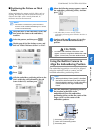
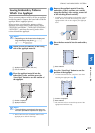
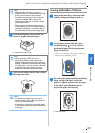
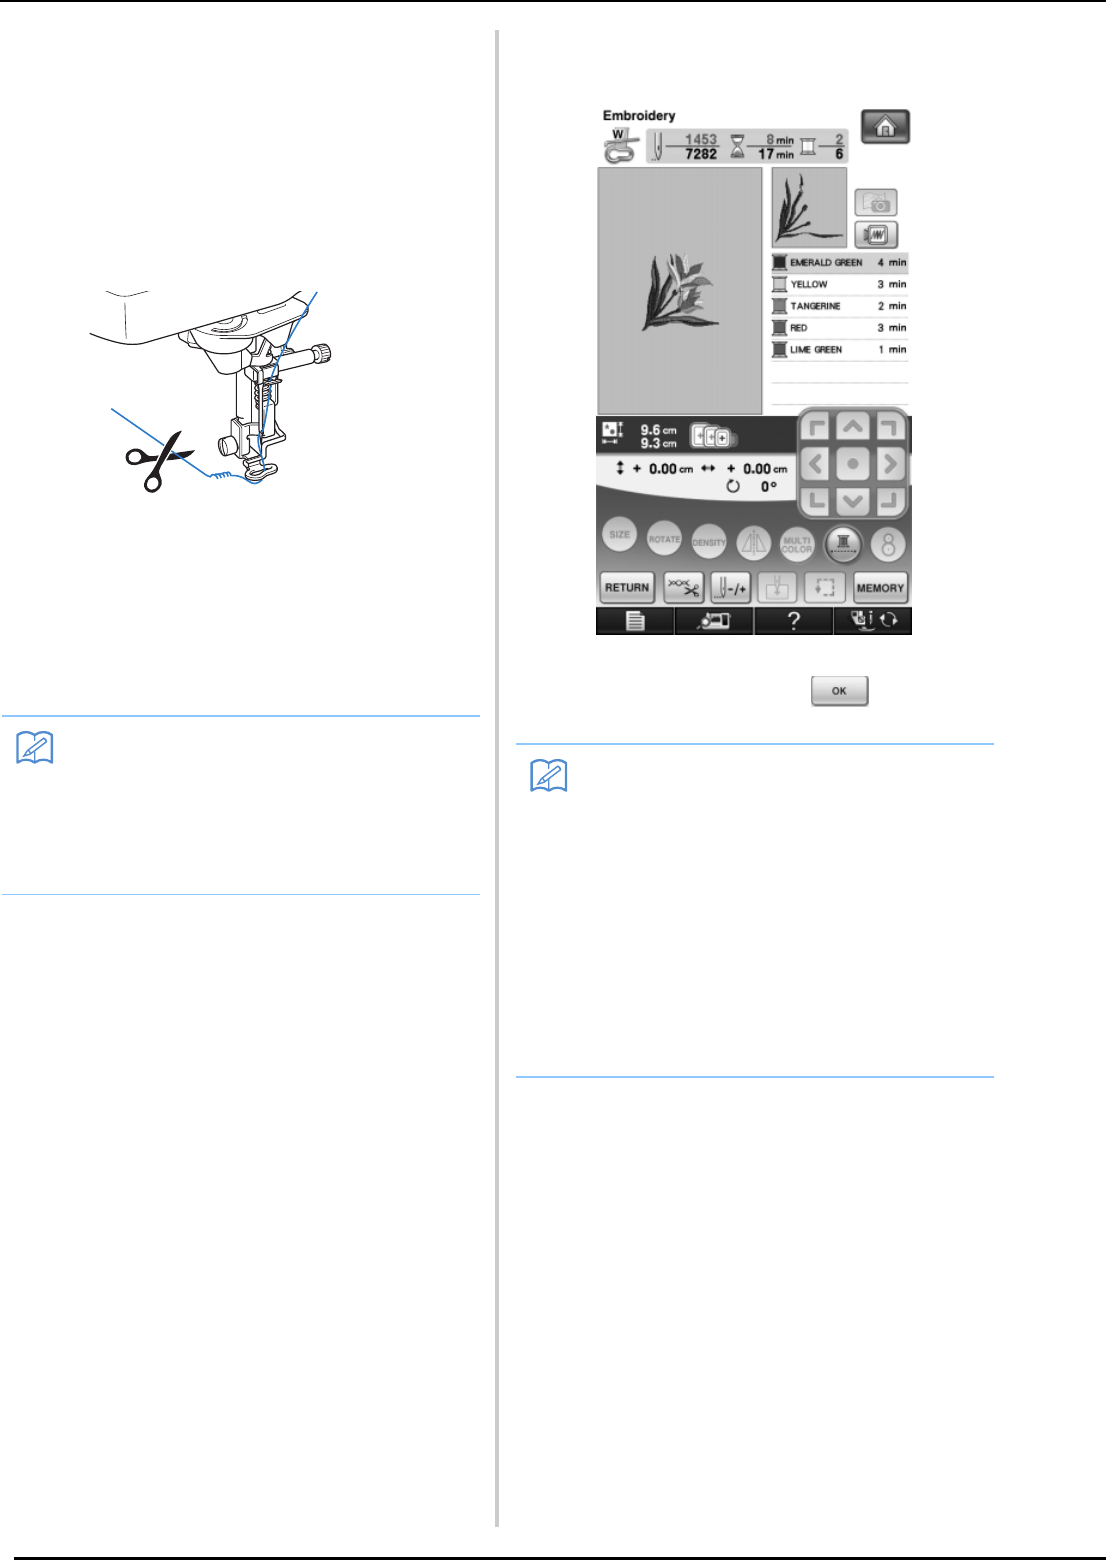
c
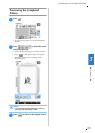
Trim the excess thread at the end of the
seam. If the end of the seam is under the
presser foot, raise the presser foot, then
trim the excess thread.
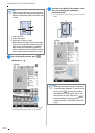
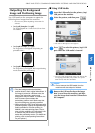
d
Press the “Start/Stop” button to start
embroidering.
→ When the first color is completely sewn, the machine
will automatically trim the threads and stop. The
presser foot will then automatically be raised.
On the embroidery color order display, the next
color will move to the top.
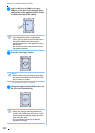
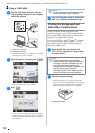
e
Remove the thread for the first color from
the machine. Thread the machine with the
next color.
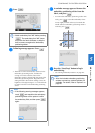
f
Repeat the same steps for embroidering the
remaining colors.
→ When the last color is sewn, “Finished sewing” will
appear on the display. Press , and the
display will return to the original screen.
Memo
• If there is thread left over from the beginning
of sewing, it may be sewn over as you con-
tinue embroidering the pattern, making it
very difficult to deal with the thread after the
pattern is finished. Trim the threads at the
beginning of each thread change.
Memo
• The Thread Trimming Function is originally
set to trim excess thread jumps (threads
linking parts of the pattern, etc.). Depending
on the type of thread and fabric that are
used, an end of upper thread may remain on
the surface of the fabric at the beginning of
the stitching. After embroidering is finished,
cut off this excess thread.
*If the setting has been turned off, trim the
excess thread jumps using scissors after the
pattern is finished.
See page 236 for information on the thread
trimming function.