


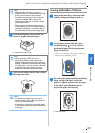

PRINT AND STITCH (COMBINING EMBROIDERY PATTERNS AND PRINTED DESIGNS)
Embroidery
223
5
PRINT AND STITCH (COMBINING EMBROIDERY
PATTERNS AND PRINTED DESIGNS)
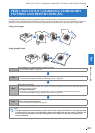
Completed embroidery patterns combined with printed designs are built into this machine.
Beautiful three-dimensional embroidered designs can be created by ironing a background onto fabric or
printing it onto printable fabric, then sewing complementary embroidery on top of the background.
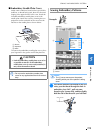
Using iron-on paper
Using printable fabric
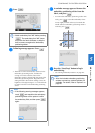
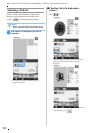
Step1
Select a pattern to be combined with the background image.
→ See “Selecting a Pattern” on page 224.
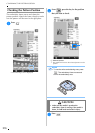
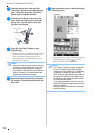
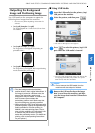
Step2
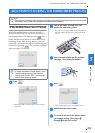
Output from the machine the background image and the positioning image.
→ See “Outputting the Background Image and Positioning Image” on page 225.
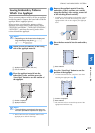
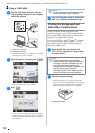
Step3
When using iron-on paper
With a printer, print the background onto iron-on paper, and print the embroidery position sheet on plain paper. Then, iron
the background image onto fabric.
When using printable fabric
With a printer, print the background onto printable fabric, and print the embroidery position sheet on plain paper.
→ See “Printing the Background and Embroidery Position Sheet” on page 226.
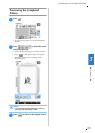
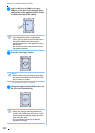
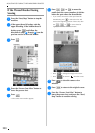
Step4
Hoop in the embroidery frame the fabric with the background image ironed on or printed, check the embroidering
position, and then start embroidering.
→ See “Sewing Embroidery Patterns” on page 227.
Note
• Print the background and embroidery position sheet in their original dimensions. If an image is printed
in a different size, the sizes of the embroidery pattern and background may not match. In addition, the
built-in camera cannot detect the embroidery position mark. Make sure that the print settings are
correctly specified.