SEWING STITCH PATTERNS
Character/Decorative Stitches
161
4
SEWING STITCH PATTERNS
Sewing Attractive Finishes
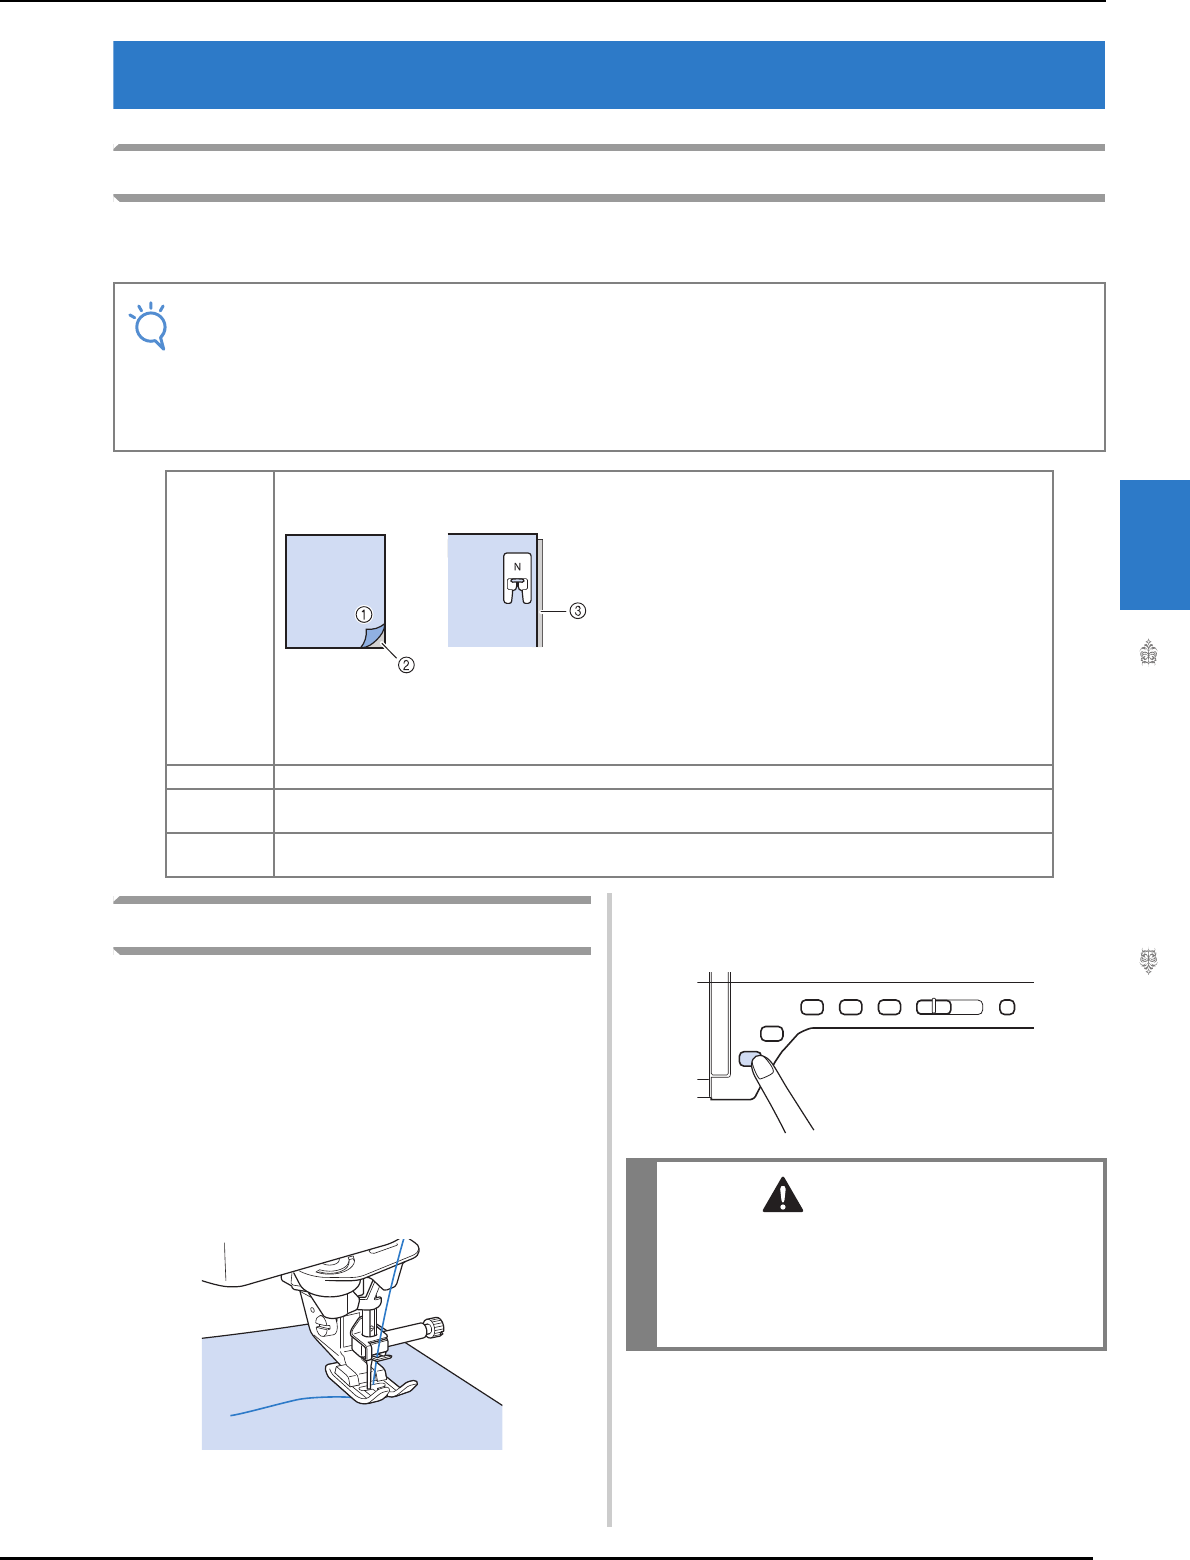
To achieve attractive results when sewing character/decorative stitches, check the table below for the
proper fabric/needle/thread combinations.
Basic Sewing
a
Select a stitch pattern.
b
Attach monogramming foot “N”.
c
Place the fabric under the presser foot, pull
the upper thread out to the side, and then
lower the presser foot.
d
Press the “Start/Stop” button to start
sewing.
Note
• Other factors, such as fabric thickness, stabilizer material, etc., also have an effect on the stitch, so you
should always sew a few trial stitches before beginning your project.
• When sewing satin stitch patterns, there may be shrinking or bunching of stitches, so be sure to attach
a stabilizer material.
• Guide the fabric with your hand to keep the fabric feeding straight and even during sewing.
Fabric When sewing on stretch fabrics, lightweight fabrics, or fabrics with coarse weaves, attach stabilizer on the
wrong side of the fabric. If you do not wish to do so, place the fabric on a thin paper such as tracing paper.
a Fabric
b Stabilizer
c Thin paper
Thread #50 - #60
Needle With lightweight, regular, or stretch fabrics: the Ball point needle (golden colored)
With heavyweight fabrics: home sewing machine needle 90/14
Presser foot Monogramming foot “N”.
Using another presser foot may give inferior results.
CAUTION
• When sewing 7 mm satin stitch patterns and
the stitches are bunched, lengthen the stitch
length. If you continue sewing when the
stitches are bunched, the needle may bend or
break (“Setting the Stitch Length” on page 79).


