


Appendix D Visible <-> Open Nose Change Instructions 93
Replacing the Open Nose with the Visible Nose
This operation should be performed in a cleanroom environment to prevent possible
contamination of the CCD array.
Whenever the open nose is on the camera, EXTREME CAUTION must be used to
prevent damage to the CCD array. To prevent contamination, only handle a PI-MTE with
an open nose in a cleanroom environment. If the camera must be removed from a
cleanroom environment, cover the array opening. Note that the camera is even more
vulnerable with no nose in place.
Because the CCD array and/or the bond wires could be damaged when performing this
operation, be very careful when replacing the nose. Damage to the array and/or bond
wires during such an operation is not covered under warranty.
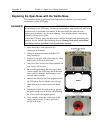
1. Place the PI-MTE with open nose in a
cleanroom environment.
2. Clamp or support the camera with the CCD
array looking up.
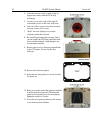
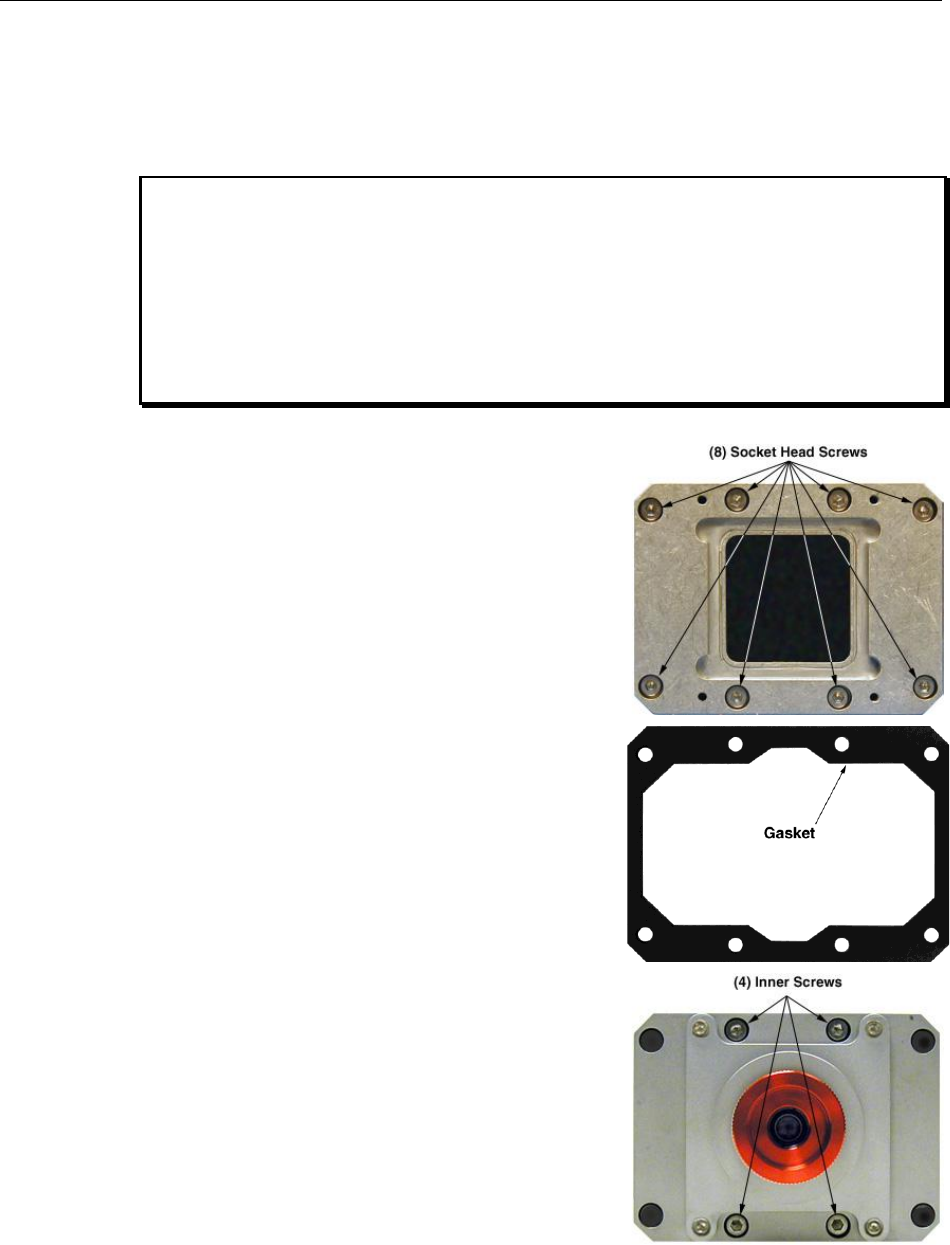
3. Loosen, by one turn, each of the eight (8) socket
head screws on the face of the nose.
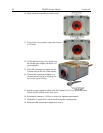
4. After all of the 8 screws have been loosened one
turn, remove all 8 screws.
5. Be careful in performing the next step. Unless
you are careful, the CCD array and/or the bond
wires could be damaged. Such damage is not
covered under warranty.
6. Remove the nose in a direction perpendicular to
the CCD plane. Do not slip the nose sideways.
7. Store the nose in a secure location for future
use.
8. Prepare the visible nose and gasket by placing
the gasket on the rear of the nose and threading
the 4 inner screws through the gasket.
9. Very carefully, mount the visible nose to the
camera and secure the 4 screws previously
placed in the nose.
WARNINGS!