


91
Appendix D
Visible <-> Open Nose Change
Instructions
Introduction
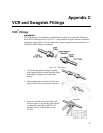
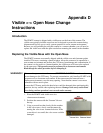
The PI-MTE camera is shipped with a visible nose on the front of the camera. The
visible nose typically includes a test lens and is designed to protect the camera during
shipment and to allow you to verify system operation in a non-vacuum environment.
Because you will probably be using the camera in a vacuum chamber, you will need to
replace the visible nose with the open nose before mounting the camera in the chamber.
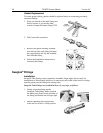
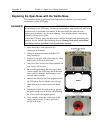
Replacing the Visible Nose with the Open Nose
The PI-MTE cameras are normally shipped with the visible nose and elastomer gasket
installed. This nose, containing a quartz window, allows the camera to be operated in a
non-vacuum environment and protects the CCD array from damage and contamination. If
the camera is to be used in a vacuum chamber, the visible nose will have to be replaced
by the open nose. This operation must be performed in a cleanroom environment.
Read through the whole procedure before attempting it.
Whenever the open nose is on the camera, EXTREME CAUTION must be used to
prevent damage to the CCD array. To prevent contamination, only handle a PI-MTE with
an open nose in a cleanroom environment. If the camera must be removed from a
cleanroom environment, cover the array opening. Note that the camera is even more
vulnerable with no nose in place.
Because the CCD array and/or the bond wires could be damaged when performing this
operation, be very careful when replacing the nose. Damage to the array and/or bond
wires during such an operation is not covered under warranty.
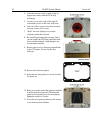
1. Place the PI-MTE with visible nose in a
cleanroom environment.
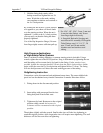
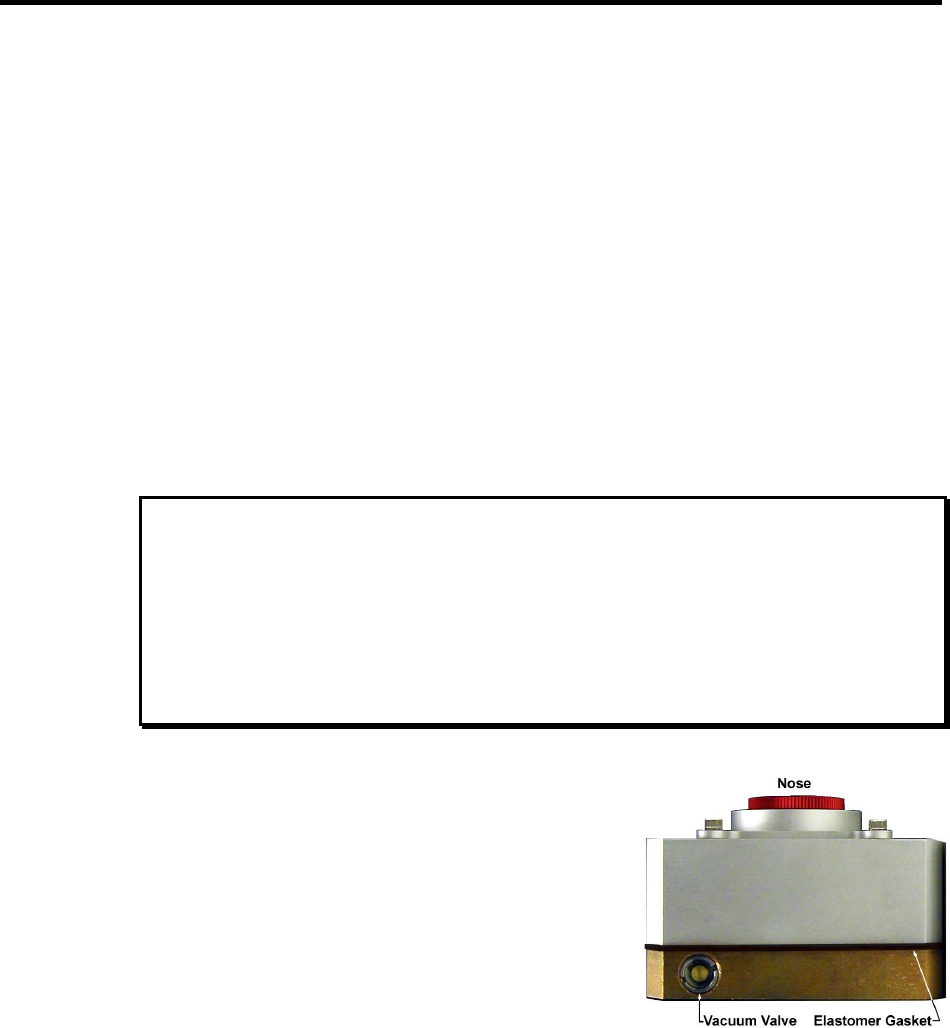
2. Position the camera with the Vacuum Valve at
the top.
3. Using a screwdriver that closely fits the notches
in the valve screw, slowly vent the camera by
turning the valve screw counterclockwise. If the
screwdriver is too small, the valve screw could be
damaged.
WARNINGS!