


74 PI-MTE System Manual Version 4.C
Removing/Installing a Plug-In Module
The ST-133 Controller has three plug-in slots. The Analog/Control module (leftmost slot
when the controller is viewed from the rear) and the Interface Control module (either a
TAXI or a USB 2.0 compatible module in the middle slot) are always provided. The
third slot, however, is covered with a blank panel.
If a module is ever removed for any reason, internal settings should not be disturbed.
Changing a setting could radically alter the controller’s performance. Restoring normal
operation again without proper equipment and guidance would be very difficult, and it
might be necessary to return the unit to the factory for recalibration.
1. Always turn the Controller OFF before removing or installing a module. If a
module is removed or installed when the controller is powered, permanent
equipment damage could occur which would not be covered by the warranty.
2. Before handling any boards, take precautions to prevent electrostatic discharge
(ESD). The modules are susceptible to ESD damage. Damage caused by
improper handling is not covered by the Warranty.
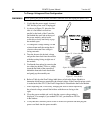
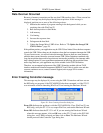
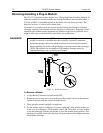
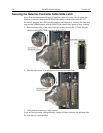
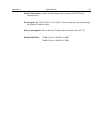
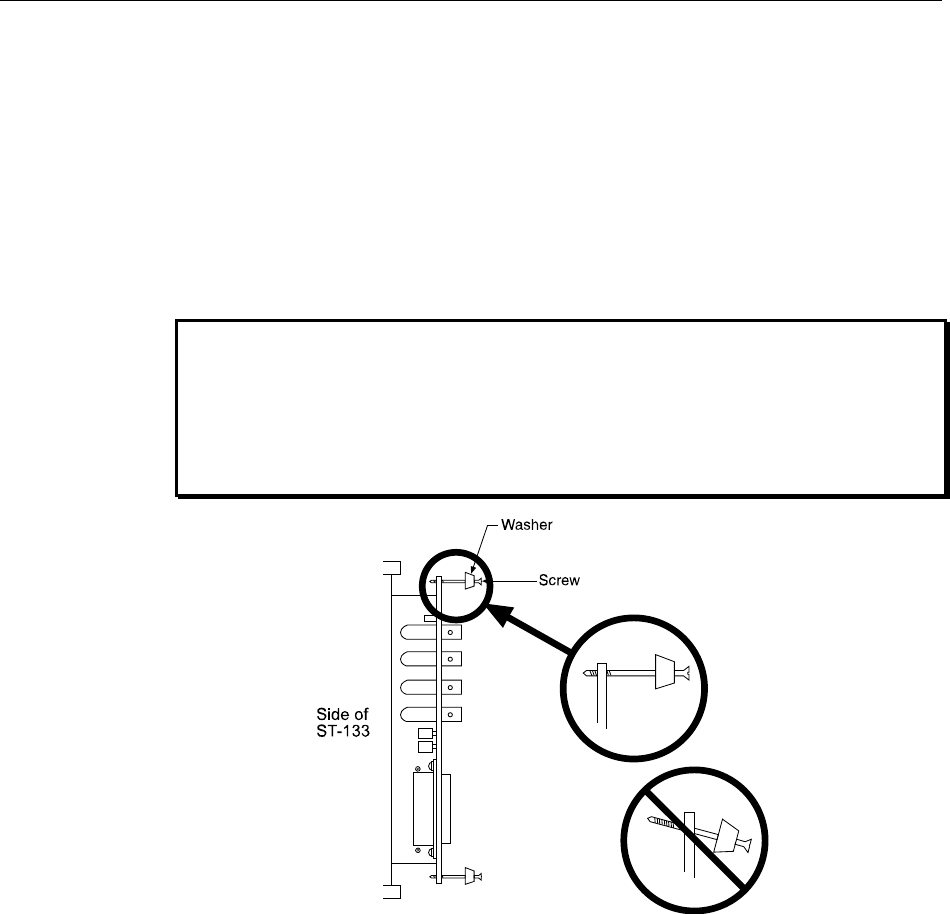
Figure 31. Module Installation
To Remove a Module:
1. Verify that the Controller has been turned OFF.
2. Rotate the two locking screws (one at the top of the module and one at the bottom)
counterclockwise until they release from the chassis.
3. Then, grasp the module and pull it straight out.
4. Set the module aside in a safe place. If you are replacing it with another module, as
in the case of exchanging a TAXI module with a USB 2.0 module, you may be able
to use the packaging from the new module to store the module being replaced. This
packaging is usually an antistatic bag that will protect the module components from
electrostatic discharge.
WARNINGS!