


8. Getting started
Examples:
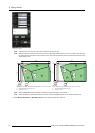
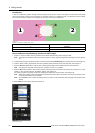
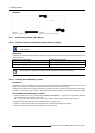
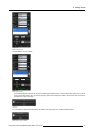
Image 8-98
Example 01: hide_bottom_right.png
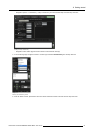
Image 8-99
Example 02: hide_support_right_left_plug.png
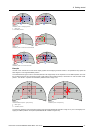
8.6.4 AutoGeometry position: Warp display
8.6.4.1 Difference between AutoGeometry faceted and warp display
IG
Image Generator
Differences
The table below list the differences between the AutoGeometry faceted and warp display and also indicates which feature is to be
selected and when.
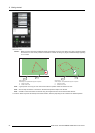
AutoGeometry faceted display AutoGeometry warp display
mostly used for rear projection flat faceted display mostly used for rear projection curved screen
when user want warping to be done on IG instead of the projector when warping can be done on the projector
Selecting projector warping is best option, where warping done on the IG is not sufficient.
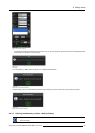
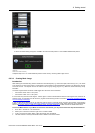
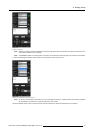
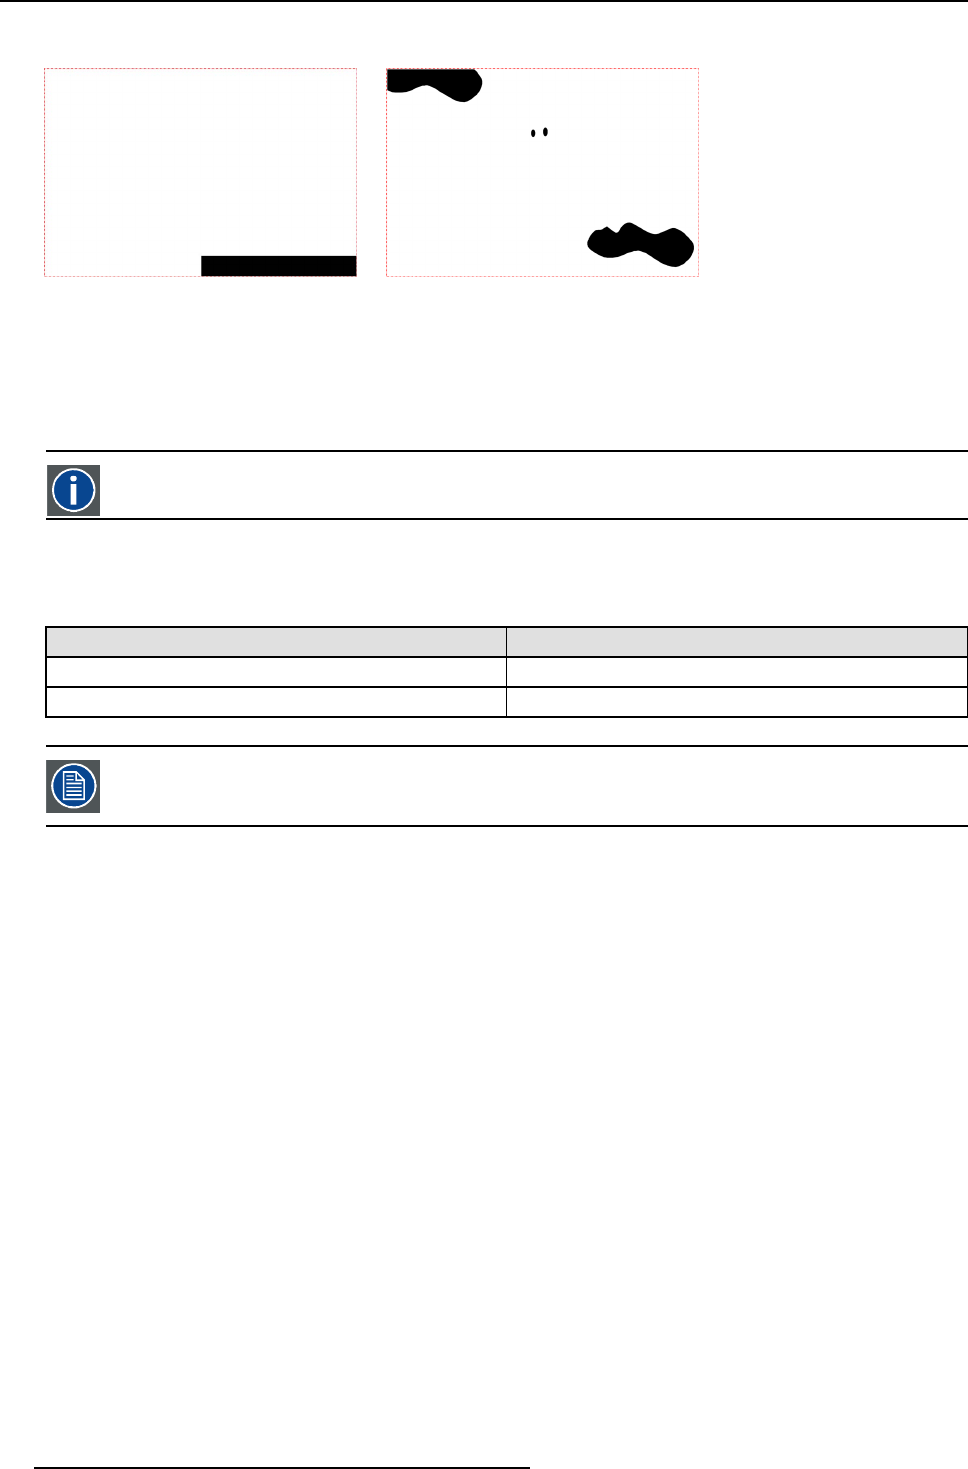
8.6.4.2 Defining the AutoGeometry position
Introduction
AutoGeometry position can be defined by aiming your AutoAlignment Head camera to the desired position on the screen so that a
desired amount of projector’s warp image is visible inside the Camera Live View on the Position page.
AutoGeometry warp position saves the Gimbal orientation (pan and tilt) along with the camera ID, and the projectors used in defining
the position. This information is later used by the XDS RACU system for the AutoGeometry warp capture and realignment process.
How to define the AutoGeometry position?
1. Manually adjust the warp of the projector(s) (only if necessary and required !) in a group so that a geometrically seamless
image appears across the projectors on the screen.
Tip: Use the XDS RACU Geometry page or the projector’s OSD or SimCAD to adjust the warp of the projector’s.
2. Navigate to the Eyepoint page and save this geometry setting as an eyepoint file.
3. Project any image or internal pattern from the projector(s) for the desired AutoGeometry warp position.
4. Navigate to the following pages of the XDS RACU GUI and do the following:
90
R59770509 AUTOALIGNMENT HEAD GEN II 26/11/2013