


12. Operating AutoGeometry: Warp display
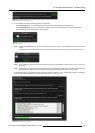
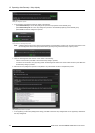
- if at the correct location press Yes in the A utoGeom etry dialog to proceed;
- if not at the correct location, then physically position the AutoAlignment Head to the correct location and then press Yes in the
AutoGeometry dialog to proceed.
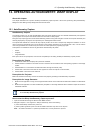
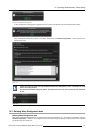
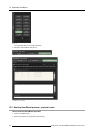
8. Wait until the warp capture process is completed, it may take several minutes to complete the process.
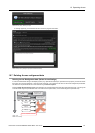
Image 12-6
Warp AutoGeometry Capture process completed
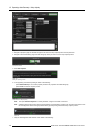
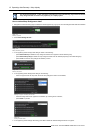
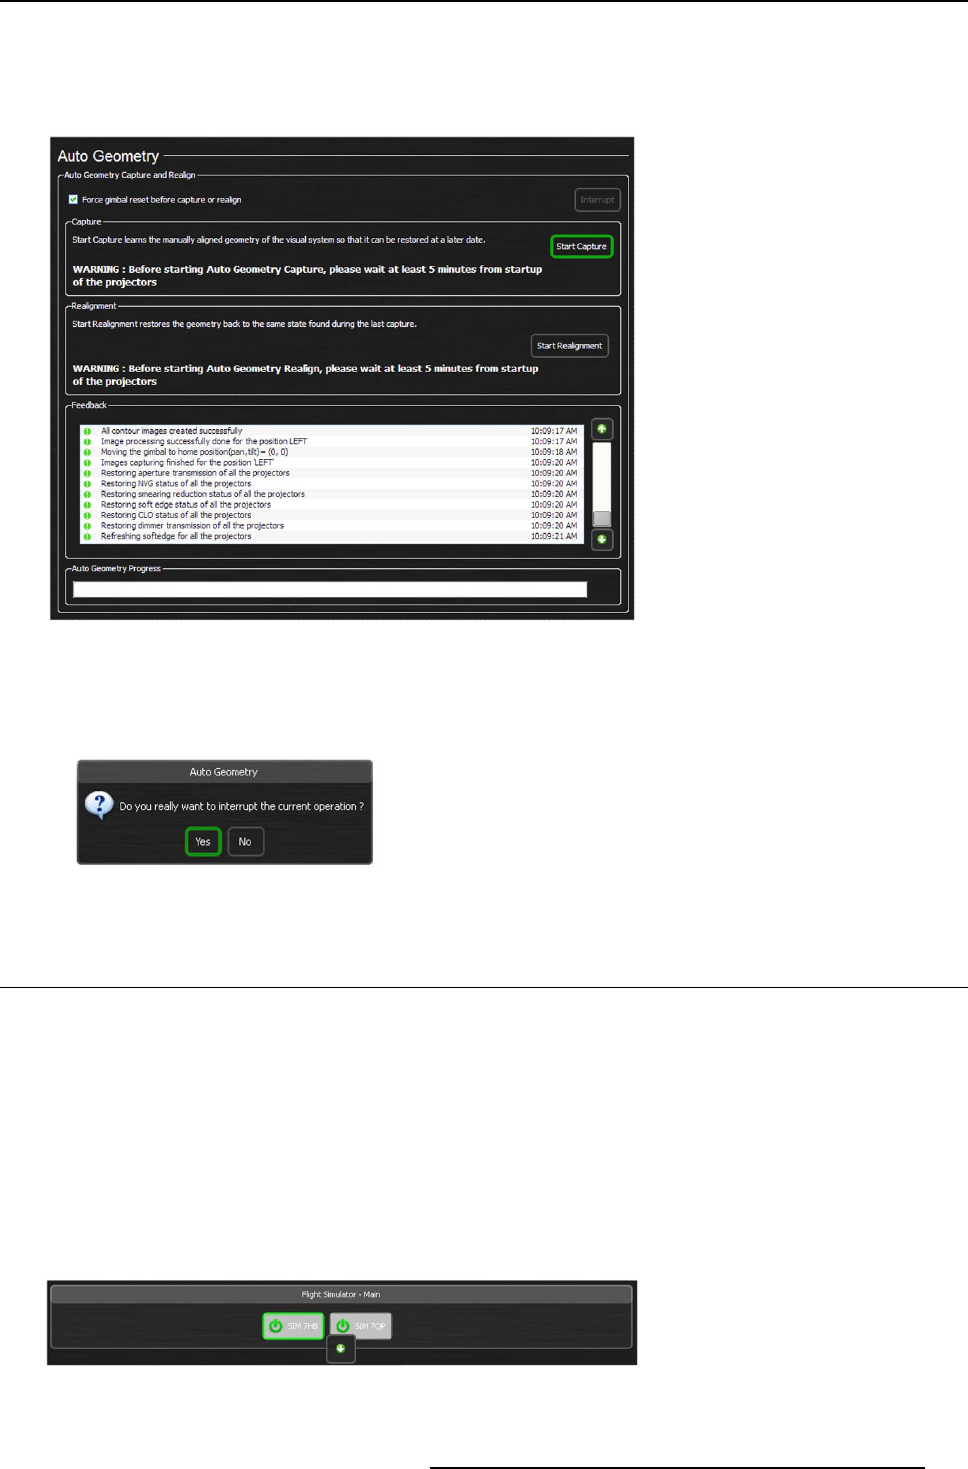
Note: Pressing the Interrupt button will stop the Warp A utoGeom etry Capture process. The Gimbal will come back to its
original position.
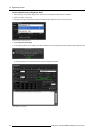
The following confirm ation dialog w ill appear. The system will return to its previous situation and no d ata will be lost.
Image 12-7
12.2 AutoGeometry Realignment
AutoGeometry Realignment
In case of a fundamental change in the display system (e.g. replacement of a projector), the user wants to restore the system to its
original geometry parameters. This can be done by restoring the geometry values saved during the Warp Capture.
Executing Warp Realignment realign the geometry values (in X and Y axis) of the projector(s) to the geometry values measured
and saved at Capture time. The XDS RACU system automatically corrects the resulting inaccuracy in geometry by comparing the
captured and realigned geometry values.
How to start the Warp AutoGeometry Realignment process?
1. Navigate to Eyepoint page and activate the eyepoint for which the warp realignment process is to be performed.
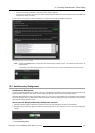
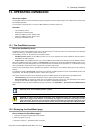
2. Navigate to the AutoGeometry page and select the desired projector(s) or group where you wish to run the warp realignment
process.
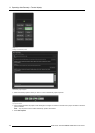
Image 12-8
All projectors selected
3. Press Start Realignment.
R59770509 AUTOALIGNMENT HEAD GEN II 26/11/2013
139