


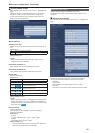

Time adjustment interval
Selectstheinterval(1to24hoursin1-hourincrements)foracquiring
thetimefromtheNTPserver.
Setting range: 1hto24h
Factory settings: 1h
Time zone
Selectsthetimezoneaccordingtotheregionwherethecamerais
beingused.
Factory settings:
(GMT)GreenwichMeanTime:Dubin,Edinburgh,Lisbon,London
Summer time(daylight saving) [In, Out, Auto]
Setswhethertousesummertime.
Selectsthetimezonethatcorrespondswiththeregioninwhichthe
unitisgoingtobeused.
Setting value:
In
Setsthetimetosummertime."
*
"isshownintheclock
display.
Out Cancelssummertime.
Auto
Switchestosummertimeaccordingtothestart/endtime
anddatesettings(time,day,week,month).
Factory settings: Out
Start time & date
End time & date
Setsthesummertimeendtimeanddatebytime,day,weekand
monthwhen“Auto”isselectedinthe“Summertime(daylightsaving)”
setting.
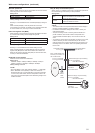
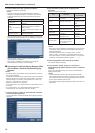
z UPnP
ThisunitsupportsUPnP(UniversalPlugandPlay).UsingtheUPnP
functionallowsthefollowingtobesetautomatically.
•Setstherouter’sportforwardingfunction.(However,aUPnP-
compatiblerouterisnecessary).
ThissettingisusefulwhenaccessingthecamerafromtheInternet,
amobilephoneorportableterminal.
•Itissetsothatashortcuttothecameraiscreatedinthe“Network”
folderofyourpersonalcomputerandthatshortcutisautomatically
renewedevenwhenthecamera’sIPaddressischanged.
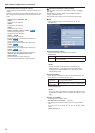
Auto port forwarding
Whethertousetherouter’sportforwardingfunctionissetbyselecting
“On”or“Off”.
Tousetheautomaticportforwardingfunction,theusedroutermust
supportUPnPandtheUPnPfunctionmustbeenabled.
Setting value:
On Usestherouter'sportforwardingfunction.
Off Therouter'sportforwardingfunctionisnotused.
Factory settings: Off
<NOTE>
•Theportnumbermaybechangedbyautomaticportforwarding.If
thenumberischanged,theportNo.ofthecameraregisteredtothe
personalcomputerorrecordermustbechanged.
•TheUPnPfunctionmaybeusedwhenthecameraisconnectedto
theIPv4network.IPv6isnotsupported.
•Toconfirmthatautomaticportforwardingiscorrectlyset,clickthe
“Status”tabintheMaintenancescreentoconfirmthatthe“UPnP”
statusissetto“Enable”.(→page@@)
If
“Enable”isnotdisplayed,referto“CannotaccesstheInternetfrom
theCamera”inthe“What’stheTrouble?”section.(→page@@)
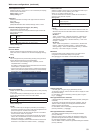
Camera short cut
Whethertocreateacamerashortcutinthe“Network”folderofyour
personalcomputerissetbyselecting“On”or“Off”.
Select“On”tocreateacamerashortcut.
Tousethecamerashortcutfunction,enabletheUPnPfunctionin
advanceinyourpersonalcomputer.
Setting value:
On
Createsacamerashortcutinthe"Network"folderofyour
personalcomputer.
Off
Nocamerashortcutiscreatedinthe"Network"folderof
yourpersonalcomputer.
Factory settings: Off
<NOTE>
•TodisplayacamerashortcutintheWindows“Network”folder,the
Windowscomponentmustbeadded.Refertotheinformationbelow
toenableUPnP.
Windows 7
“Start”→”ControlPanel”→”NetworkandInternet”→”Networkand
SharingCenter”→”ChangeAdvancedSharingSettings”→select
“EnableNetworkDiscovery”in“NetworkDiscovery”→click“Save
Changes”→Complete
Windows 8
“Start”→Select“AllApplications”→”ControlPanel”→”Networkand
Internet”→”NetworkandSharingCenter”→”ChangeAdvanced
SharingSettings”→select“EnableNetworkDiscovery”in“Network
Discovery”→click“SaveChanges”→Complete
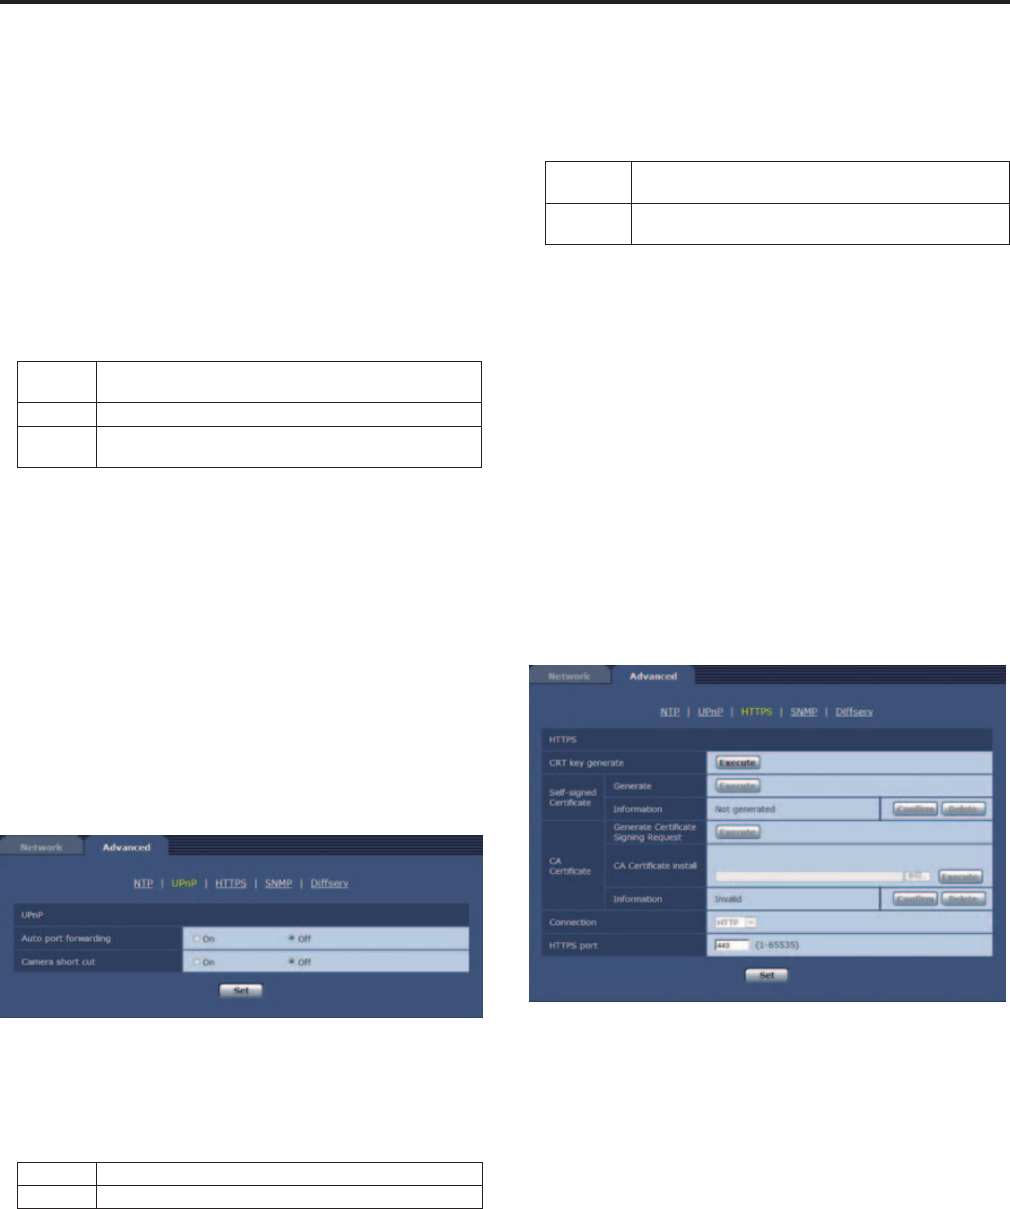
z HTTPS
UsingtheHTTPSfunctionenablesaccesstothecameratobe
encryptedandcommunicationsafetytobeimproved.
Seepage@@formoredetailsontheHTTPSsetupmethod.
CRT key generate
ACRTkey(SSLencryptionkey)isgeneratedbyHTTPS.
TogenerateaCRTkey,clickthe“Execute”buttontodisplaythe“CRT
KeyGenerateDialog”.
Formoredetails,referto“GeneratingaCRTkey(SSLencryption
key)”(→page@@)
Self-signed Certificate - Generate
Aself-signedsecuritycertificateisgeneratedbyHTTPS.(Self-signed
Certificate)
Togenerateaself-signedcertificate(securitycertificate),clickthe
“Execute”buttontodisplaythe“Self-signedCertificateGenerate”
dialogandperformtheoperation.
Formoredetails,referto“GeneratingaSelf-signedCertificate
(SecurityCertificate)”(→page@@).
Self-signed Certificate - Information
Thisdisplaysinformationrelatingtotheself-signedcertificate
(securitycertificate).
Whenthe“Confirm”buttonisclicked,theregisteredcontentofthe
generatedself-signedcertificate(securitycertificate)isdisplayedin
the“Self-signedCertificate-Confirm”dialog.
Clickthe“Delete”buttontodeletethegeneratedself-signedcertificate
(securitycertificate).
92
93
Web screen configurations (continued)