


[ IX Troubleshooting ]
- 352 -
HWE09080 GB
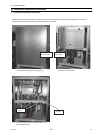
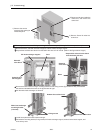
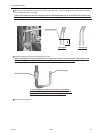
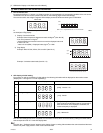
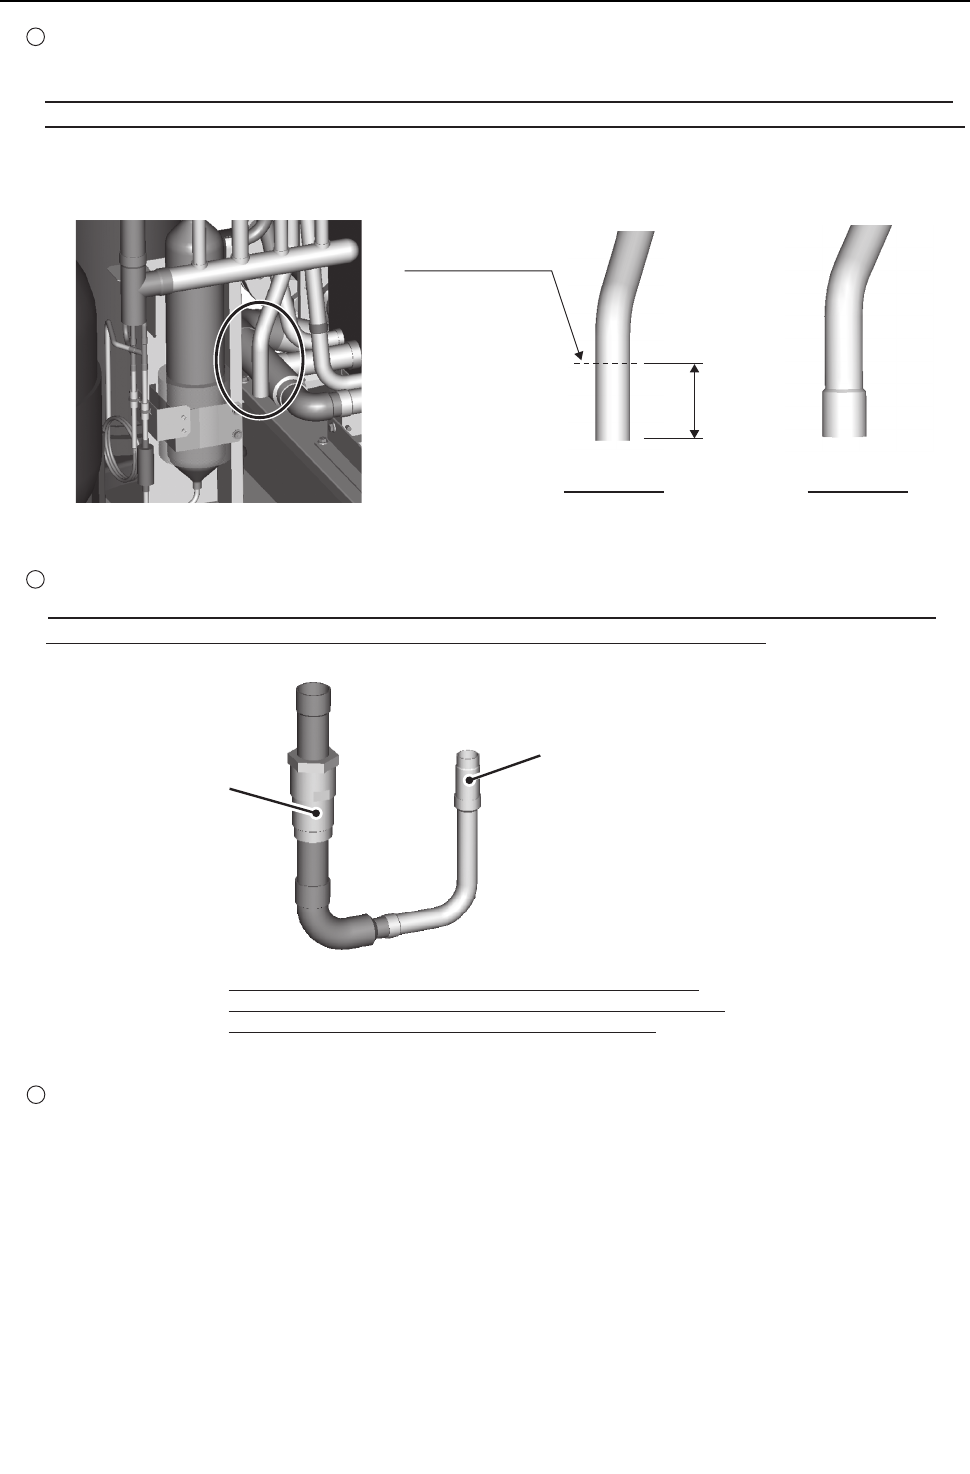
*A connecting pipe is required only when the pipe section
that is circled in the figure above looks like the one shown in
the figure above in the middle entitled "Pipe type A."
Cut the pipe here.
Check valve assembly
Connecting pipe
Pipe type A Pipe type B
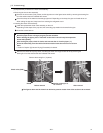
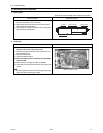
3 Install the replacement check valve assembly on the unit.
When connecting the check valve assembly to the type of pipe shown in the figure above in the middle, braze
the connecting pipe that is included in the service parts kit to the check valve assembly.
4 Screw the screws back on.
36mm
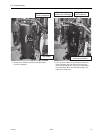
2 Depending on the manufacturing period, the section of the pipe that is circled in the figure below at left (after the brazing
flux is removed) comes in two types.
If the pipe end looks like the one in the figure below in the middle (Pipe type A), cut off 36 mm of the pipe at the
end. If the pipe end looks like the one in the figure below at right (Pipe type B), the pipe end needs not be cut off.
When cutting the pipe end, keep burrs from entering the refrigerant circuit.