21
Utility
Stitches
Characters
and
Decorative
Stitches
Embroidering
Editing
Embroidery
Patterns
Retrieving
My
Custom
Stitch
TM
Maintenance
Error
Messages
Trouble
shooting
Sewing
Chart
Patterns
(Programmed
in Machine)
Patterns
(Memory
Card)
Sewing
Setting Up
5
3
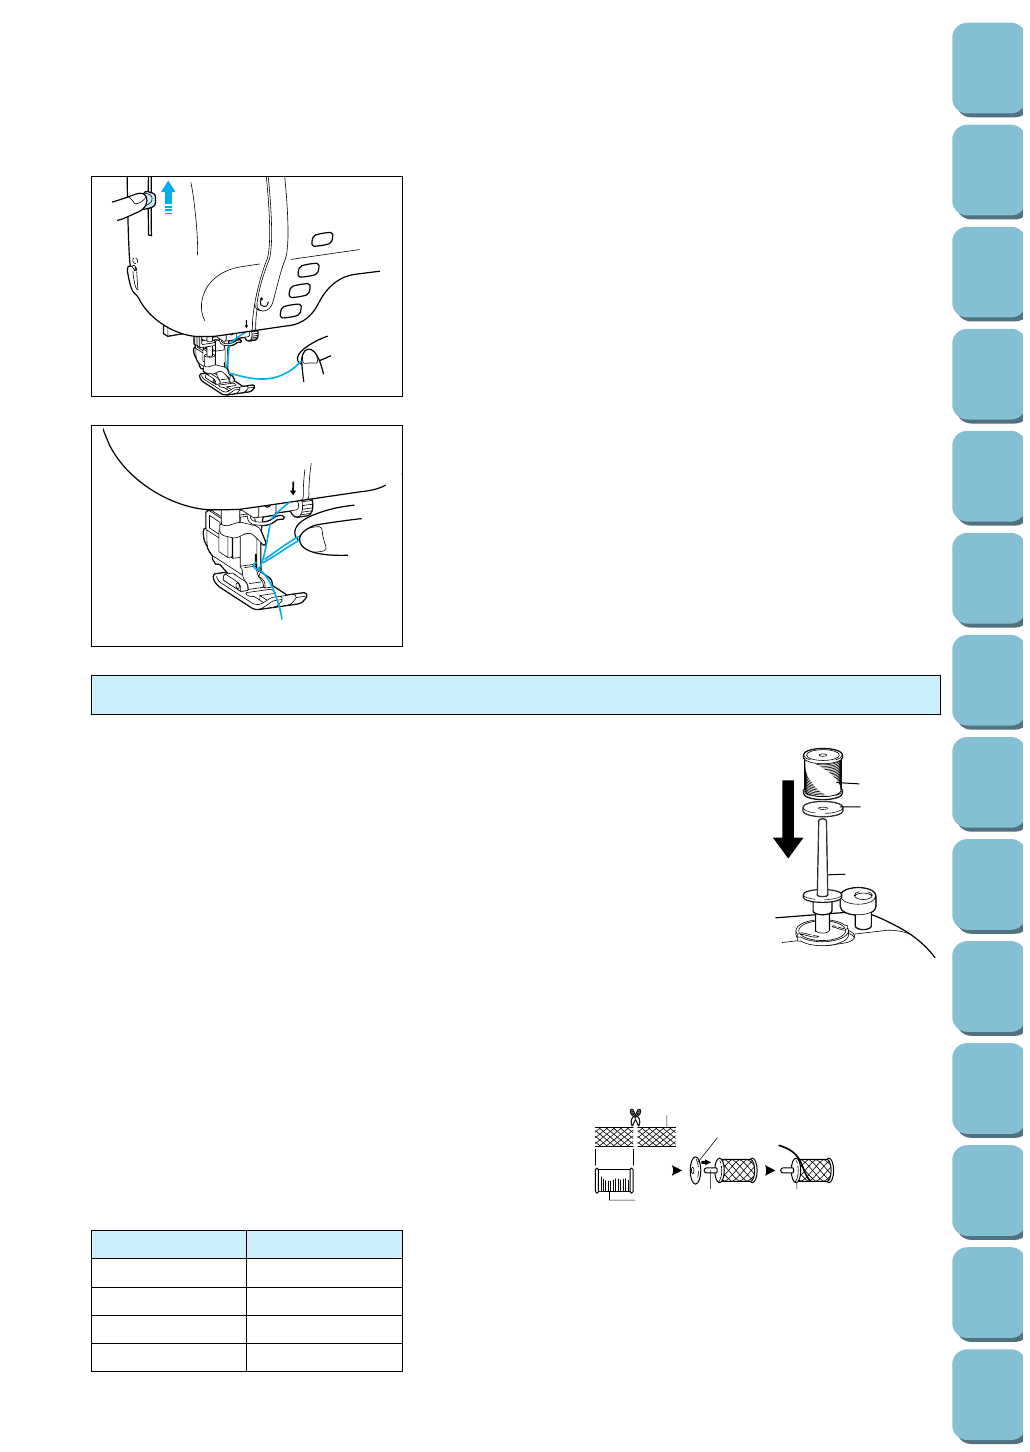
* Rotating your right hand slightly to check that the thread is
engaged.
4. While gently holding the thread, raise the needle threader
lever.
5
5. Pull the thread towards the rear to finish the upper
threading.
6. Pass the thread underneath the presser foot and pull it out
from the rear of the machine by about 5 cm (1-15/16”).
Note
The auto-threading device cannot be used with the
combinations shown at left.
Transparent nylon thread can be used regardless of the chart
providing needle used in 90/14 to 100/16.
Needle Thread (cotton)
65/9 #30, 50, 60
75/11 #30
90/14 #30
100/16 #20
Using the extra spool pin and the net
Extra spool pin
Use when embroidering with metallic thread.
1. Insert the extra spool pin into the end of the bobbin winder shaft.
2. Install the spool felt and the thread spool in that order, and then thread the upper
thread.
1 Insert the extra spool pin into the end of the bobbin winder shaft
2 Spool felt
3 Thread spool
* When setting the thread spool, set it so that the thread winds off from the front of
the spool.
* If using metallic thread, we recommend that you use a 90/14 home sewing
machine needle.
Note
This method keeps the thread from twisting as it comes off the spool pin.
Net
If using special threads which wind quickly off the thread spool, attach a net to the spool before using.
* Cut the net to match the size of the spool.
1 Net
2 Thread spool
3 Spool pin
4 Spool cap
3
1
2
1
2
34
4


