Setting Up NetScout Manager Plus for FrameSaver Devices
8-18
9124-A2-LB20-00
March 2000
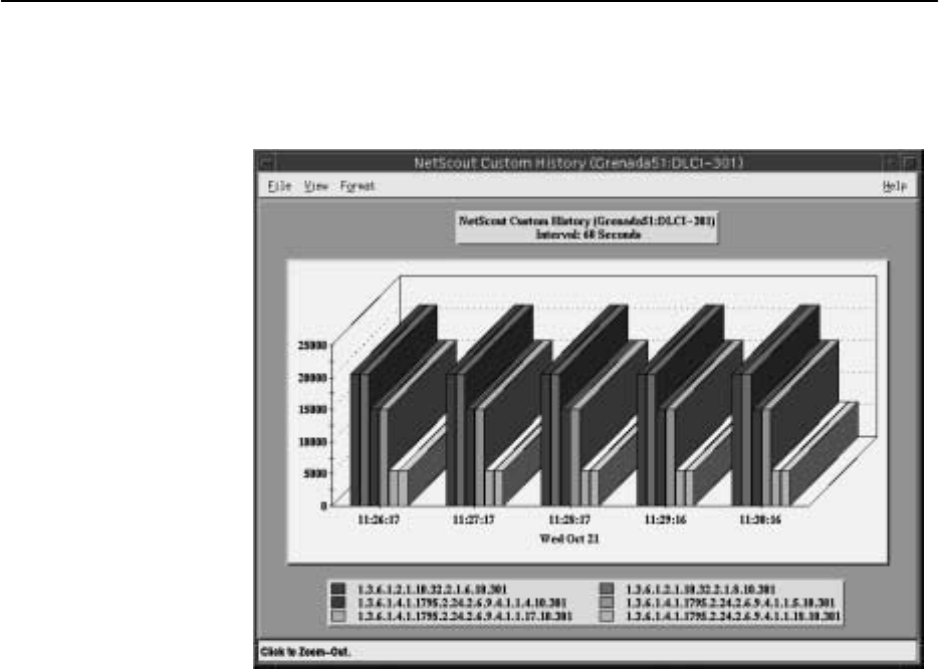
Using the 2D or 3D Bar to view the user history data collected, you can click
on a particular bar and get an expanded view of the data.
8. Click anywhere on this window to return to the previous window view (see
Step 7 of this procedure).
Refer to Launching User History and Understanding Custom History Display in
Using Custom History of the NetScout Manager Plus User Guide for additional
information.
See Object ID Cross-References (Numeric Order) in Appendix B, SNMP MIBs
and Traps, and RMON Alarm Default, to identify OID information being shown.
Monitoring the Agent Using NetScout Manager Plus
Once the FrameSaver SLV agent has been added to NetScout Manager Plus,
select either the Traffic or Protocol radio button to monitor the newly added agent,
or one of its DLCIs.
NOTE:
Only the Traffic and Protocol radio buttons on the application selection bar
are supported for FrameSaver SLV agents.
The procedure below describes how to monitor an agent’s traffic. The procedure
is the same for protocol monitoring, but you may be prompted to select a Domain
Group as well as an agent or DLCI.
