3. MOUNTING AND WIRING
3
−
1
3. MOUNTING AND WIRING
This chapter provides the mounting and wiring procedures and hardware handling
information for those who will mount each equipment to a control box or the like, design
wiring and install the hardware.
This chapter does not give the ways to install and wire the amplifiers, motors and others
and the way to wire the external relay circuit. Refer to the corresponding manuals.
3.1 Mounting and Wiring Methods
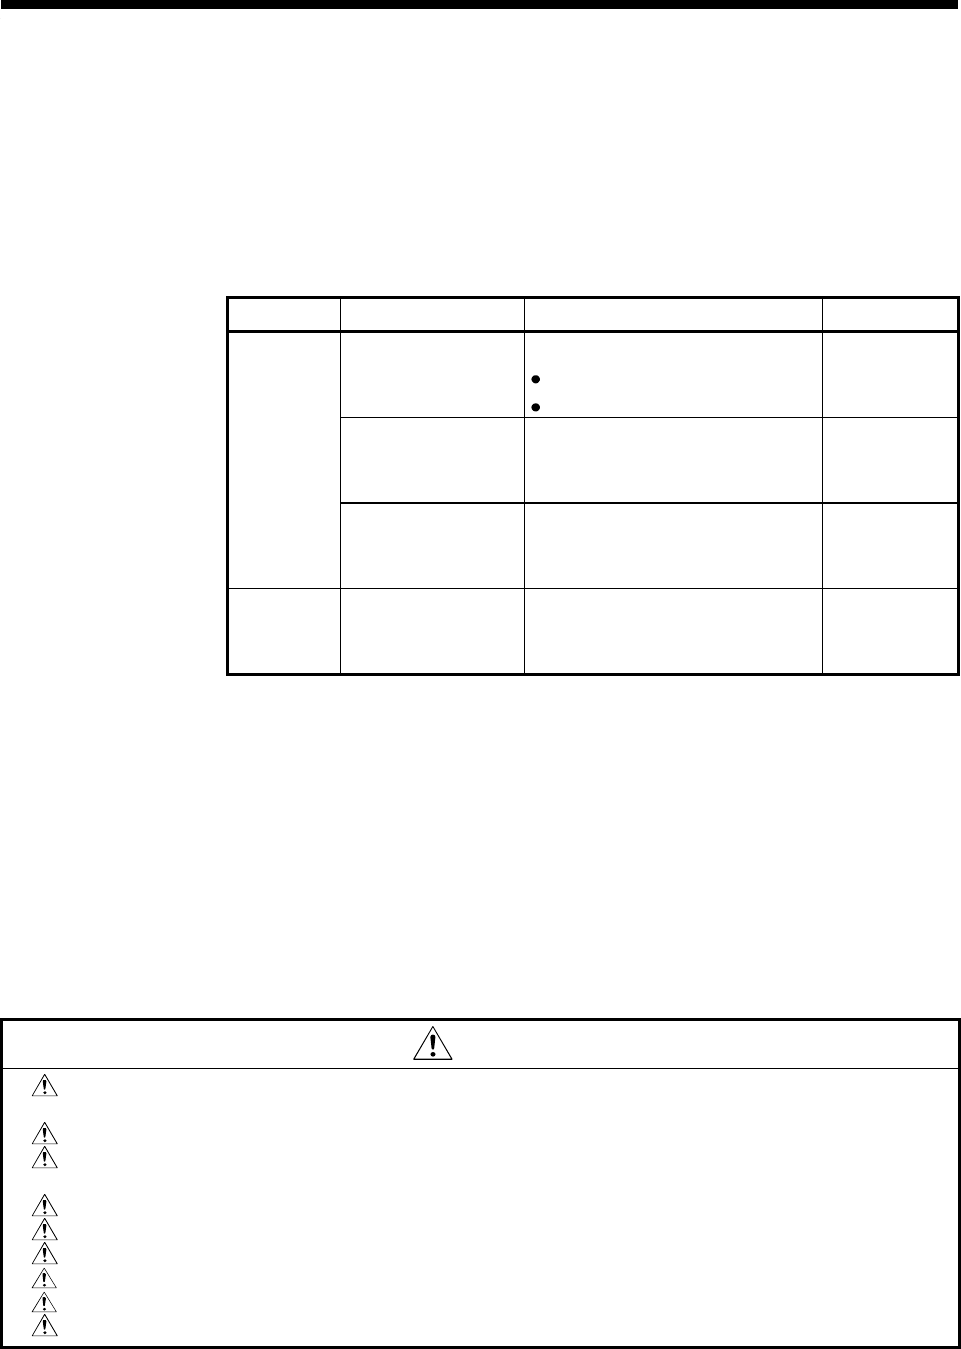
Item Sub Item Mounting/Wiring Outline Refer To
Base unit mounting
Mounting of base unit to enclosure
Mounting without DIN rail
Mounting with DIN rail
Section 3.2
Mounting of modules
to base unit
Mount the CPU, power supply, I/O,
special function, motion and other
modules to the base unit.
Section 3.3
Unit/module
mounting
Synchronous
encoder mounting
Mounting of serial synchronous
encoder to machine side rotary
shaft
Section 3.4
Wiring
Running of power
supply and I/O wires
Running of power supply and I/O
wires of power supply and I/O
modules
Section 3.5
3.2 Mounting the Base Unit
This section provides the way to mount the main or extension base unit to an
enclosure or the like.
Place the base unit according to the precautions for base unit layout design in
Section 2.4.2.
CAUTION
The terminal block and pin connectors of this base unit are made of resin. Do not drop them or
give them hard impact.
Do not remove the printed circuit boards of the base unit. Doing so can cause a failure.
Wire the cables carefully to ensure that no foreign matter such as wire-offcuts enter the base
unit. Remove them if any.
Tighten the base unit mounting screws within the tightening torque range.
While power is on, do not install or remove the base unit.
While power is on, do not mount or dismount the modules to or from the base unit.
Install the base unit in a weight-bearing place according to this manual.
Do not stand or rest heavy objects on the product.
Always check that the mounting orientation is correct.


