3. MOUNTING AND WIRING
3
−
12
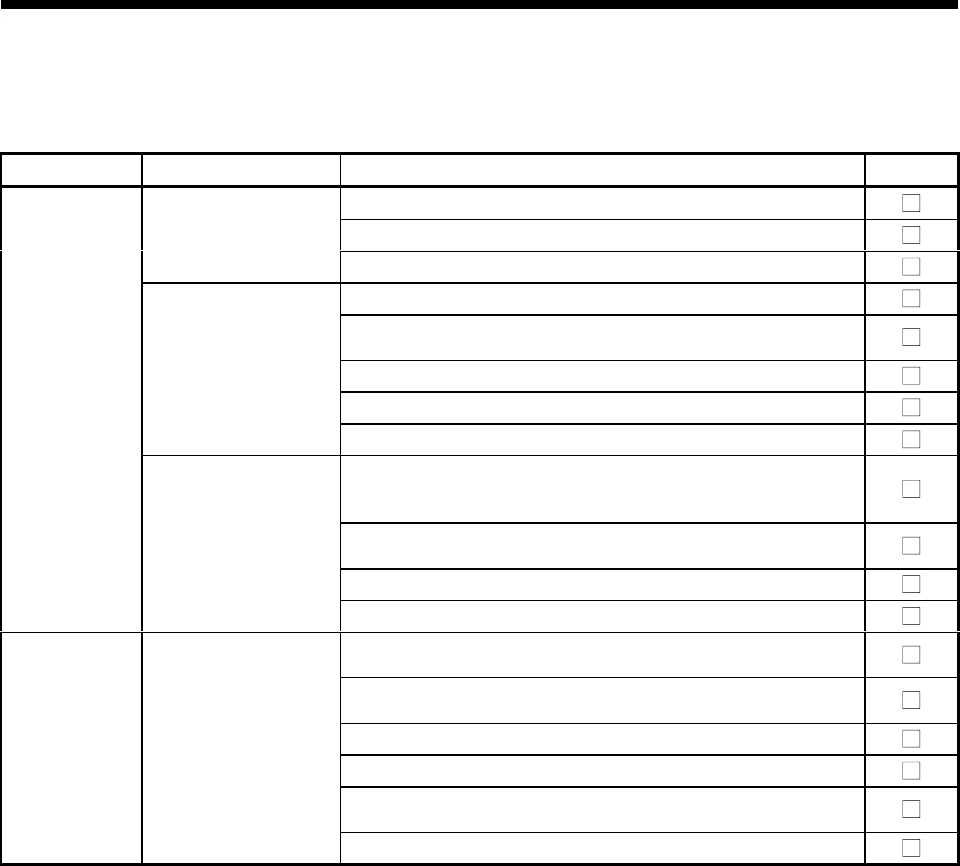
3.6 Mounting/Wiring Checklist
At the worksite, copy the following table for use as a check sheet.
Item Sub Item Mounting/Wiring Confirmation Check
Check for loose or distorted mounting.
Check that the mounting screw tightening torque is as specified.Base unit mounting
Check the unit for damage.
Check that the mounted module models are correct.
Check that the A172SENC and A1SY42 are mounted to the
motion slots.
Check for loose or distorted mounting.
Check that the mounting screw tightening torque is as specified.
Mounting of modules to
base unit
Check the modules for damage.
Check that the amplitude, eccentricity and axial displacement
relative to the machine side rotary shaft are within the
permissible values.
Check that a flexible coupling is used for coupling with the
machine side rotary shaft.
Check the module for damage.
Unit/module
mounting
Synchronous encoder
mounting
Check that excessive impact was not given during mounting.
Check that the 100VAC, 200VAC and 24VDC wires are twisted
as closely as possible and run in the shortest distance.
Check that the 100VAC, 200VAC and 24VDC wires are not
bundled with and run close to the power and I/O wires.
Check that each wiring is of the specified wire size.
Check for loose terminal block screws.
Check that the terminal block screw tightening torque is as
specified.
Wiring
Running of power
supply and I/O wires
Check that LG and FG are class 3-grounded.


