


82
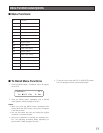
4. To display the next page, press the + button.
To display the previous page, press the – button.
Notes:
• To display the first page of table, press the + but-
ton while holding down the SHIFT button.
• To display the last page of table, press the – button
while holding down the SHIFT button.
5. To exit the VIDEO LOSS HISTORY table, perform either
of the following.
• Select a camera. (Refer to p. 56 Camera Selection.)
• Press the MON(ESC) button.
• Press the EXIT button.
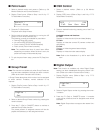
■ Area Change
Note: The following function is available only if the assign-
ments of monitor surveillance areas has been estab-
lished through admin console. (Refer to the Admin
Console User's Guide.)
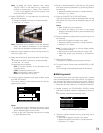
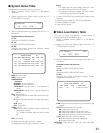
1. Display "Area No" menu. (Refer to Step 1 and 2 of p. 77
To Recall Menu Functions.)
2. Select an area number by pressing the numeric but-
tons.
Note: If you have selected an area not assigned
through the admin console, operations will become
unavailable. In this case, log out, and then log into
the system again. (Refer to p. 55 Login and
Logout.)
3. Press the F1 button. The area will be changed.
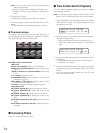
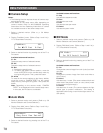
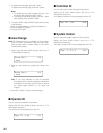
■ Operator ID
You can check your operator ID as follows.
Display "Ope ID" menu. (Refer to Step 1 and 2 of p. 77 To
Recall Menu Functions.)
Your operator ID will be displayed on the LCD.
■
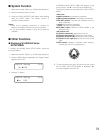
Controller ID
You can check your System Controller ID as follows.
Display "Cnt ID" menu. (Refer to Step 1 and 2 of p. 77 To
Recall Menu Functions.)
Your System Controller ID will be displayed on the LCD.
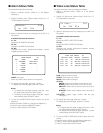
■
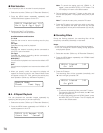
System Version
You can check the system version of CPU as follows.
Display "Ver" menu. (Refer to Step 1 and 2 of p. 77 To
Recall Menu Functions.)
The system version of CPU will be displayed on the LCD.
Area No:1 012
Set
Area No:9 012
Set
Ope ID :100 013
Cnt ID :001 014
Ver: 3.2.0.0 015