


76
●
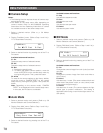
Disk Selection
You will specify a disk of recorder for search playback.
1. Select the recorder. (Refer to p.
67
Recorder Selection.)
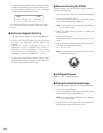
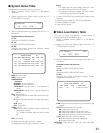
2. Press the MENU button repeatedly repeatedly until
"HD300 DiskSelect" appears on the LCD.
3. Press one of the F1 to F4 buttons.
The specified disk will be selected.
Available buttons and functions
F1: Nr-A
Specifies the normal or event recording area for play-
back.
F2: Cp-A
Specifies the copy area for playback.
F3: Cpy1
Specifies the external recording device connected to
the COPY1 port of recorder.
F4: Cpy2
Specifies the external recording device connected to
the COPY2 port of recorder.
MON (ESC)
Cancels search playback and recovers the default LCD
status.
EXIT
Cancels search playback and recovers the default LCD
status.
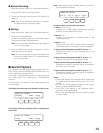
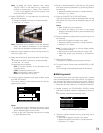
4. When you specify a disk, the search list display will
appear on the active monitor, and "Search Mode" menu
will appear on the LCD. Then, perform the search play-
back operation. (Refer to p.
69
Search Playback.)
●
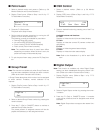
A - B Repeat Playback
You can playback the recorded images repeatedly by
specifying the start point (A) and end point (B).
1. Select the recorder. (Refer to p.
67
Recorder Selection.)
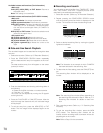
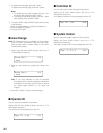
2. Press the MENU button repeatedly until "HD300 A – B
repeat" appears on the LCD.
Note: To cancel the setting and exit "HD300 A – B
repeat", press the MON (ESC) or EXIT button. The
LCD display will return to the default status.
3. During playback, press the F1 button at the point you
wish to start playback. The playback start point (A) will
be set.
Note: To cancel the start point, press the F4 button.
4. Press the F2 button at the point you wish to end play-
back. The playback end point (B) will be set, and the
repeat playback will be performed between (A) and (B).
●
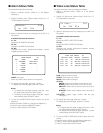
Canceling Filters
During the filtering playback, the searching filter will be
temporarily canceled (cancelled) or recovered.
Notes:
• This function is available only during filtering playback.
• You can change the ON/OFF setting during playback
and playback pause.
1. Select the recorder. (Refer to p.
67
Recorder Selection.)
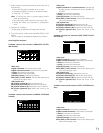
2. Press the MENU button repeatedly until "HD300 Listed"
appears on the LCD.
3. Press the F2 button.
The searching filter will be canceled (cancelled), and
"B" mark will light up beside "Off".
Notes:
• To recover the searching filter, press the F1 button.
The searching filter will be recovered, and "B" mark
will light up beside "On".
• To cancel the setting and exit "HD300 Listed", press
the MON (ESC) or EXIT button. The LCD display will
return to the default status.
HD300 DiskSelect 301
Nr-A Cp-A Cpy1 Cpy2
Search Mode
Thumb Text Copy
HD300 A—B Repeat 302
Start End Cancel
HD300 Listed 303
On Off
HD300 Listed 303
On Off