


72
●
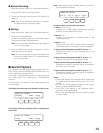
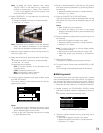
VMD search
Recording events will be searched by the date and time
when a camera detected the brightness-level change.
Then, a result list or a thumbnail will be displayed.
For playback, you will select a time and date displayed on
the result list or thumbnail. Filtering is available by camera
channel, date-and-time, detection area or search mode.
1. Select the recorder. (Refer to p.
67
Recorder Selection.)
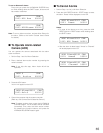
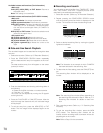
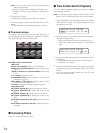
2. Repeat pressing the SEARCH/T&D SEARCH button
until the VMD search list window is displayed on the
monitor. The recorder will enter the searching mode.
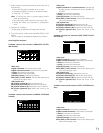
3. Press the CAM (SET) button.
The VMD search window will be displayed on the moni-
tor.
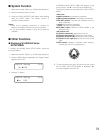
4. Enter a camera number and time range.
Available controls and functions
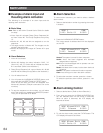
<Main unit>
JogDial clockwise: Increments a parameter.
JogDial counterclockwise: Decrements a parameter.
+ button: Increments a parameter.
– button: Decrements a parameter.
PLAY/PAUSE button: Executes the VMD search and
returns to the upper menu.
STOP button: Stops the VMD search.
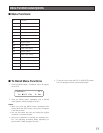
MON (ESC) or EXIT button: Cancels the VMD search
and returns to the upper menu.
<3D joystick unit>
3D joystick upward (D): Moves the cursor up.
3D joystick downward (C): Moves the cursor down.
3D joystick leftward (A): Moves the cursor to the left.
3D joystick rightward (B): Moves the cursor to the
right.
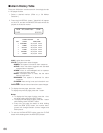
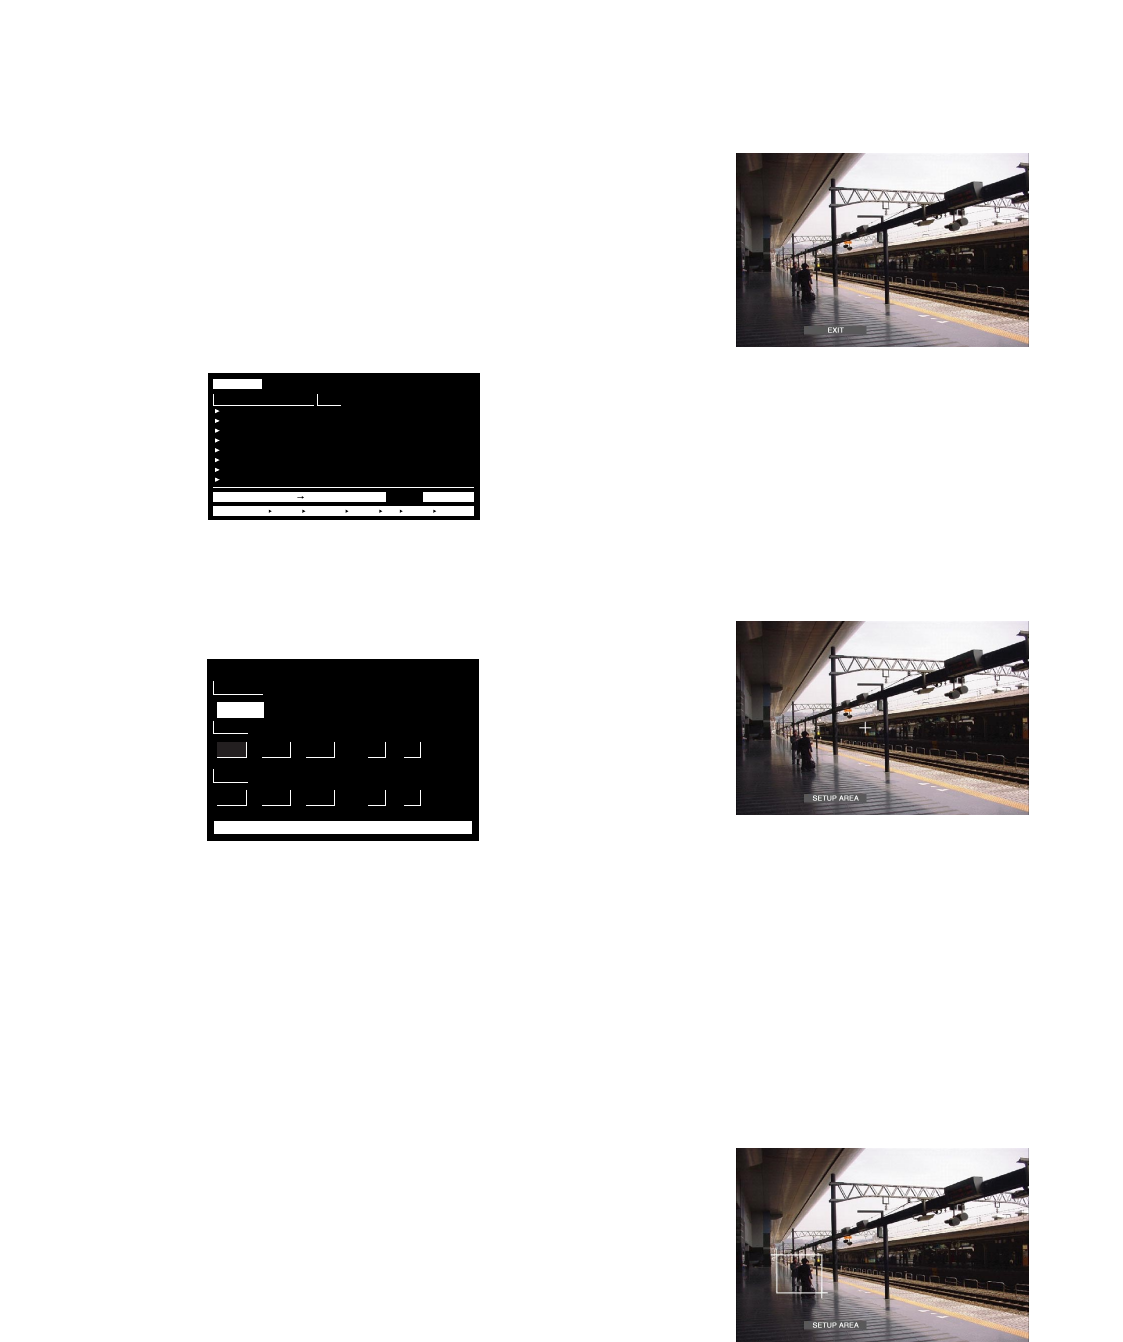
5. Press the CAM (SET) button.
The motion detection area setup window will be dis-
played.
Note: If no image was recorded in the time range set in
step 4, the motion detection area setup window will
not be displayed.
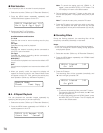
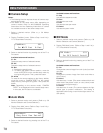
6. Select "SETUP AREA" on the status bar by performing
either of the following.
• Rotate the JogDial clockwise or counterclockwise.
• Press the + or – button.
A "+" mark will appear at the center (centre) of the mon-
itor.
Note: To set all displayed areas as motion detection
areas, press the CAM (SET) button after selecting
"ALL AREAS".
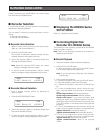
7. Move the "+" mark to a desired area with the 3D joy-
stick, and then press the CAM (SET) button. The start
point of motion detection area will be determined.
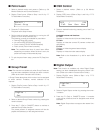
8. Move the "+" mark to another desired area with the 3D
joystick, and then press the CAM (SET) button again.
The end point of motion detection area will be deter-
mined.
9. To configure more motion detection areas, repeat Step
7 and 8. (Up to 4 motion detection areas are available.)
TIME&DATE
01ch
01ch
01ch
01ch
01ch
01ch
01ch
01ch
CAM
APR.25.03*12:34:56 AM
APR.25.03*12:34:56 AM
APR.25.03*12:34:56 AM
APR.25.03*12:34:56 AM
APR.25.03*12:34:56 AM
APR.25.03*12:34:56 AM
APR.25.03*12:34:56 AM
APR.25.03*12:34:56 AM
TIME&DATE SEARCH REC EVENT SEARCH VMD SEARCH MARK
VMD SEARCH
TOTALAPR.25.03*12:34:56 AM APR.25.03*12:34:56 AM 12345
START
CAMERA
JAN
CAM1
103
SET : [SET] SEARCH : [PLAY] CANCEL : [ESC]
12 00
■
SELECT CAMERA & DATE
.. : AM
END
JAN 1 03 12 00
..
: AM