


SECTION II1. LEARNTHE STITCHES
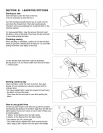
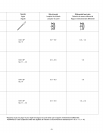
Starting to sew
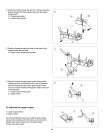
Insert the fabric under the front of the foot.
(It is not necessary to raise the foot.)
Turn the handwheet gently toward you a couple of turns
and check the thread chain. Then start sewing slowly.
The fabric will be automatically fed. Guide the fabric in the
direction desired.
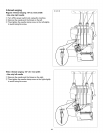
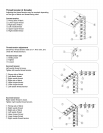
For heavyweight fabric, raise the presser foot and insert
the fabric in front of the knife. Then lower the foot and start
to sew while guiding the fabric.
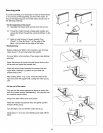
Finishing sewing
When stitchingis completed, continue to run the machine
slowly to produce a thread chain for about 5" (12 cm) while
pullingthe thread chain lightly to the back.
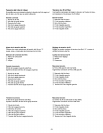
Cut the threads with the thread cutter as illustrated,
leaving about 2" (5 cm) thread chain from the end of fabric.
(_ Thread cutter
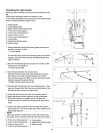
Sewing continuously
Insert next fabric under the front of the foot, then start
sewing. It is not necessary to raise the presser foot for
ordinary fabric.
• For heavy weight fabric, raise the presser foot and insert
the fabric in front of the knife.
Then lower the foot and start to sew while guiding the
fabric.
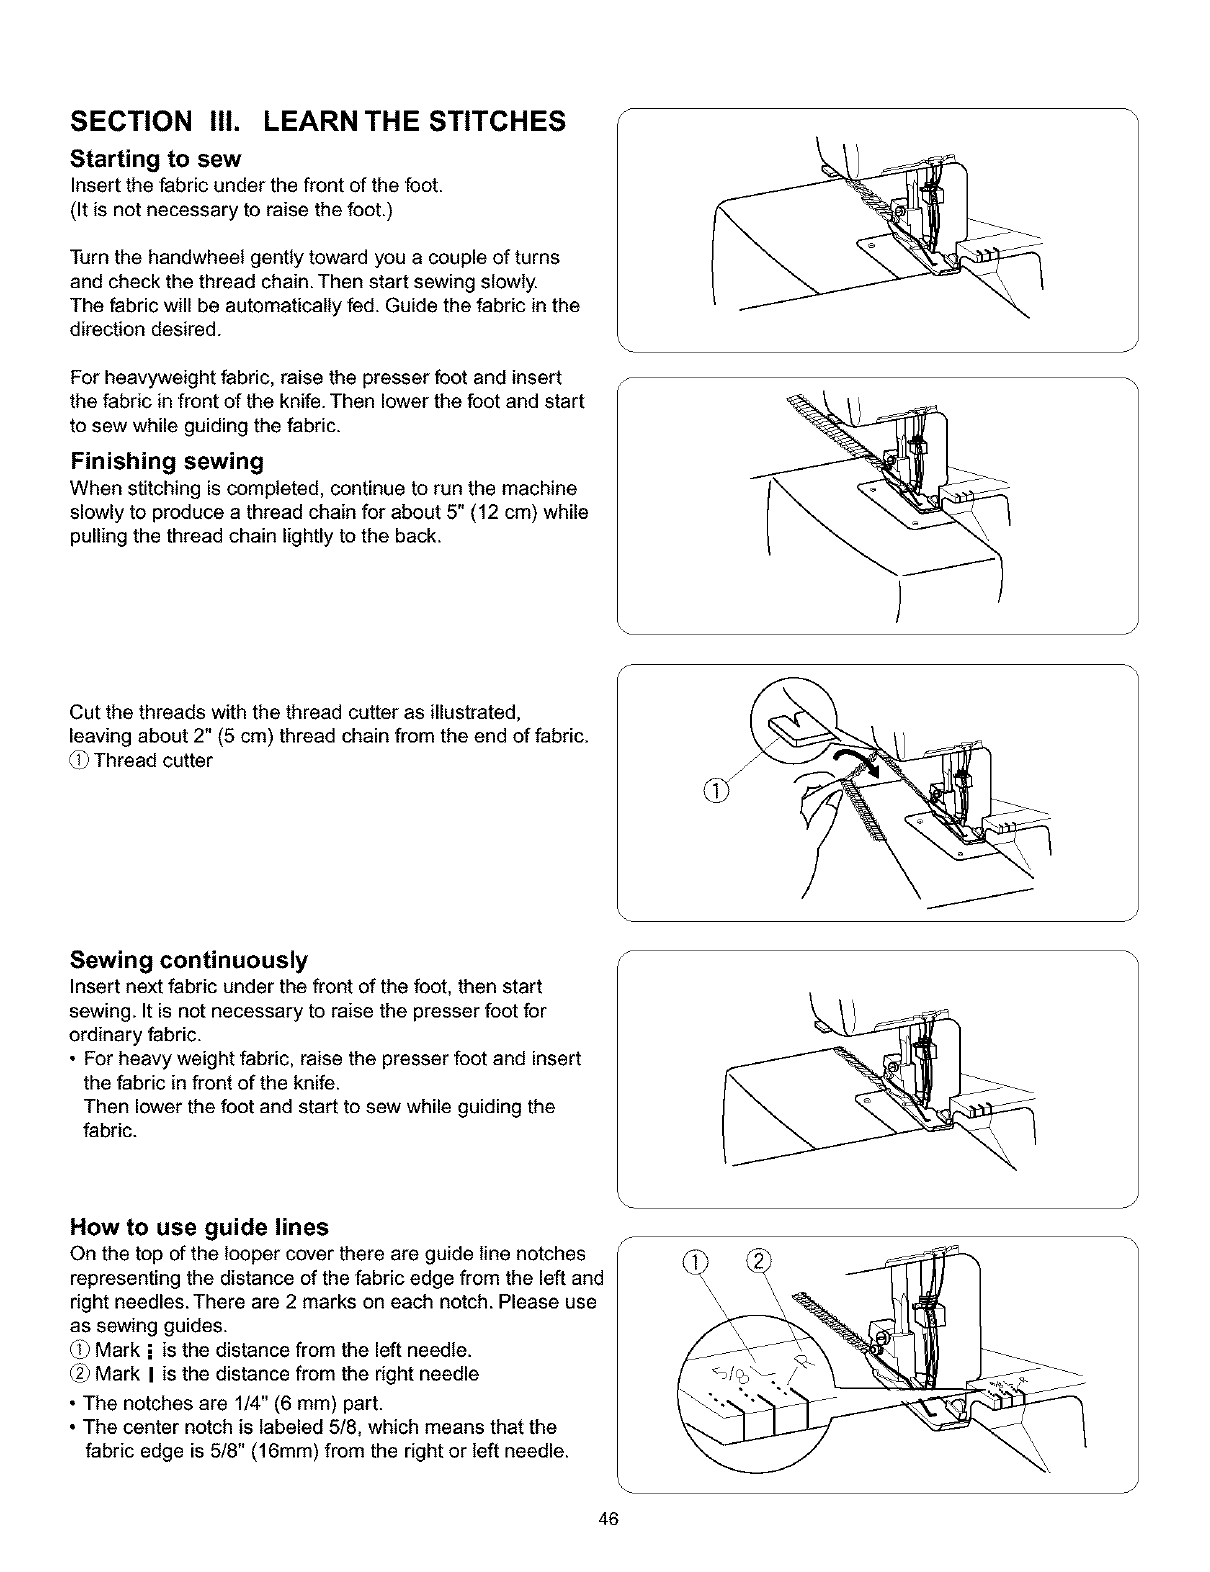
How to use guide lines
On the top of the looper cover there are guide line notches
representing the distance ofthe fabric edge from the left and
right needles. There are 2 marks on each notch. Please use
as sewing guides.
(_ Mark i is the distance from the left needle.
Mark I is the distance from the right needle
• The notches are 1/4" (6 mm) part.
• The center notch is labeled 5/8, which means that the
fabric edge is 5/8" (16mm) from the right or left needle.
46
\
\
\