


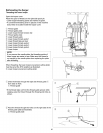
Initial Set-Up
IMPORTANT
Read all Set-Up Instructions before beginning set-up.
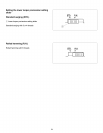
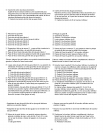
_Green
_Red
_Blue
_Gold
_Threading chart (Located behind looper cover)
_Thread guide
_Needle
Needle thread
Presser foot
_Needle plate
For your convenience, your Kenmore Serger has been
pre-threaded for initial set-up. If this initial set-up does not
succeed, and for detailed instructions on basic Serger
threading, see Rethreading the Serger, page 30-44, and/or
consult the Quick Reference Chart.
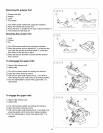
Make sure unit is turned off and unplugged at the wall
outlet and/or machine.
Raise telescoping thread guide bar.
Place spool cones supplied or of your choice on spool
holders.
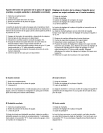
Tie cones to the four pre-threads as follows:
Far right cone to lower looper thread
(green position _)
Second cone from right to upper looper thread
(red position _)
Second cone from left to right needle thread
(blue position _)
Far left cone to left needle thread
(gold position _)
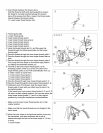
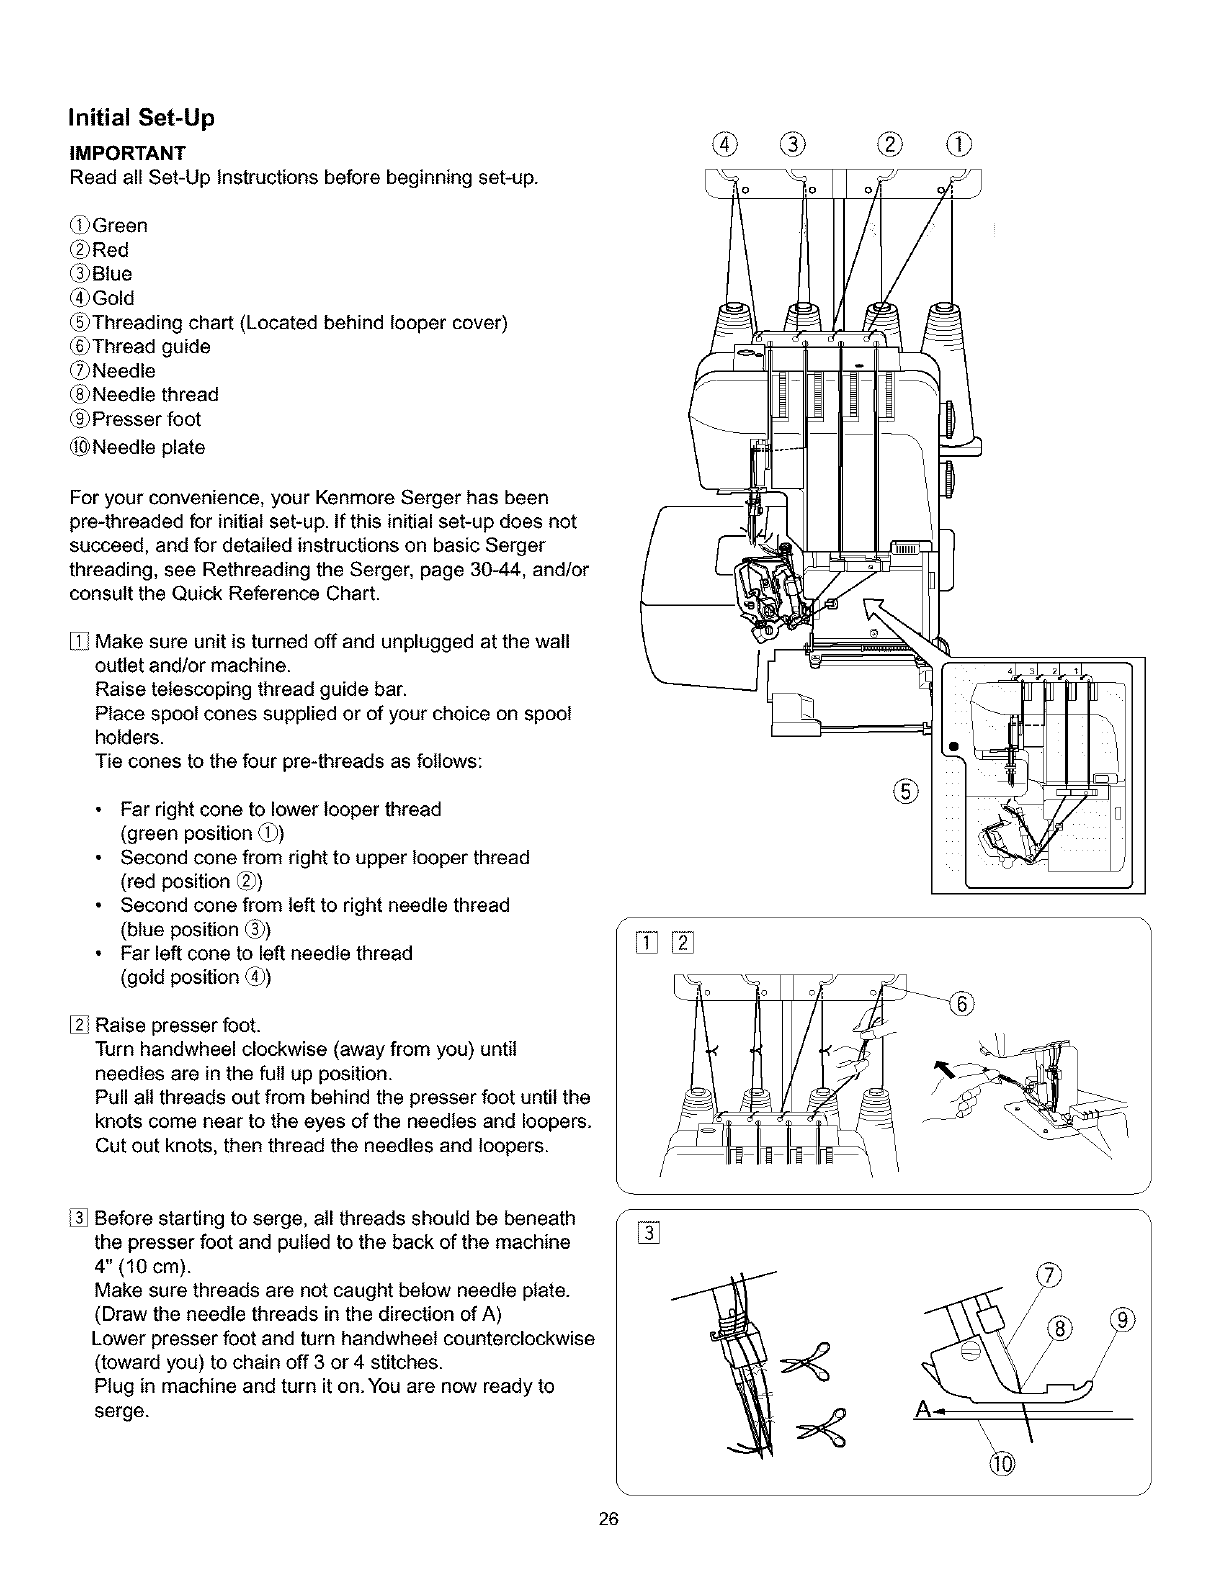
Raise presser foot.
Turn handwheel clockwise (away from you) until
needles are in the full up position.
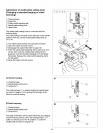
Pull all threads out from behind the presser foot until the
knots come near to the eyes of the needles and loopers.
Cut out knots, then thread the needles and loopers.
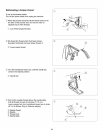
Before starting to serge, all threads should be beneath
the presser foot and pulled to the back of the machine
4" (10 cm).
Make sure threads are not caught below needle plate.
(Draw the needle threads in the direction of A)
Lower presser foot and turn handwheet counterclockwise
(toward you) to chain off 3 or 4 stitches.
Plug in machine and turn it on.You are now ready to
serge.
® ®
®
s
%
A
®
26