


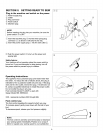

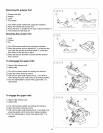


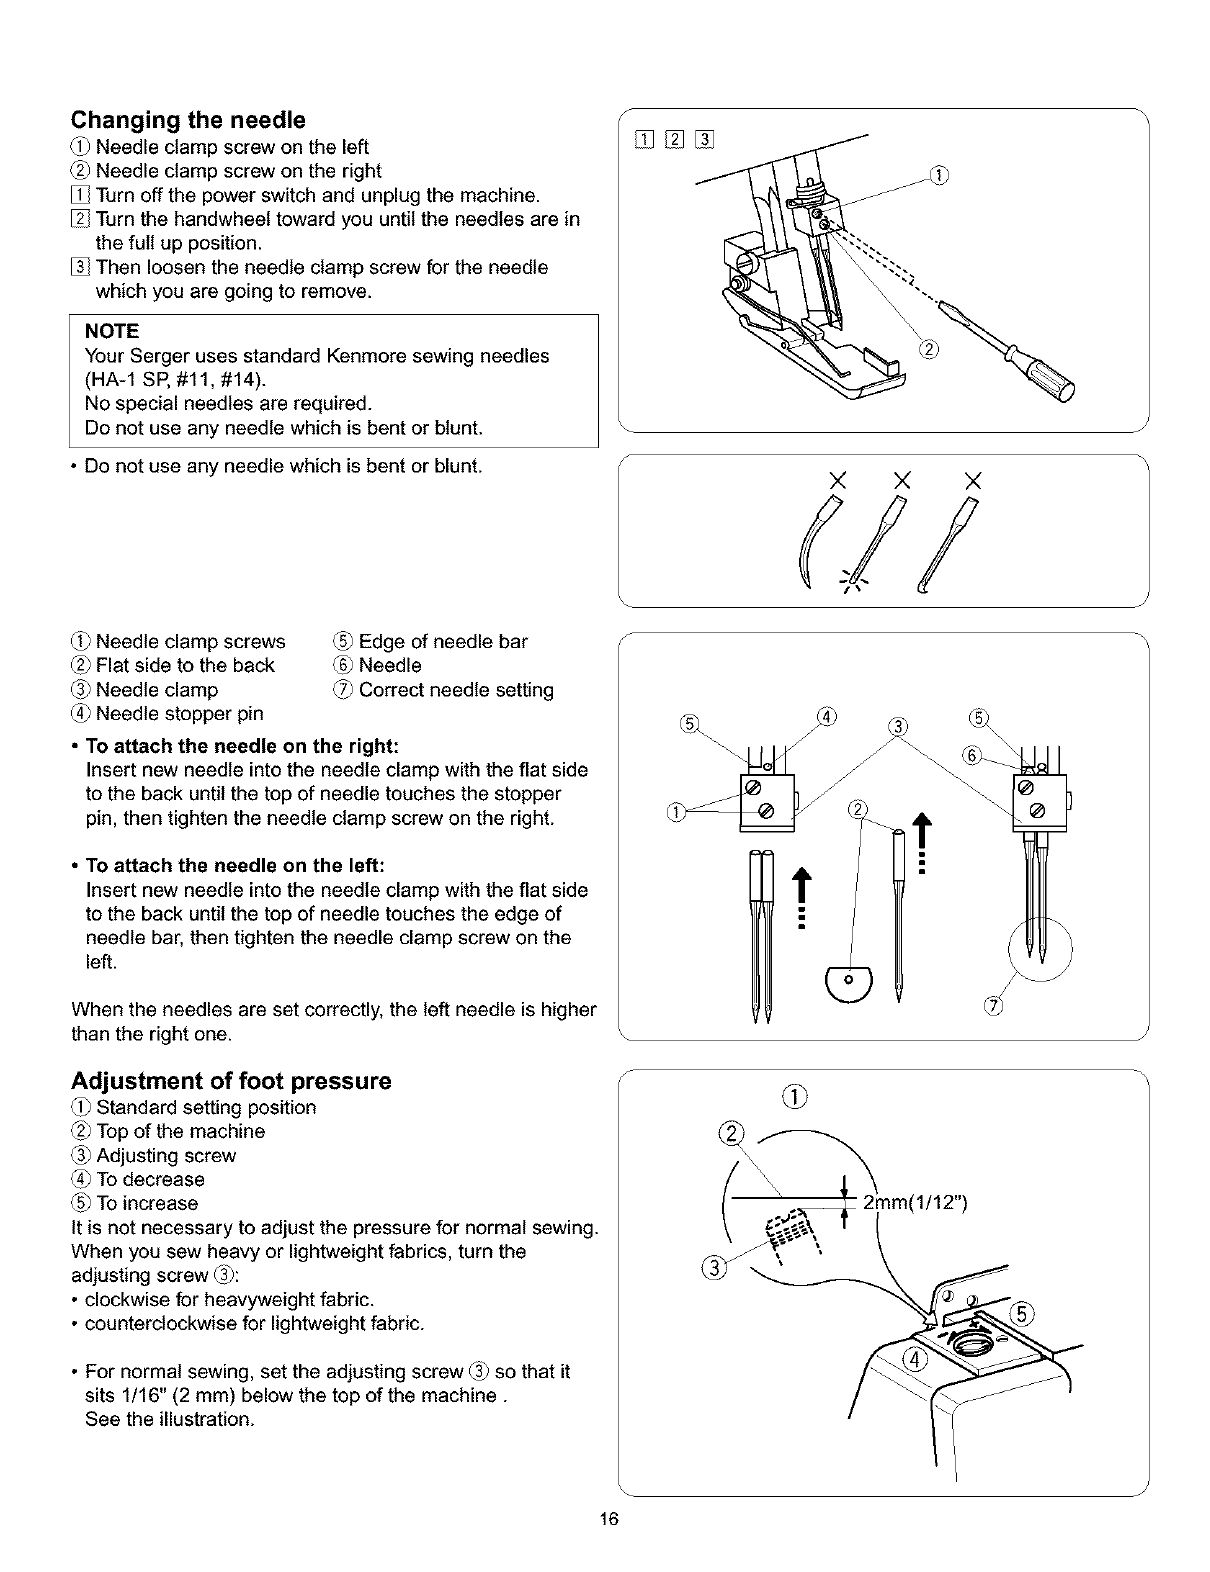
Changing the needle
Needle clamp screw on the left
Needle clamp screw on the right
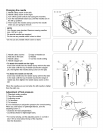
Turn off the power switch and unplug the machine.
Turn the handwheel toward you until the needles are in
the full up position.
Then loosen the needle clamp screw for the needle
which you are going to remove.
NOTE
Your Serger uses standard Kenmore sewing needles
(HA-1 SP, #11, #14).
No special needles are required.
Do not use any needle which is bent or blunt.
• Do not use any needle which is bent or blunt.
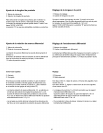
Needle clamp screws
Flat side to the back
Needle clamp
Needle stopper pin
Edge of needle bar
Needle
Correct needle setting
• To attach the needle on the right:
Insert new needle into the needle clamp with the flat side
to the back until the top of needle touches the stopper
pin, then tighten the needle clamp screw on the right.
• To attach the needle on the left:
Insert new needle into the needle clamp with the flat side
to the back until the top of needle touches the edge of
needle bar, then tighten the needle clamp screw on the
left.
When the needles are set correctly, the left needle is higher
than the right one.
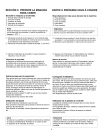
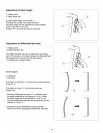
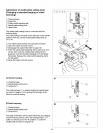
Adjustment of foot pressure
Standard setting position
Top of the machine
Adjusting screw
To decrease
To increase
It is not necessary to adjust the pressure for normal sewing.
When you sew heavy or lightweight fabrics, turn the
adjusting screw _:
• clockwise for heavyweight fabric.
• counterclockwise for lightweight fabric.
• For normal sewing, set the adjusting screw _ so that it
sits 1/16" (2 mm) below the top of the machine.
See the illustration.
X X X
t
t
nm(1/12")
J
16