


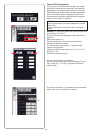
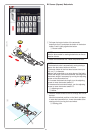

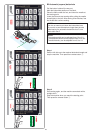

Double layer buttonhole
To make a sturdy buttonhole, sew another layer of
buttonhole stitches over the previous stitches.
After the buttonhole is finished, simply start the machine
again.
Do not raise the foot or buttonhole lever.
NOTE:
This function is disabled if Thread Cut after Auto-
Lock option is turned on in the ordinary sewing setting
mode (refer to page 99).
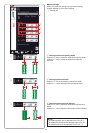
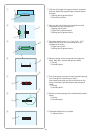
b The buttonhole is sewn automatically in the sequence
shown. When the buttonhole is finished, the machine
will stop automatically with the needle in the up
position.
Press the thread cutter button and remove the fabric.
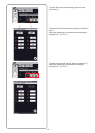
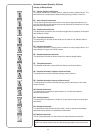
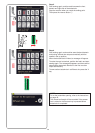
Patterns B3 to B13 are sensor buttonholes and the
sewing procedure is the same as for buttonhole B1.
However, the sewing sequence varies depending on the
type of the buttonhole.
b
n
m
y
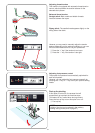
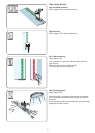
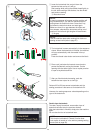
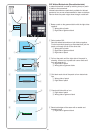
v Lower the buttonhole foot and pull down the
buttonhole lever as far as it will go.
Start sewing while pulling the needle thread lightly to
the left. After sewing a few stitches, free the thread
and continue sewing.
t Buttonhole lever
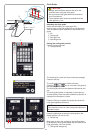
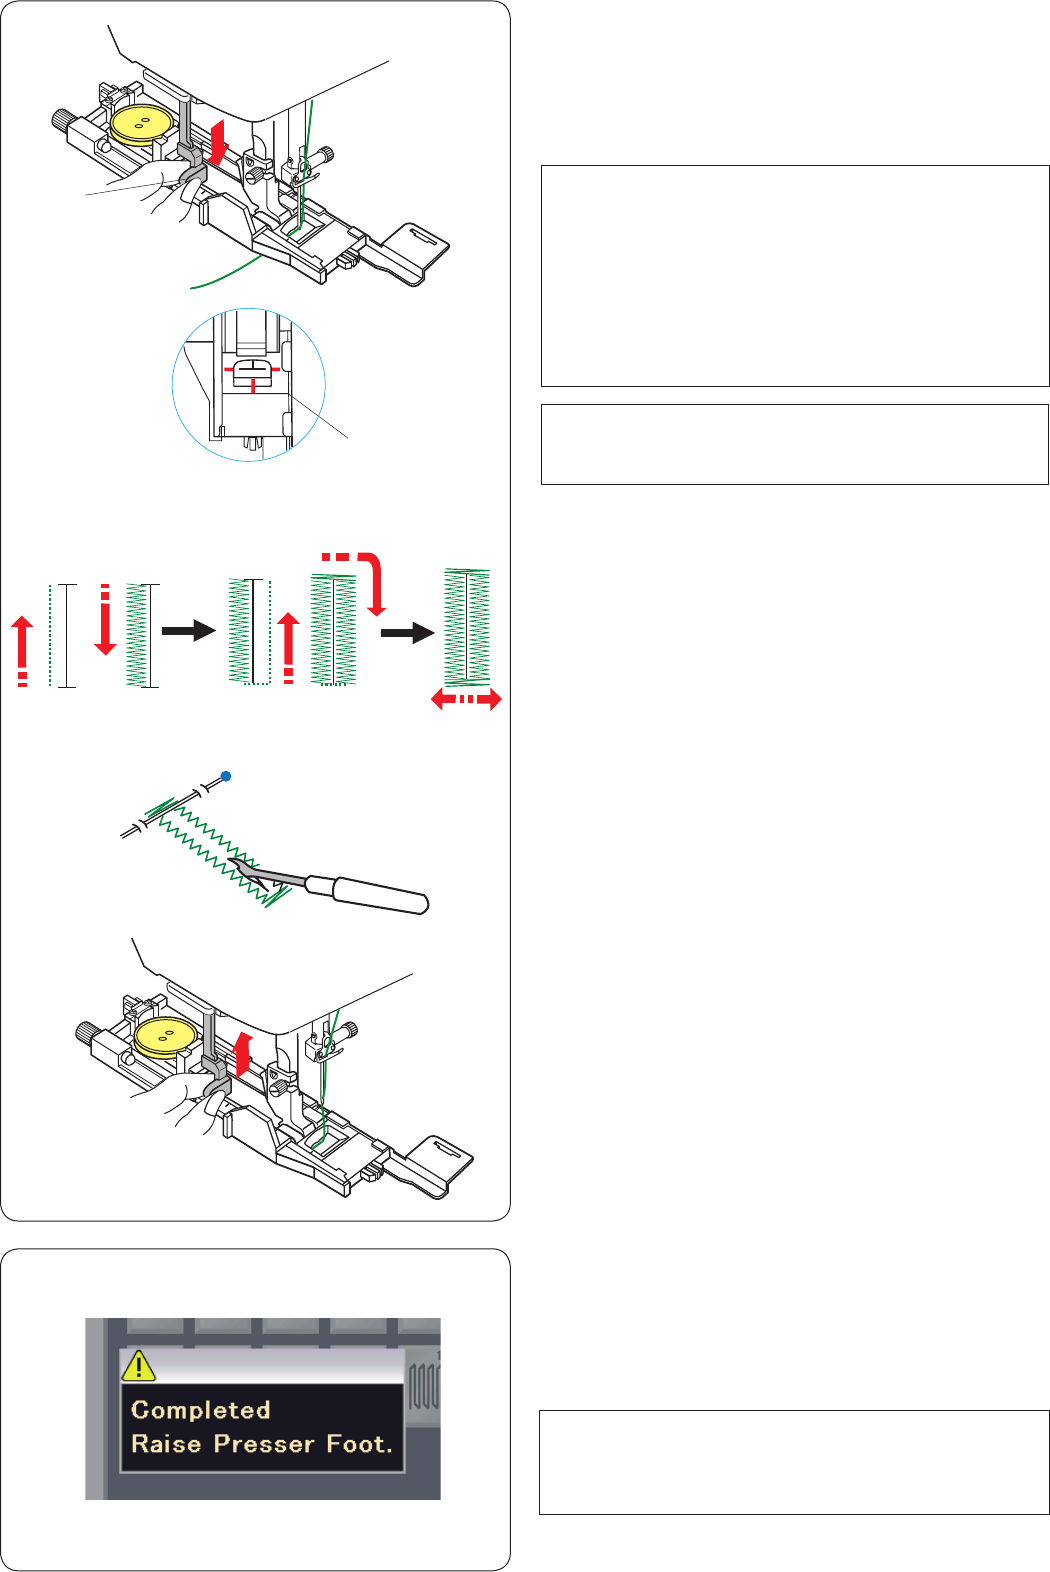
NOTE:
A warning message will appear and the machine will
stop automatically if you start the machine without
pulling down the buttonhole lever. Press the X key,
pull down the buttonhole lever and start again.
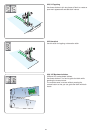
Make sure there is no gap between the slider and
front stopper, otherwise the buttonhole will be out of
position or the left and right lengths will be different.
y No gap
NOTE:
Use the stabilizer plate when sewing thick fabrics or
sewing across hems (refer to page 47).
v
t
n Place a pin just below the bartack at each end to
prevent accidentally cutting the threads. Cut the
opening with the seam ripper. Use an eyelet puncher
to open a keyhole buttonhole.
m After you finish buttonhole sewing, push the
buttonhole lever up as far as it will go.
45