


110
A Z
Adjust
Auto
Shank
Regular
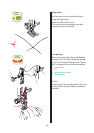
Button Sewing
T
3.5
1
2
3
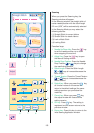
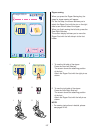
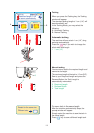
Button sewing
When you press the Button Sewing key, the
Button Sewing window will show.
The standard setting for Regular Button Sew-
ing will be chosen and set automatically.
The Feed Dog will be automatically dropped.
In the Button Sewing Mode, you may select
the following;
A:
The Regular Button Sewing
B:
Button Sewing with a Shank
For your convenience, stitch width keys are
displayed on the screen.
Press the key to widen the width.
Press the key to narrow the width.
NOTE: Only the right needle drop position will
move when pressing or key.
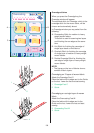
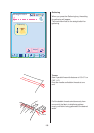
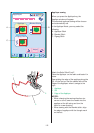
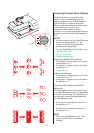
Button sewing with a shank
1. Place a button on the fabric and lower the
needle by turning the handwheel with your
hand, so that the needle enters through the
left hole on the button.
2. Align the direction of button and lower the
Button Sewing Foot T to hold the button in
place.
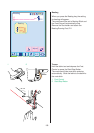
3. Press the Up/Down Needle Button to bring
the needle up to the highest position.
Adjust the stitch width, so that the zigzag
width matches with the distance of holes
on the button.
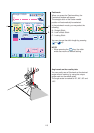
4. Insert the Button Shank Plate under the
button. Press the Start/Stop Button to sew
and the machine will stop automatically.
1
Button Shank Plate
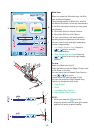
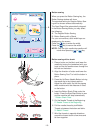
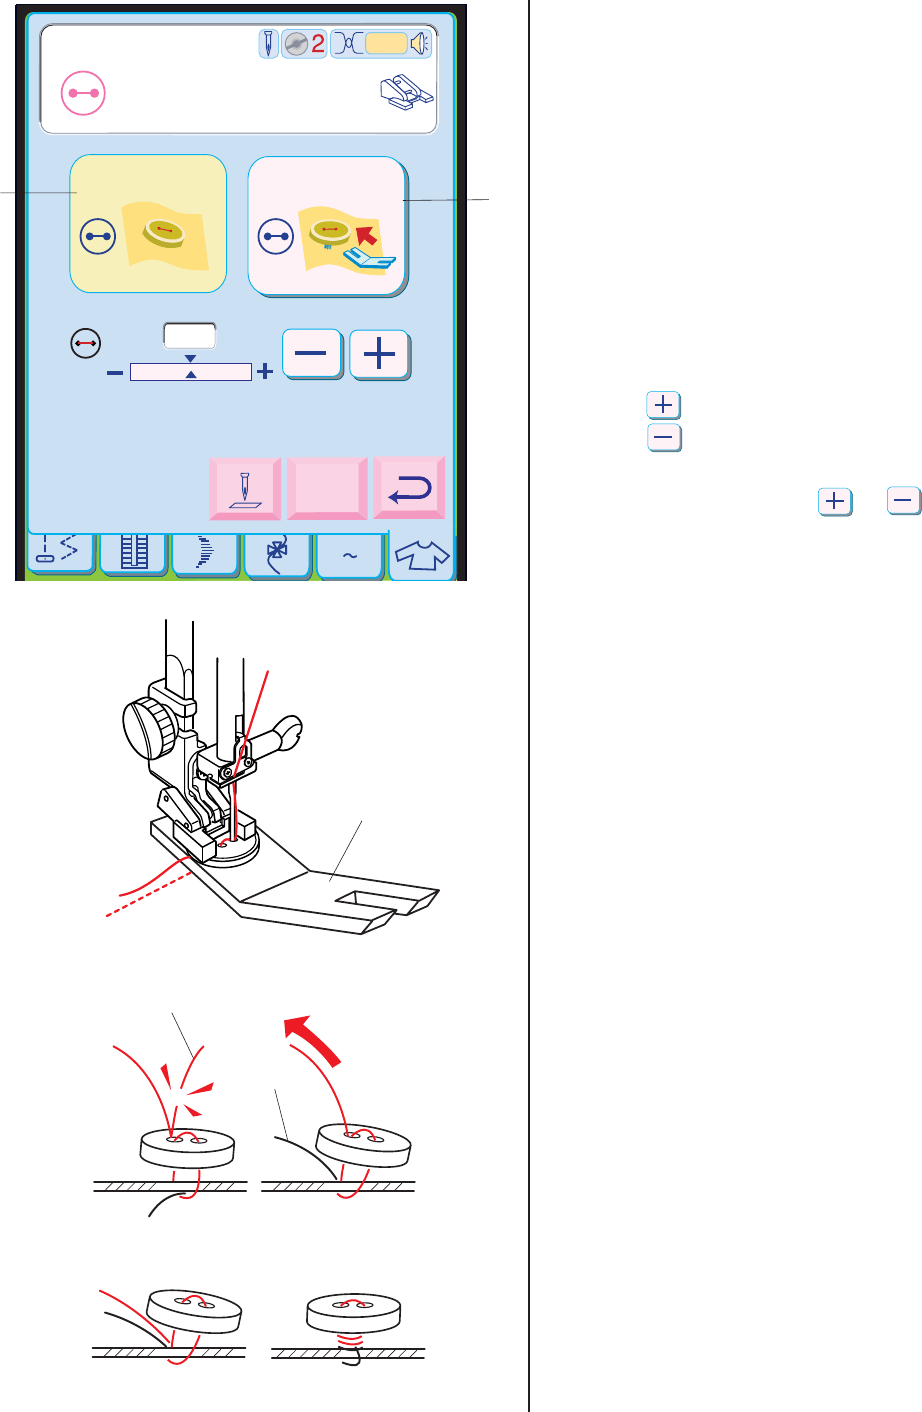
5. Cut the Needle Thread at the Beginning.
2
Needle Thread at the Beginning
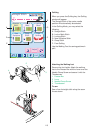
6. Pull the needle thread to pick Bobbin
Thread
up between the button and fabric.
3
Bobbin Thread
7. Wind the threads in opposite directions
around the thread shank a few times and
tie them together.
A
B