CABINETRY ASSEMBLY FOR CRT CONSOLE SYSTEMS
3-9
February 1996
Part No. 004-3039-274
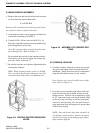
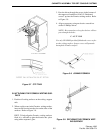
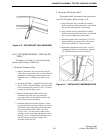
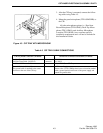
Figure 3-16 PIE SUPPORT RAIL MOUNTING
3.10.7 CRT MONITOR SHELF - FXM-192 (OP-
TION 7)
The hardware in Table 3-1 is included with the
Monitor Shelf assembly (FXM-192):
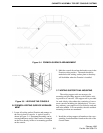
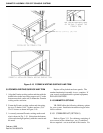
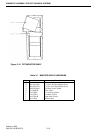
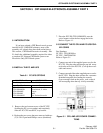
1. Mount the Tinnerman Clips
a. Snap the Tinnerman clips onto the left and right
sides of the console frame at the second, third and
seventh hole, counting up from the bottom cowl.
Repeat the same, counting down from the top
cowl.
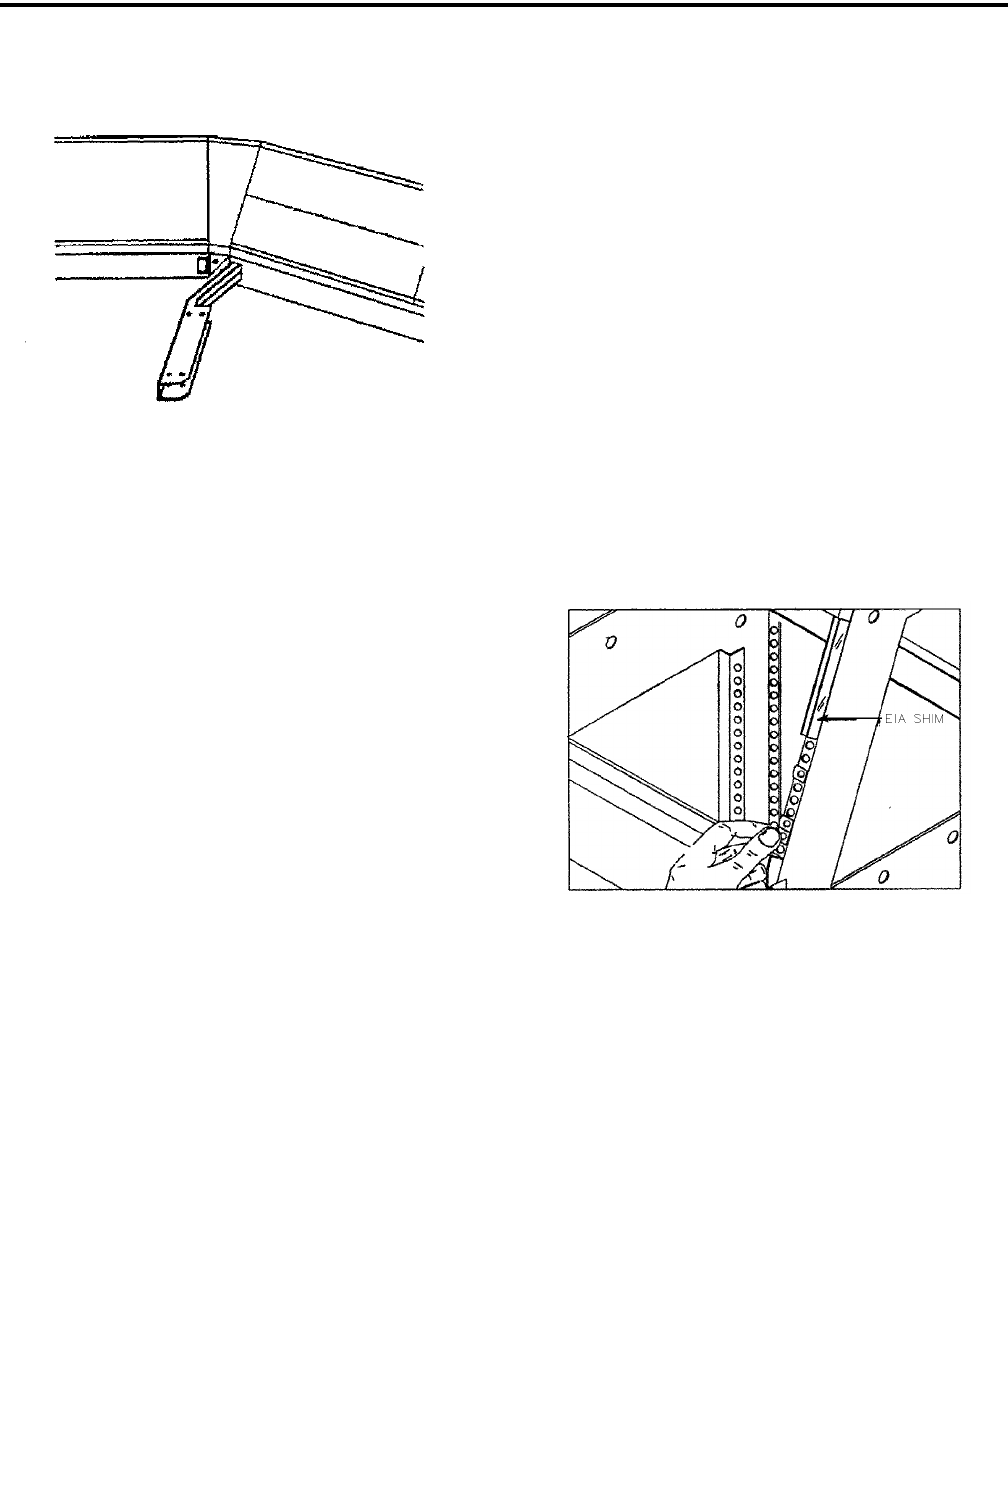
b. Attach the EIA Shims - Attach the EIA shims using
two (2) 12-24x pan head Phillips screws per shim
to the Tinnerman clips at holes 3 and 7, 12 and 16,
counting down from the top cowl.
c. Remove the Distribution Rail - Remove the
distribution rail at the rear of the cabinet by
removing the four (4) 1/4-20x3/4 hex bolts. Put
them aside to use for reassembly.
d. Install the Right and Left Inner Closures - Install
the right-side inner closure by sliding it in from the
front of the console and placing its shim between
the already installed "EIA" shims" and "inner
closure" itself. (All holes line up when seated
properly). Screw in the right-side closure with the
four (4) 12-24x1" black truss head Phillips screws
and #12 black nylon washers. Repeat this
procedure for the left side.
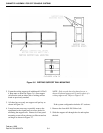
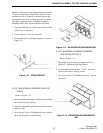
2. Mount the CRT Monitor Shelf
The monitor shelf is mounted in the base section
of the FC192 cabinet. Refer to Figure 3-18.
a. Snap Tinnerman clips to the 6th hole counting
down from the top of the lower frame side on both
the front left and right sides of the cabinet.
b. Snap Tinnerman clips to the 8th hole counting
down from the top of the lower frame side on both
the rear left and right sides of the cabinet.
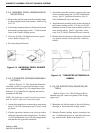
c. Install the monitor shelf with the four (4) 12-24x
pan head Phillips screws provided. The monitor
shelf mounts with the 2.5" hole to the rear.
d. Remount the distribution rail to holes 31 and 33
(counting up from the console bottom) using the
(4) -20x3/4 hex bolts previously removed.
Figure 3-17 INSTALLING TINNERMAN CLIPS


