


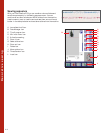
Decorative sewing
4:6
Arrange stitches within a sewing sequence
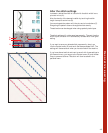
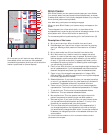
To obtain wider borders, you can save connecting stitches in your
sewing sequence. These connecting stitches make it possible to move
stitches in various directions. This results in new shapes and large-area
borders. Connecting stitches are straight stitches with a length of 1 mm.
They can be made in 16 different directions.
More than one stitch will often be needed to render stitches visually
distinct from one another. When using connecting stitches, it is very
important to note where the stitch you are using starts and ends.
The stitches are sewn in the direction chosen from the end of the stitch.
The next stitch starts at the end of the last jump stitch.
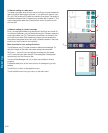
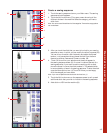
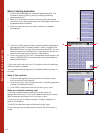
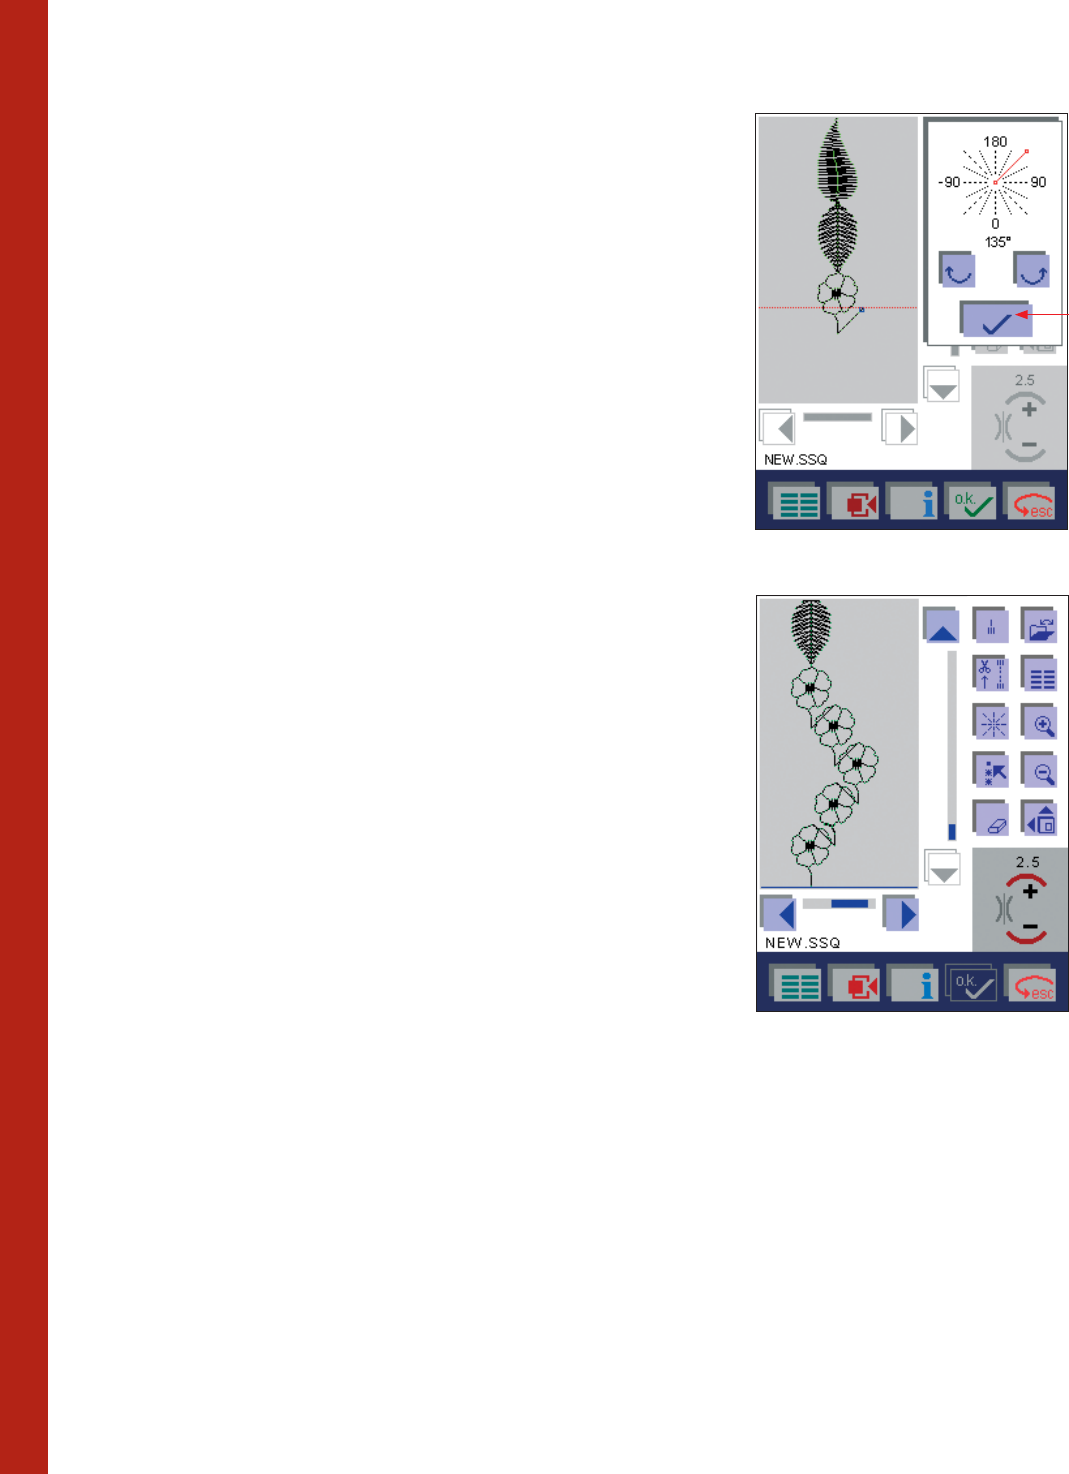
1. A stitch is placed in the middle of the working area.
2. When you touch the 8 directions sewing (E), a screen opens where
you can enter the direction (use the arrow icons). Confi rm each
connecting stitch with Confi rm icon (O). In this example we have
put 6 stitches in the direction shown on the screen.
3 Save your input by touching OK, the window is then closed. If you
touch ESC and the window is closed without any changes being
saved.
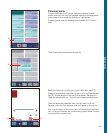
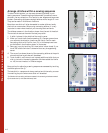
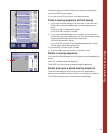
4.
The cursor line shows the end of the connecting stitches at the point
where the following stitches will be added.
5. Touch the Mini main menu to call up each additional stitch that you
wish to include in the sewing sequence. We have added the fl ower
no. 165, 4 more times but in different angles.
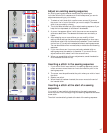
More options for adjusting a sewing sequence are accessed by touching
the More options icon (J).
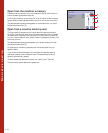
The last stitch in a sequence is always marked and followed by a cursor
line marking the point where next stitch will be added.
Tip: Borders with connecting stitches are neatest if the connecting stitches are covered
by the actual stitch (in this case the fl owers) itself.
O