


AZI Customer Service 800-528-7411 or 602-470-1414 Page 48 of 92
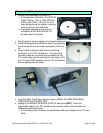
The disk number is located on the probe fixture and should match the probe
number on the TCI box. If the probe number does not match the serial number
on the TCI box, call customer service at 800-528-7411 or 602-470-1414 for
assistance.
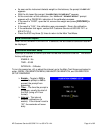
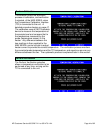
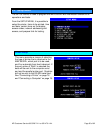
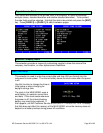
Return to the TEMPERATURE CALIBRATION MENU; highlight VERIFICATION
SETUP and press the [ENT] key.
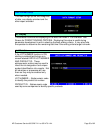
Select AUTO VERIFY AFTER CAL: YES to automatically run the verification
after the calibration is complete and the instrument has cooled down.
If NO is selected, a verification may be performed manually later if desired.
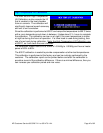
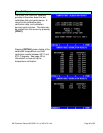
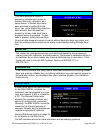
To verify the twelve (12) factory points between 50C to 575C, ensure that
POINTS TO VERIFY is set to “ALL CAL POINTS”
To verify up to four (4) custom points, set POINTS TO VERIFY to 1, 2, 3, or 4.
Set CUSTOM TEMPERATURE VERIFICATION POINTS to the desired
temperatures up to 575º C. Factory defaults are 100, 150, 200, and 250. The
entries are saved if there are no highlights on the display.
NOTE: The remaining instructions assume that verification is being run
automatically.
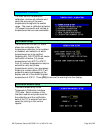
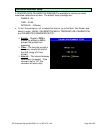
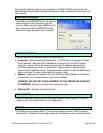
Return to the TEMPERATURE CALIBRATION MENU; highlight PERFORM
CALIBRATION and press the [ENT] key.
A screen prompt appears to ensure that you have the temperature calibration
device connected. If the device is hooked up, press [GO].
NOTE: Temperature calibration and verification is a lengthy process that
requires about 6 hours to complete; consider performing the calibration at
night. Once begun, do not open the lid during the calibration or verification
process. Although the cool down process may be speeded up by opening
the lid between calibration and verification, disturbing the oven may cause
verification errors. One way to save time is to start the calibration when
the instrument’s oven is below 40º C. The instrument must adjust the
temperature to and be stable at 40º C for several minutes before
beginning the calibration.
When the verification is complete, the screen will display:
The verification temperatures, and,
The pass or fail condition at each calibration temperature.
To print out the calibration report, highlight VIEW CAL REPORT and press [ENT].
Press [PRINT].
Calibration is complete.
Open the lid and wait for it to cool.
Turn off the instrument, disconnect the TCI, and remove the temperature
calibration disk fixture. Carefully reinstall the ceramic balance cover and pan
support.