


Operating the Thermostat
40
ViewStat Color Communicating Thermostat User Guide
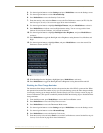
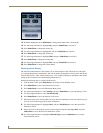
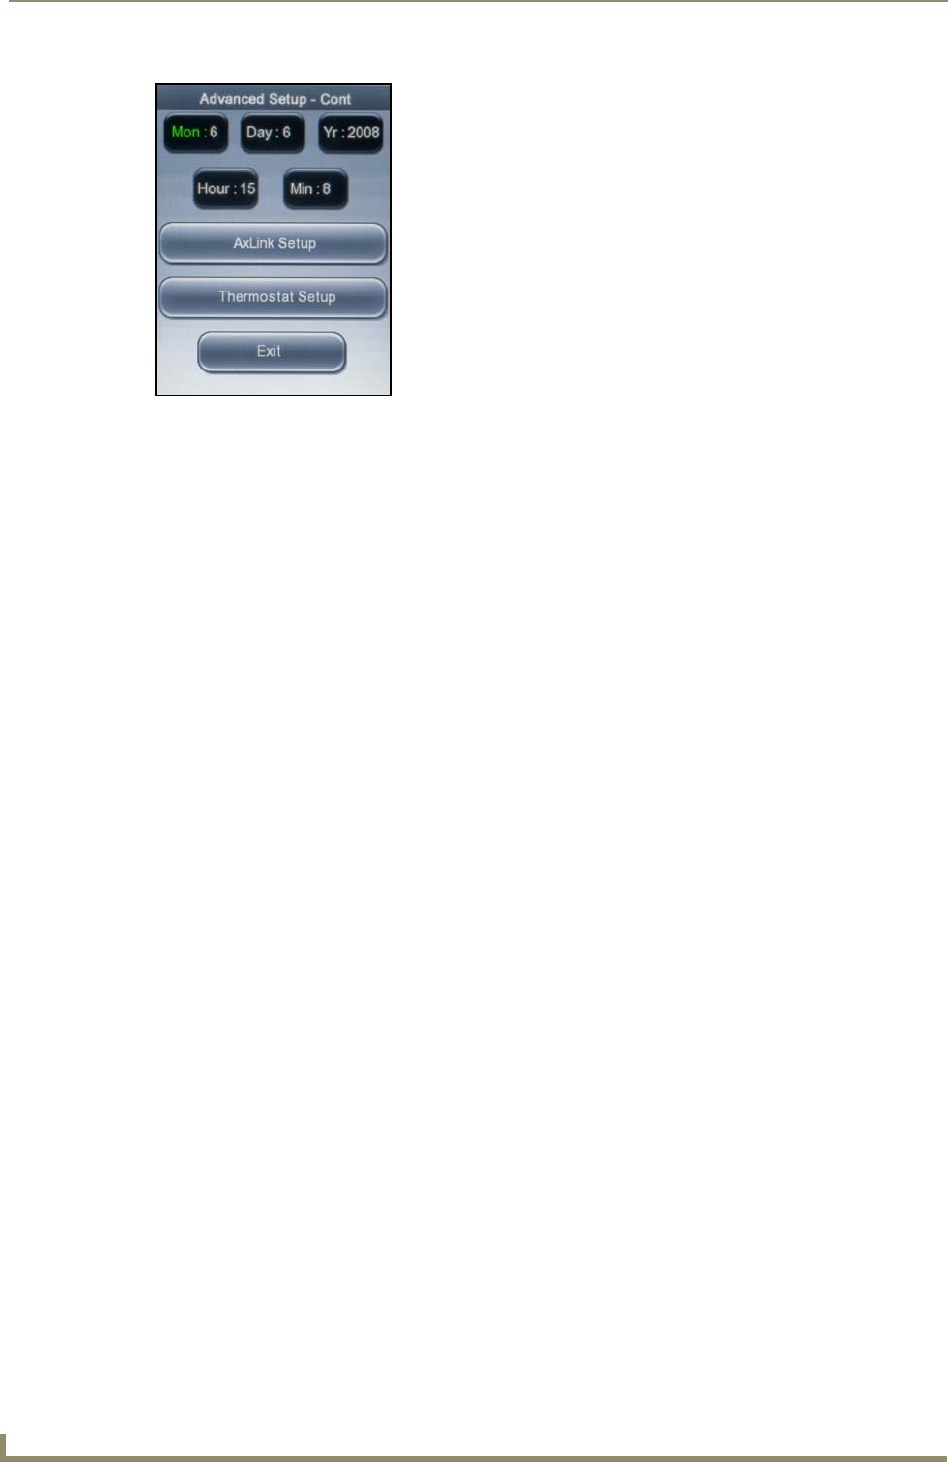
12. With Mon highlighted, press Mode/Select to change the number of the current month.
13. Use the navigation buttons to highlight Day, and press Mode/Select to activate it.
14. Press Mode/Select to change the current day.
15. Use the navigation buttons to highlight Yr, and press Mode/Select to activate it.
16. Press Mode/Select to change the current year.
17. Use the navigation buttons to highlight Hour, and press Mode/Select to activate it.
18. Press Mode/Select to change the current hour.
19. Use the navigation buttons to highlight Min, and press Mode/Select to activate it.
20. Press Mode/Select to change the current minute.
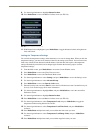
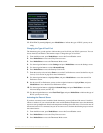
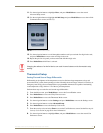
Switching AxLink Devices
The AxLink Communications screen enables you to set the address of the AxLink device with which
you want the thermostat to communicate. The AxLink address distinguishes a device on the AxLink bus
from all other devices. Valid AxLink addresses are 1-255. Address 0 belongs to the Master. The default
setting for the ViewStat Color Communicating Thermostat is 1.
Perform the following steps to switch AxLink devices:
1. From the Main screen, press Mode/Select to access the Current Weather screen.
2. Press Mode/Select to access the 5-Day Forecast screen.
3. Press Mode/Select to access the Thermostat Mode screen.
4. Use the navigation buttons to select Settings, and press Mode/Select to access the Settings screen.
5. Use the navigation buttons to select Advanced Setup.
6. Press Mode/Select to access the Security Code screen.
7. Enter the security code, and select Enter to access the User Preferences screen. See the Entering the
Security Code section on page 28 for more information.
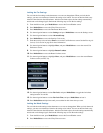
8. Use the navigation buttons to highlight More, and press Mode/Select to access the second User
Preferences screen.
9. On the second User Preferences screen, use the navigation buttons to highlight More, and press
Mode/Select to access the third User Preferences screen.
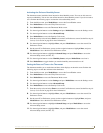
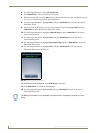
10. Use the navigation buttons to highlight Advanced Setup, and press Mode/Select to access the
Advanced Setup screen.
FIG. 32 Advanced Setup screen (2 of 2)