


Operating the Thermostat
33
V
iewStat Color Communicating Thermostat User Guide
Disabling the Screen Saver
The thermostat has a screen saver option which you can turn to avoid screen burn. The screen saver
activates after 20 seconds without any user input, and displays the current room temperature moving
around the screen on a black background. The screen saver is automatically enabled when the thermostat
is installed. Perform these steps to disable the screen saver:
1. From the Main screen, press Mode/Select to access the Current Weather screen.
2. Press Mode/Select to access the 5-Day Forecast screen.
3. Press Mode/Select to access the Thermostat Mode screen.
4. Use the navigation buttons to select Settings, and press Mode/Select to access the Settings screen.
5. Use the navigation buttons to select Advanced Setup.
6. Press Mode/Select to access the Security Code screen.
7. Enter the security code, and select Enter to access the User Preferences screen. See the Entering the
Security Code section on page 28 for more information.
8. Use the navigation buttons to highlight More, and press Mode/Select to access the second User
Preferences screen.
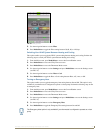
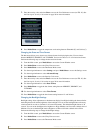
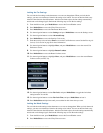
9. Use the navigation buttons to highlight More, and press Mode/Select to access the third User
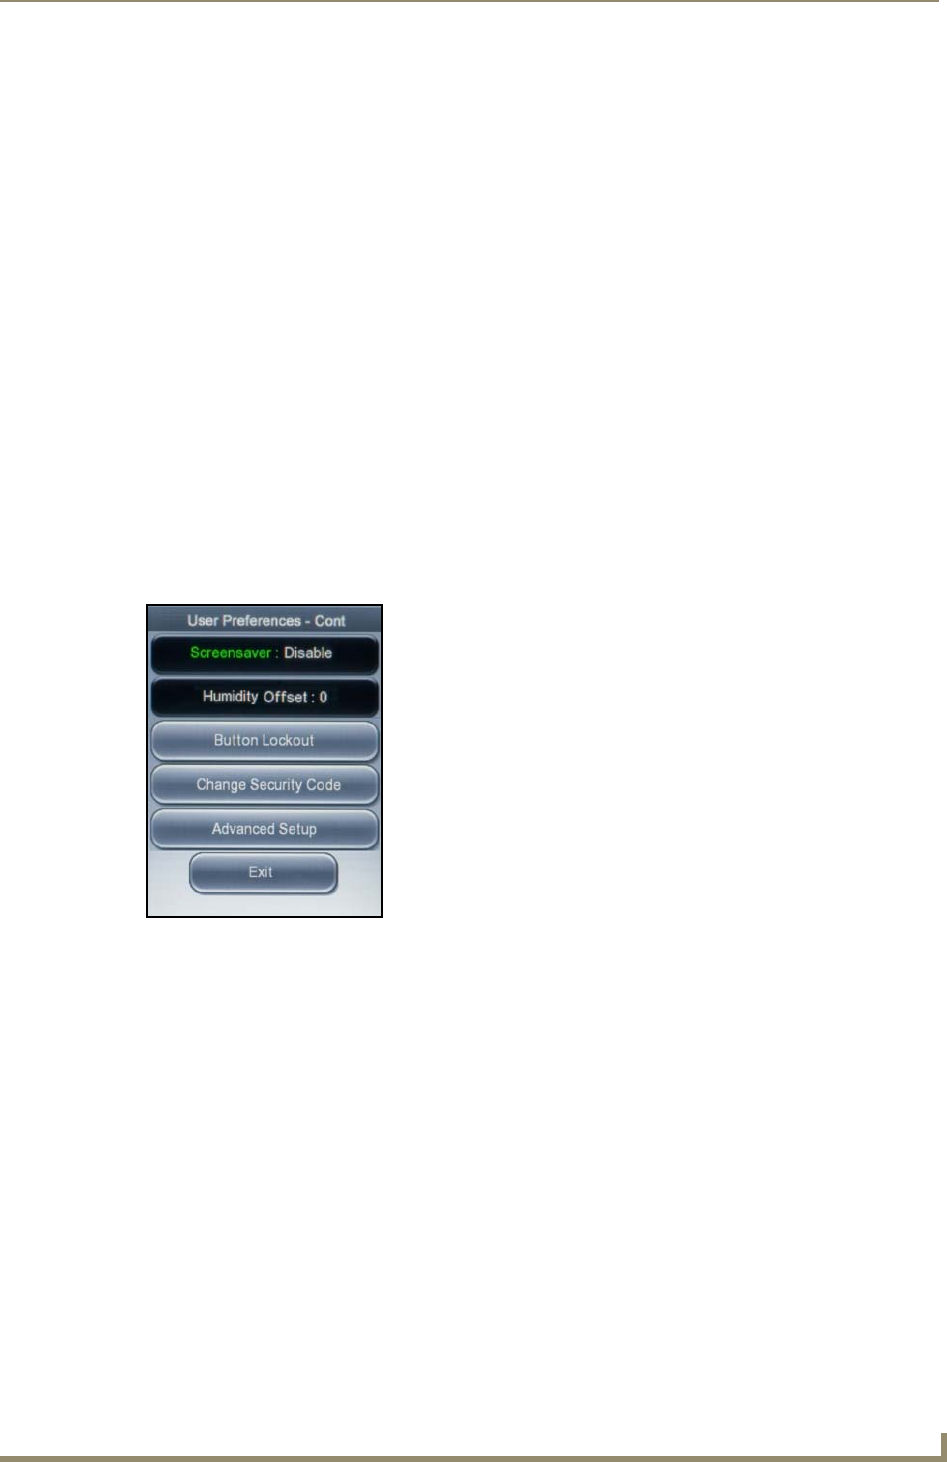
Preferences screen (see FIG. 28).
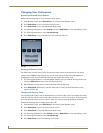
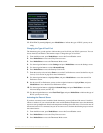
Locking the Buttons
You can lock the buttons on the thermostat so no one can change the settings. Perform the following
steps to lock the buttons on the thermostat:
1. From the Main screen, press Mode/Select to access the Current Weather screen.
2. Press Mode/Select to access the 5-Day Forecast screen.
3. Press Mode/Select to access the Thermostat Mode screen.
4. Use the navigation buttons to select Settings, and press Mode/Select to access the Settings screen.
5. Use the navigation buttons to select Advanced Setup.
6. Press Mode/Select to access the Security Code screen.
7. Enter the security code, and select Enter to access the User Preferences screen. See the Entering the
Security Code section on page 28 for more information.
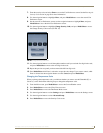
8. Use the navigation buttons to highlight More, and press Mode/Select to access the second User
Preferences screen.
FIG. 28 User Preferences screen (3 of 3)