


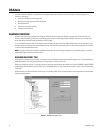
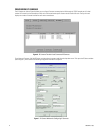
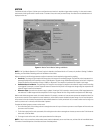

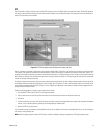
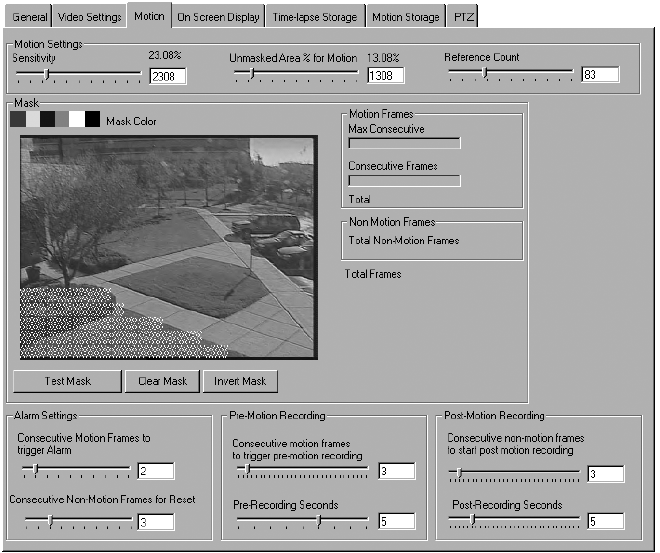
Figure 11. Motion Tab for Motion Settings and Masks
18 C3663M-B (11/09)
MOTION
The Motion tab (refer to Figure 11) allows you to configure how much motion is required to trigger motion recording. It is also used to create
motion masks, which ignore motion in certain areas of a camera’s view, and to test your motion setup. Live video from the selected camera is
displayed on this tab.
NOTE: If the “Use Motion Detection in IP Camera” option is selected on the General tab for an IP camera, only the Alarm Settings, Pre-Motion
Recording, and Post-Motion Recording portions of the Motion tab are visible.
Adjust the values for the following parameters to adjust the amount of motion required to trigger motion recording:
• Sens
itivity: The change in a pixel required for that portion of the image to be considered changed. The Sensitivity value is expressed as a
percentage multiplied by 100. For example, a value of 100 indicates a 1 percent change, 5000 indicates 50 percent, and so forth. A brightness
change from black to white would be a change of 10000, or 100 percent. This comparison is performed for all pixels in each image.
• Unmasked Area
% for Motion: The percentage of an image that must change as compared to the reference image for motion recording
to be triggered. For example, a value of 10 percent means that one tenth of the pixels in the image must change enough as compared to the
reference image for motion to be detected.
• Reference Count: How often the reference image is updated. A setting of 100, for example, means that every 100th image becomes the
new reference. The 99th image would be compared to the first image, whereas the 101st image would be compared to the 100th image.
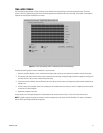
Motion masks allow even greater control
of the motion detection. For example, a camera at a front entrance captures the receptionist’s desk. You
do not want to record all of the receptionist’s normal movements, which would consume valuable disk space storage. You can mask the portion
of the camera’s view that includes the receptionist’s desk to disable detection of activity at the desk. You can create a motion mask as large or as
small as you want and in a virtually unlimited number of patterns.
Complete the following steps to
create a motion mask:
1. On the live video pane, click and drag to draw a rectangle that covers all or part of the area you want to mask. Repeat until th
e entire area
you want to mask is covered.
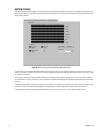
2. To eliminate a portion of the mask you created, click and drag th
e mask to draw a rectangle over the area you want to clear. To eliminate the
entire mask, click Clear Mask.
3. To change the color of the mask, click a color square above the live video pane.
NOTE: If there is only one small area where motion events need to be detected, you can mask that area, and then click the Invert Mask bu
tton.
This masks all unmasked portions of the video and clears all masked portions.