


16 C3663M-B (11/09)
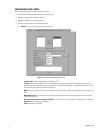
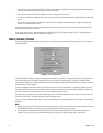
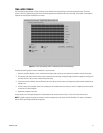
2. Enter a uniform naming convention (UNC) share name for the storage location. A valid UNC share name begins with two backward slashes
and contains the network name of the storage unit in which it is installed.
3. Enter a minimum amount of free space (in MB) that you want the storage location to maintain.
4. If you want to enable caching,
select Use Caching. Caching is typically used to increase performance on storage devices that employ RAID
arrays.
5. Click Save. The storage location is then in
cluded in the list of locations assigned to the selected computer. To begin saving video to the
location, select Activate Storage Location.
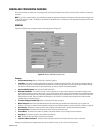
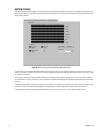
After a network storage location is activated, it appears on the Storage Locations tab of each VAU. You can then select all activat
ed network
storage locations for the VAU to copy files to.
To edit the UNC share name for a network storage location, select it an
d click “Edit UNC Path for Storage Location.” To completely remove a
network storage location, select it and click “Delete a Storage Location.”
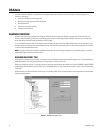
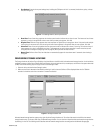
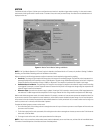
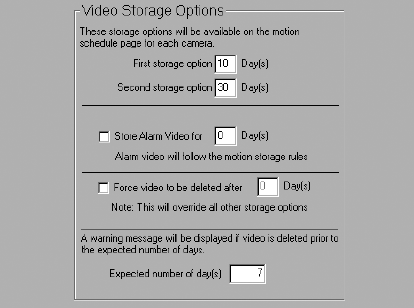
Figure 9. Video Storage Options
VIDEO STORAGE OPTIONS
The Video Storage Options directory (refer to Figure 9) allows you to configure the length of time that video is stored on a DS system before it is
automatically deleted.
The Video Storage Options section configures the storage options available for each camera. The value you select for the “First storage option”
and “Second storage option” will appear in the drop-down menus on the camera configuration pages. For example, if you keep the default
storage options (10 and 30 days), the Retain Video drop-down arrow on the Motion Storage tab for all cameras will contain options to store video
as long as possible: 10 days or 30 days.
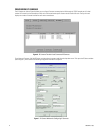
The Video Storage Options section also allows you to configure how lo
ng alarm video is saved before it is automatically deleted. If you select
0 (zero) days, the alarm video will be saved for the same amount of time you select for motion video on the Motion Storage tab. Otherwise, the
alarm video will be saved for the number of days you select in the Video Storage Options section.
Alternatively, you can select the “Force video to be deleted after” option in the Video Storage Options section. To do this, select the check
box
and enter the number of days. This option overrides the other video storage options.
You can also enter an “Expected number of day(s).” If vide
o is deleted (because of lack of space) before this number of days, a warning message
is displayed.
NOTES:
• Activating or modifying the “Force video to be deleted after” op
tion affects only the video recorded after you make the change. Any video
recorded before you modify this option follows the setting configured at the time the video was recorded.
• On some systems, a message might
continually appear stating that video is being deleted before the anticipated storage duration is
reached. If this occurs, reconfigure the camera record settings or storage rules, or add more storage capacity to the system.