


Optional Accessories
4
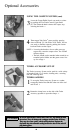
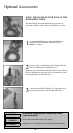
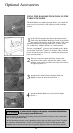
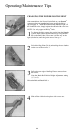
Select one of the cleaning or polishing tools and insert
into the tip of the Flexible Shaft (B). Firmly tighten the
tip to secure the tool in place with the Mini Wrench (E) .
Remove the Angled Key (D). >
NOTE: The Angled Key (D) must be inserted into the holes
in order to attach or remove a polishing or cleaning tool.
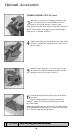
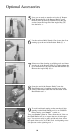
5
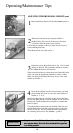
Now you are ready to attach the Handi-Butler tool to
your Sentria
™
system. Firmly twist the Handi-Butler
tool (A) on to the end of the hose. >
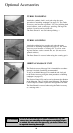
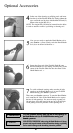
6
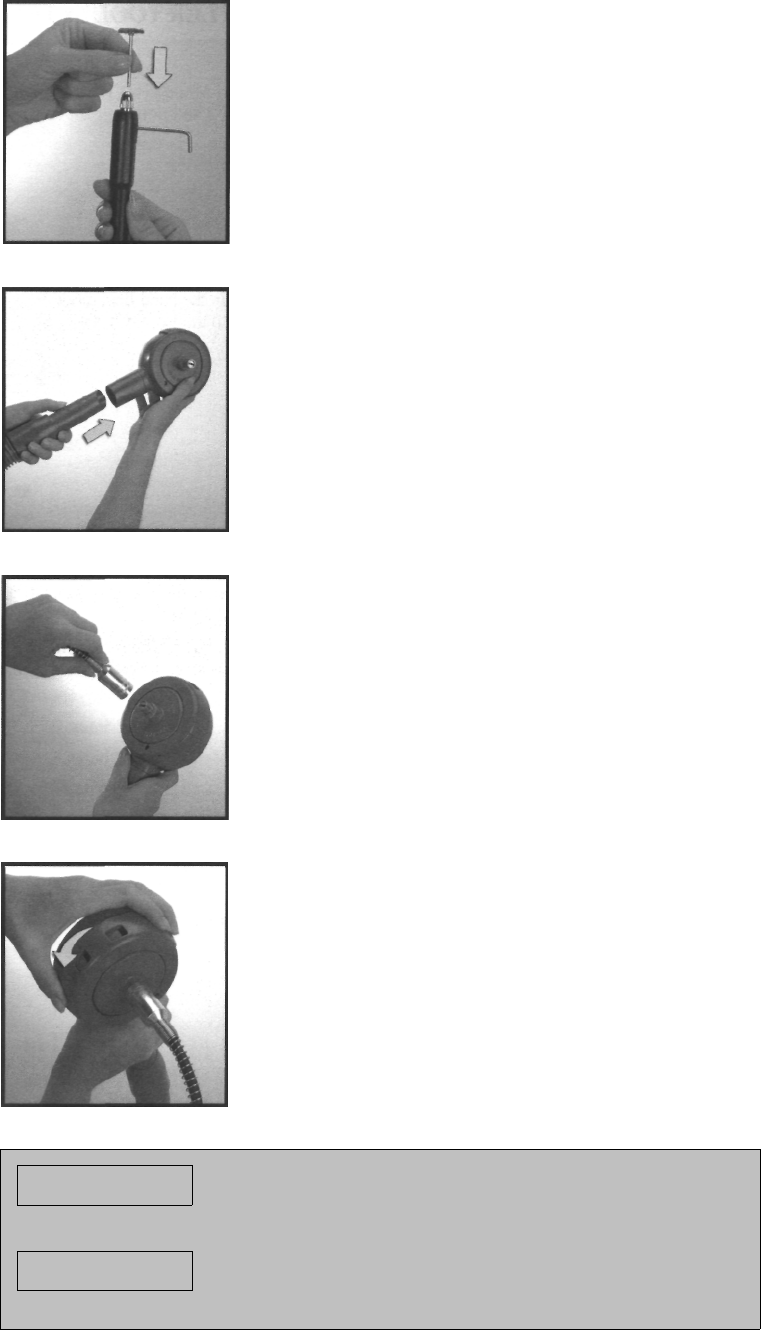
Screw the silver end of the Flexible Shaft (B) onto
the Handi-Butler tool (A) making sure the prong in the
center of the Flexible Shaft fits into the center of the
Handi-Butler tool. >
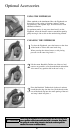
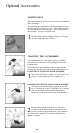
7
To avoid accidental starting, make sure the air inlet
openings on the Handi-Butler tool (A) are CLOSED
before turning your Sentria system on.
Then, turn your Sentria system on. To start the Handi-Butler
tool, rotate the Air Valve of the Handi-Butler tool to expose
the two air inlet openings. You are now ready to gently pol-
ish and clean. Allow the speed of the tool to do all the work.
Avoid putting excessive pressure on the spinning tool. •
To avoid accidental starting, make sure the air inlet openings on
the Handi-Butler tool (A) are CLOSED before turning your
Sentria system on.
/!\ IMPORTANT:
To avoid accidental starting, make sure the air inlet openings on
the Handi-Butler tool (A) are CLOSED before turning your
Sentria system on.
To avoid accidental starting, make sure the air inlet openings on
the Handi-Butler tool (A) are CLOSED before turning your
Sentria system on.
/!\ NOTICE:
USE GENTLE PRESSURE when using the Handi-Butler tool. Strong
pressure could stop the rotation of the tool break the cleaning or polishing
tool or result in damage to the item being cleaned or polished.
USE GENTLE PRESSURE when using the Handi-Butler tool. Strong
pressure could stop the rotation of the tool break the cleaning or polishing
tool or result in damage to the item being cleaned or polished.
50