


Optional Accessories
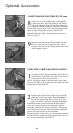
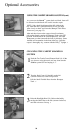
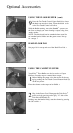
PROTECTING YOUR CARPET (cont)
4
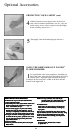
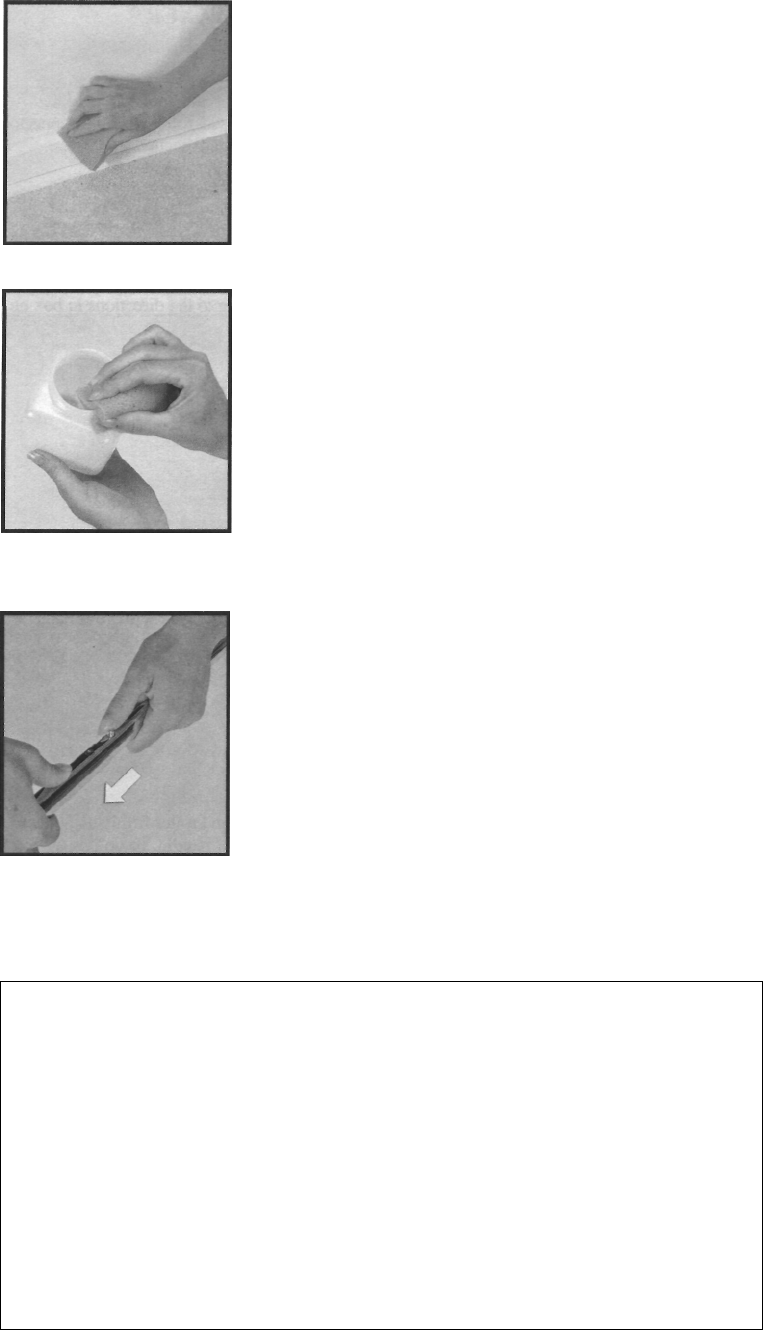
If Kirby Guard has been sprayed onto any hard sur-
faces such as furniture, baseboards, tile, etc., wipe off
before drying occurs. Allow carpets to dry thoroughly
before resuming normal use. >
5
Thoroughly clean the Portable Sprayer after use. •
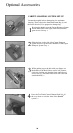
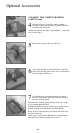
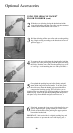
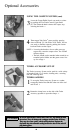
USING THE KIRBY MIRACLE WAXER
®
FLOOR POLISHER
To assemble the roller waxer applicator, attach the top
half of the roller waxer handle to the bottom half (if not
already done). Adjust the upper half until the spring-
loaded pin in the lower half is seated in the hole near the
bottom of the upper half. >
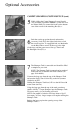
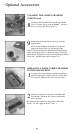
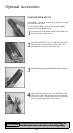
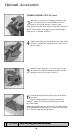
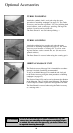
KIRBY MIRACLE WAX DIRECTIONS
For Hardwood, Vinyl, Cork and Linoleum Floors:
1. Clean surface thoroughly.
2. Attach Kirby Floor Care System Buffer Nozzle and
Brush according to the instructions on page 39,
under "Floor Buffer Set-Up."
3. For best results, apply a very thin coat of Kirby
Miracle Wax using the roller applicator. It is not
necessary to completely cover the floor with wax at
this time, as the wax will be spread in the next step.
4. Using the Toe-Touch Control Upper Pedal to lower
the nozzle all the way down, spread the wax evenly
over the entire floor using the Kirby Floor Care
System Buffer Brush.
5. Let dry 5 minutes.
6. When dry, buff with the Kirby Floor Care System
Buffer Brush.
NOTE: For very worn areas, two coats may be
required. In this case, multiple thin coats will
provide better results than one thick coat.
For Marble Floors:
Apply a thin coat and spread as in the directions
in #4. However, buff immediately, avoiding any
drying time.
Once you have completed the steps above, the floor
may be rebuffed, any time it becomes necessary, using
the Floor Care System Buffer Brush. Apply addi-
tional wax ONLY when rebuffing does not produce
acceptable results.
IMPORTANT:
Do not use Kirby Miracle Wax on rubber
or asphalt tile. •
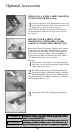
37
1