18 Chapter 1 Working with HDV
5 Choose an Easy Setup from the Use pop-up menu.
Important: Make sure to choose an Easy Setup that matches the format of your
HDV source tapes.
6 Click Setup.
The corresponding capture, sequence, and device control presets are loaded, as well
as A/V device settings.
Logging and Capturing Native HDV Footage
Once you’ve connected your camcorder and chosen the appropriate Easy Setup, you
can log and capture your footage. When you select a native HDV Easy Setup, the Log
and Capture window appears, specifically tailored for use with HDV.
For detailed instructions about logging and capturing, see the following chapters in the
Final Cut Pro 6 User Manual:
 Volume I, Chapter 15, “Overview of Logging and Capturing.”
 Volume I, Chapter 16, “Logging Clips.”
 Volume I, Chapter 17, “Capturing Your Footage to Disk.”
To open the Log and Capture window:
m Choose File > Log and Capture (or press Command-8).
The Log and Capture window appears.
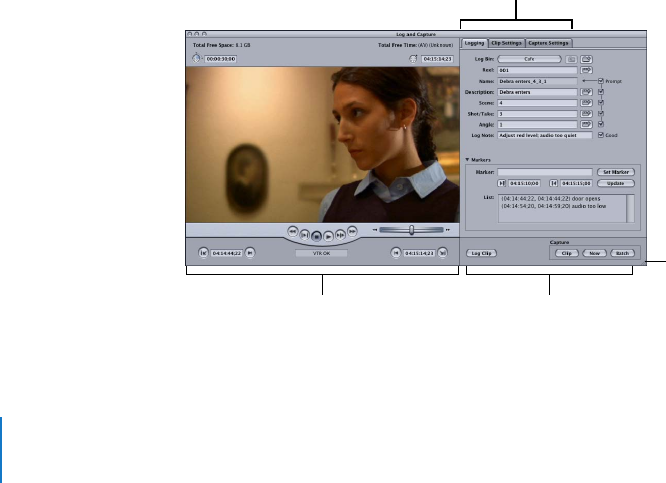
About the Log and Capture Window
The Log and Capture window allows you to view your footage, set In and Out points,
enter log notes, select which tracks to capture, create clips, and capture media files.
Log and capture buttons
Preview area
Logging, Clip Settings, and
Capture Settings tabs
Resize control
