


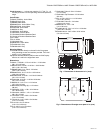
THX9321 PRESTIGE
®
2.0 AND THX9421 PRESTIGE
®
IAQ 2.0 WITH EIM
68-0311—01 8
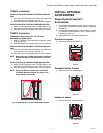
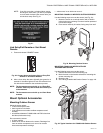
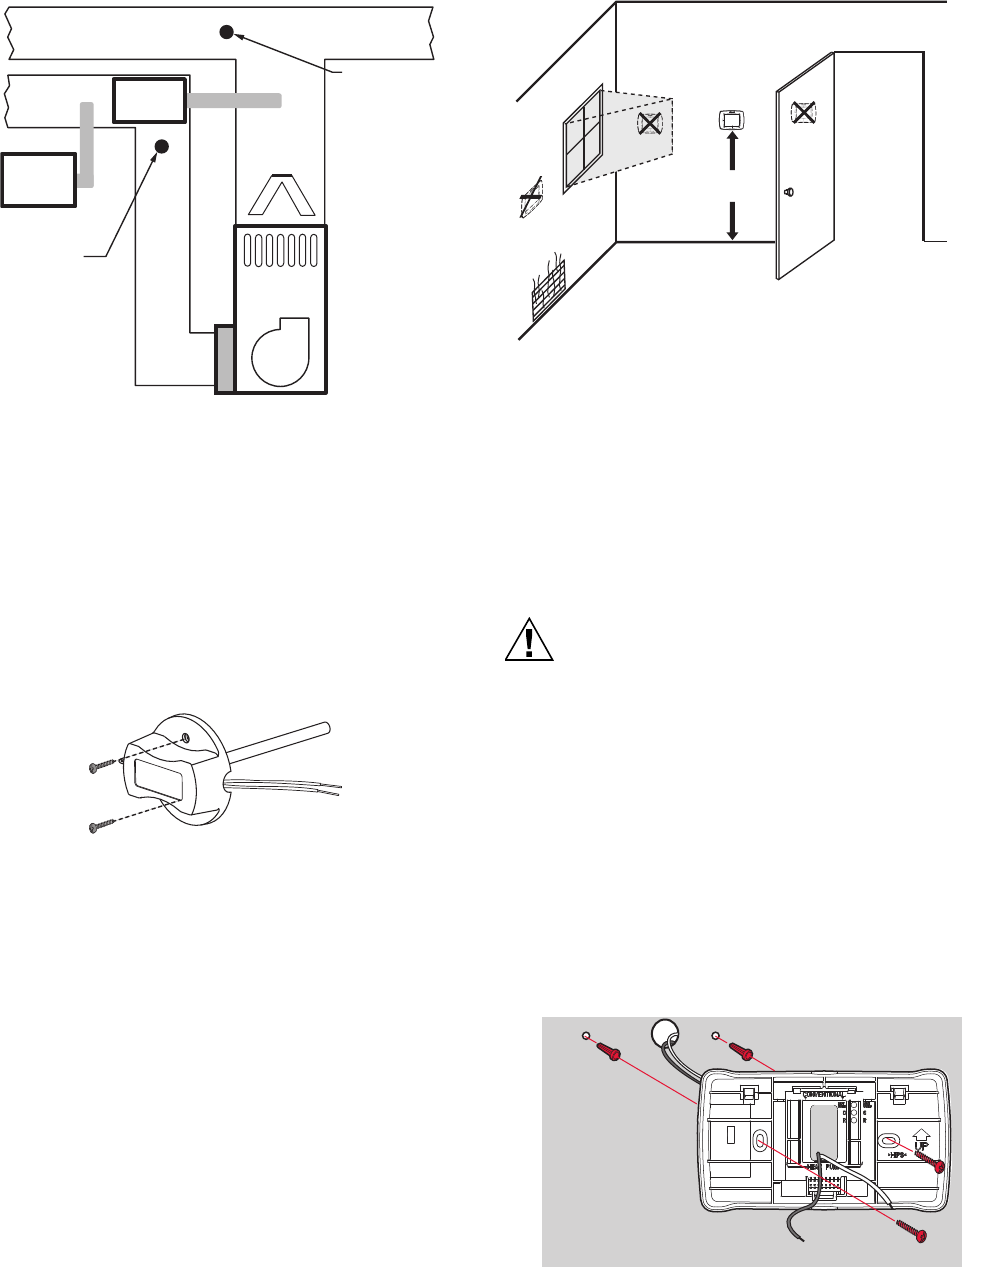
Fig. 9.
INSTALLATION
Use the following steps to mount the Discharge/Return Air
Sensors:
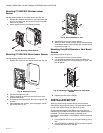
1. Attach plastic cover to the sensor probe.
2. Drill 1/4-inch hole for the sensor probe and mount it to
the ductwork with enclosed screws (see Fig. 10).
3. Connect wires to S1 or S2 terminals at the EIM.
4. Configure the S1 or S2 terminals in the Installer Setup at
the thermostat.
Fig. 10. Mounting Discharge/Return Air Sensor.
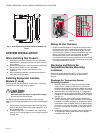
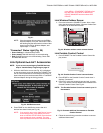
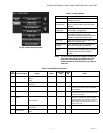
Selecting Thermostat Location
Install the thermostat about 5 ft. (1.5m) above the floor in an area
with good air circulation at average temperature. See Fig. 11.
Fig. 11. Selecting thermostat location.
Do not install the thermostat where it can be affected by:
— Drafts or dead spots behind doors and in corners.
— Hot or cold air from ducts.
— Radiant heat from sun or appliances.
— Concealed pipes and chimneys.
— Unheated (uncooled) areas such as an outside wall behind
the thermostat.
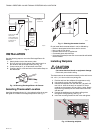
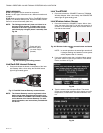
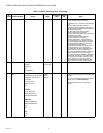
Installing Wallplate
CAUTION
Electrical Hazard.
Can cause electrical shock or equipment damage.
Disconnect power before wiring.
The thermostat can be mounted horizontally on the wall or on a
4 in. x 2 in. (101.6 mm x 50.8 mm) wiring box.
1. Position and level the wallplate (for appearance only).
2. Use a pencil to mark the mounting holes.
3. Remove the wallplate from the wall and, if drywall, drill
two 3/16-in. holes in the wall, as marked. For firmer
material such as plaster, drill two 7/32-in. holes. Gently
tap anchors (provided) into the drilled holes until flush
with the wall.
4. Position the wallplate over the holes, pulling wires
through the wiring opening. See Fig. 12.
5. Insert the mounting screws into the holes and tighten.
Fig. 12. Mounting wallplate.
MOUNT RETURN
SENSOR HERE
MOUNT DOWNSTREAM
OF BYPASS HUMIDIFIER,
DEHUMIDIFIER OR
VENTILATOR
HEAT
EXCHANGER
BLOWER
VENTILATOR
OR
DEHUMIDIFIER
MOUNT
DISCHARGE
SENSOR HERE
BYPASS
HUMIDIFIER
M33079A
M32995
5 FEET
[1.5 METERS]
YES
NO
NO
NO
M19925
MCR29241
MCR32386