Automation (cont'd)
39
Notes:
1. Motorized door lock bolts physically lock and unlock the door when activated, but if the door lock installed is a non-motorized type, activation allows the
door to be manually unlocked without a key. See “Compatible Devices” section for further information.
2. Some thermostats do not update temperature status automatically (i.e., Wayne Dalton).
3. When using a Kwikset Smartcode Electronic Deadbolt door lock (in a Scene that is programmed to trigger when unlocked) the Scene does not trigger if
using a key; enter a user code.
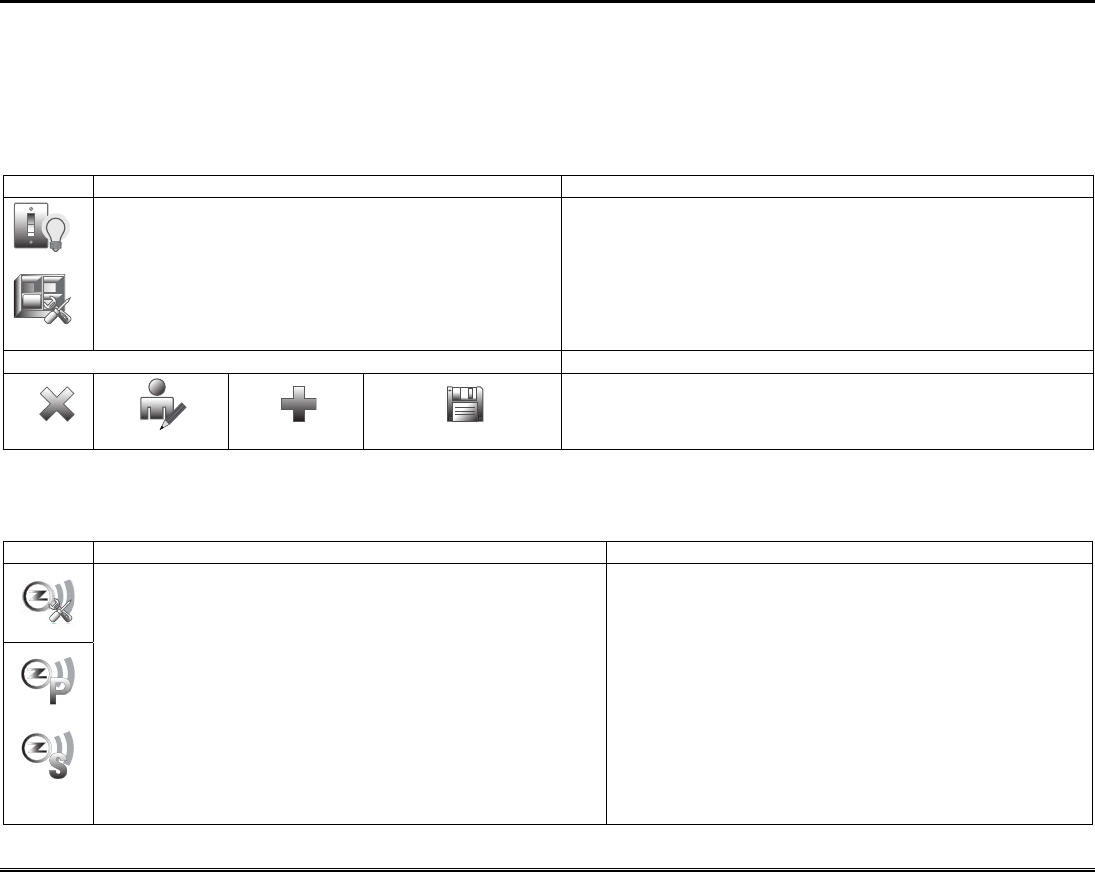
Create a Room
Multiple devices can function as a group by associating them in a “Room”. Follow the procedure below to create a Room.
1. Press the Automation icon and then press the
Room Setup icon.
2. Press the Add icon and enter a room name on the
“Data Entry” keyboard.
3. Press OK.
4. Highlight the device(s) from the list that you want
to add to this Room and press the Save icon.
Room names (i.e., All, etc.) are displayed across the top to the screen.
Enter the new device name by entering it on the data entry keyboard.
• Use the Shift icon for capital letters.
• Use the BS (Backspace) icon to make corrections.
The @#$ icon is not available for use at this time.
Use the Edit and Delete icon to rename, or delete a room.
Delete
Edit
Add
Save
Setting a Secondary (Keypad) Controller
After all Z-Wave devices have been enrolled into the Primary (Keypad) Controller, the device information can be downloaded to a
Secondary (Keypad) Controller. Keep the controllers within 10 feet of each other, apply power to the Secondary Controller and do
the following:
1. At the Primary Controller:
a) Press the Automation icon from the “Home” screen
and then press the Z-Wave Setup icon to display the
“Z-Wave Device Management” screen.
2. At the Secondary Controller:
a) Remove any Z-Wave devices that have been added.
b) Press the Z-Wave Primary icon (located in the lower
right side of the screen).
c) Select Yes to change this keypad to a Secondary
Controller.
3. At the Primary Controller: Press Add.
4. At the Secondary Controller: Press Add.
If used for Remote Services, Tuxedo should not be configured as
a secondary controller. See the Remote Services section.
Note: Up to 232 Secondary Controllers can be added.
When the Primary Controller icon is pressed, the message is
displayed:
“Please remove all Z-wave devices from network first”
The message is displayed: “Scanning for Devices”
The message is displayed: “Updating Devices. Please Wait”.
When the device information from the Primary Controller is
downloaded to the Secondary Controller:
• the Secondary Controller displays, “Controller Add Success”
•
the Primary Controller displays, “Device Added Successfully”


