


Multi-Media (cont'd)
25
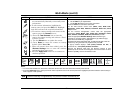
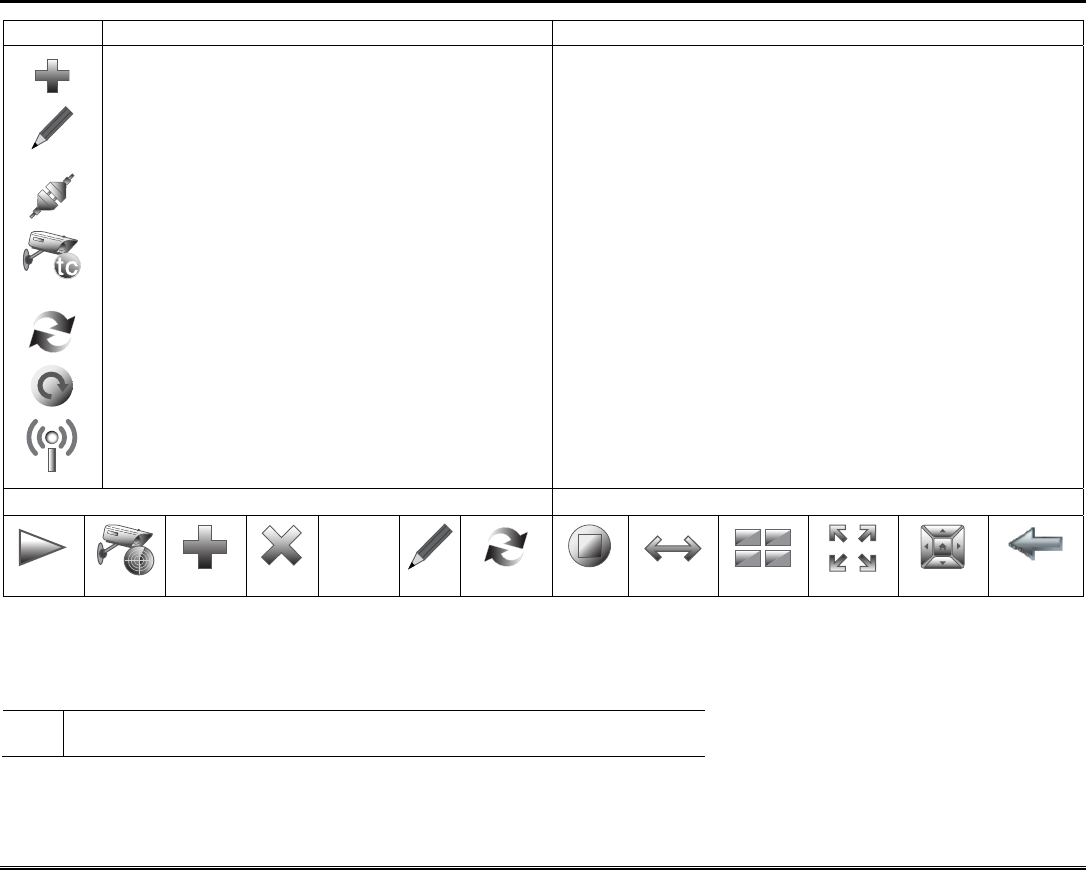
ICON ACTION NOTES
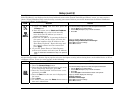
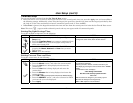
5. Press the Add icon (if the camera information is
not automatically obtained), to manually enter
information.
6. To edit camera information, highlight the
camera name and press the Edit icon. Highlight
each field and enter the required information.
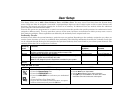
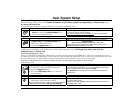
a) To retrieve camera settings and connect to the
camera, press the Connect icon or,
b) Press the Total Connect icon to reset the
camera for remote viewing and activate a Total
Connect account.
c) Use the Refresh icon to update the screen.
d) Press Reset to reset the camera to factory
default. Select Yes or No.
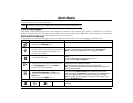
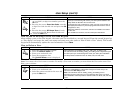
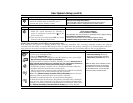
7. When all cameras have been added, press the
Wireless Settings icon to enter the wireless
information from your router.
8. Press the Apply to All button to set cameras to
wireless operation
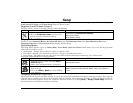
Use the Data Entry Keyboard to enter the required information.
• Use the Shift key for capital letters
• Use the BS (Backspace) key to make corrections.
Press the Clear icon to clear the camera list.
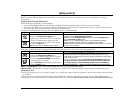
On the ‘Add Camera’ screen enter (Name, User, RTSP Path,
Resolution, Frame Rate, Address, Password, RTSP Port, HTTP
Port) if known.
On the ‘Camera Configuration’ screen enter the appropriate
information: (Name, Model, User, RTSP Path, Resolution, Frame
Rate, Address, Password, RTSP Port, HTTP Port) if known.
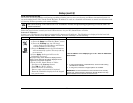
Enter the appropriate Wireless Settings: SSID, Network Type,
Channel No., Security System, Authentication Type, WEP Encrypt,
Pass Phrase and WEP Key, if applicable.
For WPA PSK TKIP, WPA PSK, AES, and WPA2 PSK AES, enter the
Shared Key using the Data Entry keyboard and press OK.
A pop-up window displays “cam (name) wireless set OK”, if
successful. Or, “cam (name) wireless set Failed”.
Remove the Ethernet cable from the wireless cameras to view
wirelessly via the Tuxedo Touch Keypad. If the camera does not have
wireless capability, leave it connected to router.
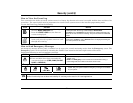
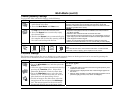
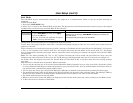
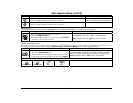
Setup Icons Camera Icons
Play
Scan
Add
Delete
Clear
Clear
Edit
Refresh
Stop
Auto Pan
Quad View
Full View
Pan/Tilt
Back
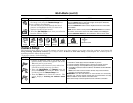
Notes:
• To use the Pan/Tilt feature in Quad View, select the camera name from the camera list and then press Pan/Tilt.
• Press the Quad View icon to enter quad mode. Select a quadrant area on the screen (this area is highlighted) and then select the camera that you
want to appear in that quadrant.
U
L
Camera functionality is supplementary only and has not been evaluated by UL.