


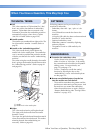
Changing the Needle 87
3
——
—————————————————————————————————————————————————————————————
—
—————————————————————
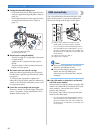
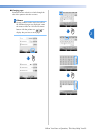
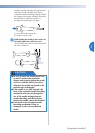
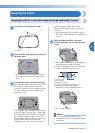
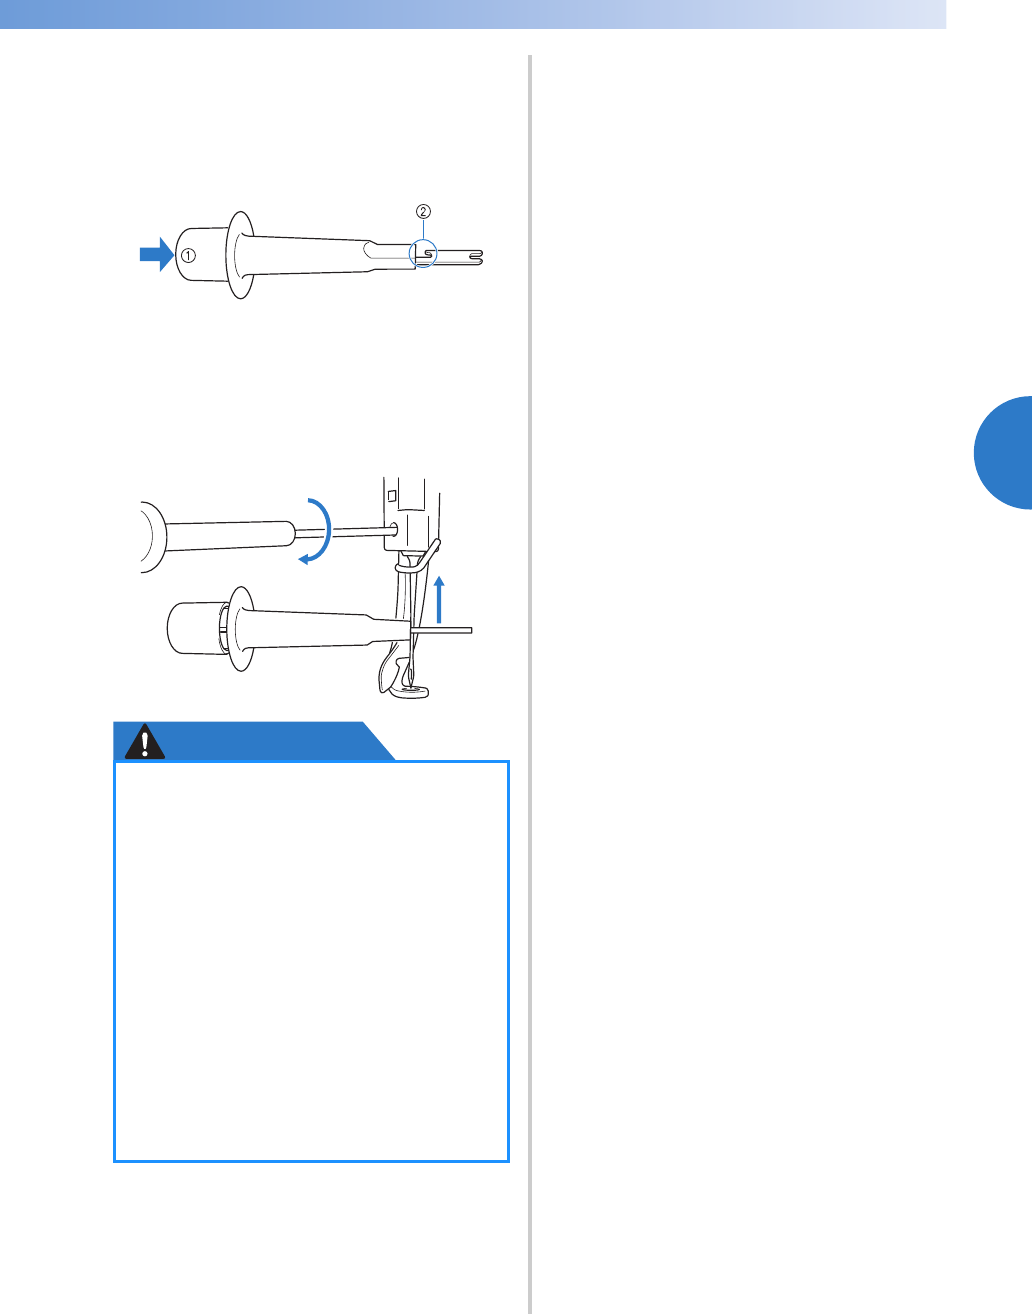
Hold the needle changing tool and press the
end of the needle changing tool 1 in to
extend the needle-mounting clamp 2. Attach
the clamp to the needle, and then release the
pressed area to clamp the needle. To
unclamp the needle, press 1 again.
1 End of the needle changing tool
2 Needle mounting clamp
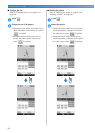
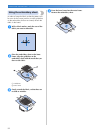
4
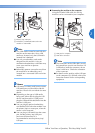
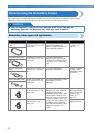
While holding the needle in place with your
left hand, tighten the needle set screw.
Use the Allen screw driver to turn the needle
set screw clockwise.
CAUTION
● Be sure to insert the needle all the way
up until it touches the needle bar
stopper and securely tighten the needle
set screw with the Allen screw driver,
otherwise the needle may break or the
machine may be damaged.
● If the needle is not fully inserted, the
hook of the automatic needle-threading
mechanism will not pass through the
eye of the needle during automatic
needle threading, and the hook may
bend or the needle cannot be threaded.
● If the hook of the automatic needle-
threading mechanism is bent or
damaged, contact your authorized
dealer.