


Using the Optional Cap Frame 231
7
——
——————————————————————————————————————————————————
—
————————————————————————————————
4
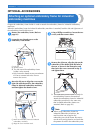
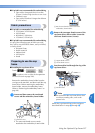
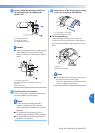
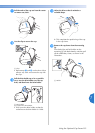
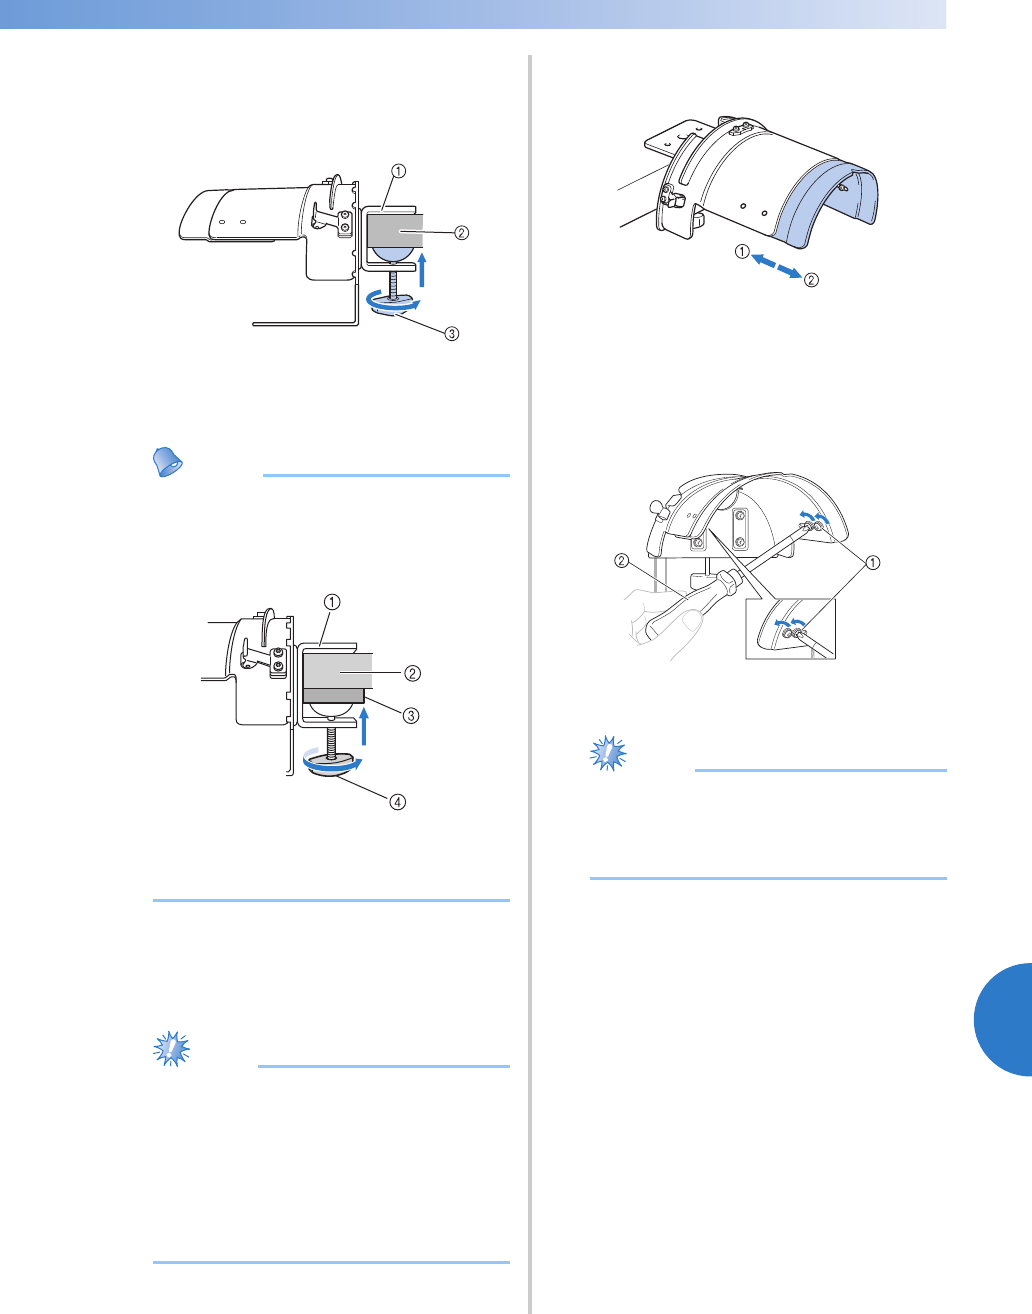
Securely clamp the mounting bracket onto
the mounting surface by tightening the
thumb screw.
1 Mounting bracket
2 Mounting surface
3 Tighten thumb screw
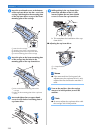
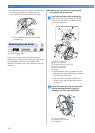
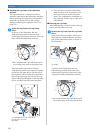
Memo
● If there is a gap between the clamping pad
of the thumb screw and the mounting
surface, insert the included pad as shown
below.
1 Mounting bracket
2 Mounting surface (worktable, desk, etc.)
3 Pad
4 Thumb screw
5
Check that there is no looseness.
If there is looseness, mount the mounting jig
onto the mounting surface again.
Note
● Be sure that the mounting bracket is
securely clamped onto the mounting
surface and that the thumb screw is firmly
tightened.
● Do not attach the mounting jig to an
unstable surface (flexible, bent or warped).
● Be careful that the mounting jig does not
fall when it is removed.
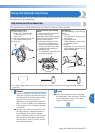
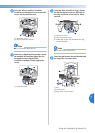
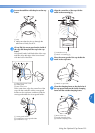
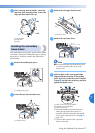
6
Adjust the size of the mounting jig according
to the type of cap being embroidered.
1 Low Profile (Low fitting)
2 Standard type (Pro style)
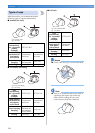
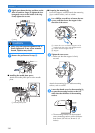
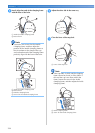
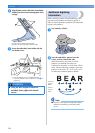
■ For the standard type
Using a Phillips screwdriver, turn the four
screws (two on the left and two on the right) at
the inside of the mounting jig one turn to loosen
them.
1 Screws
2 Phillips screwdriver
Note
● Do not remove any of the four screws (two
on the left and two on the right);
otherwise, they may be lost. Only turn the
screws to slightly loosen them.