


Using the Optional Cap Frame 227
7
——
——————————————————————————————————————————————————
—
————————————————————————————————
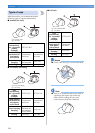
■ Cap fabric not recommended for embroidering
• Caps with a front panel that is less than
50 mm (2 inches) high (such as a sun visor)
• Children’s caps
• Caps with a brim that is longer than 80 mm
(3-1/16 inches)
Fabric precautions
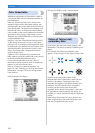
■ Cap fabric recommended for embroidering
• 35%Cotton / 65%Polyester
• 100%Cotton
• 80%Wool / 20%Nylon
• 15%Wool / 85%Acrylic
■ Cap fabric not recommended for embroidering
If caps of the following types of fabric are used,
they will be very difficult to frame, easily wrinkled,
or easily shrink.
• Polyester Foam
• Stretch material
• Melton Wool
•100%Nylon
• Suede
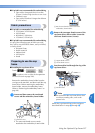
Preparing to use the cap
frame
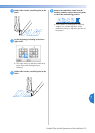
■ Installing the cap frame driver
Touch → → →
in order to view a video of the operation
on the LCD (refer to page 206).
Remove the embroidery frame holder from the
carriage on the machine, and then install the cap
frame driver. Before removing the embroidery
frame holder, remove the embroidery frame.
(Refer to “Removing the embroidery frame” on
page 68.)
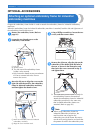
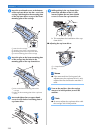
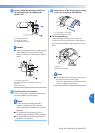
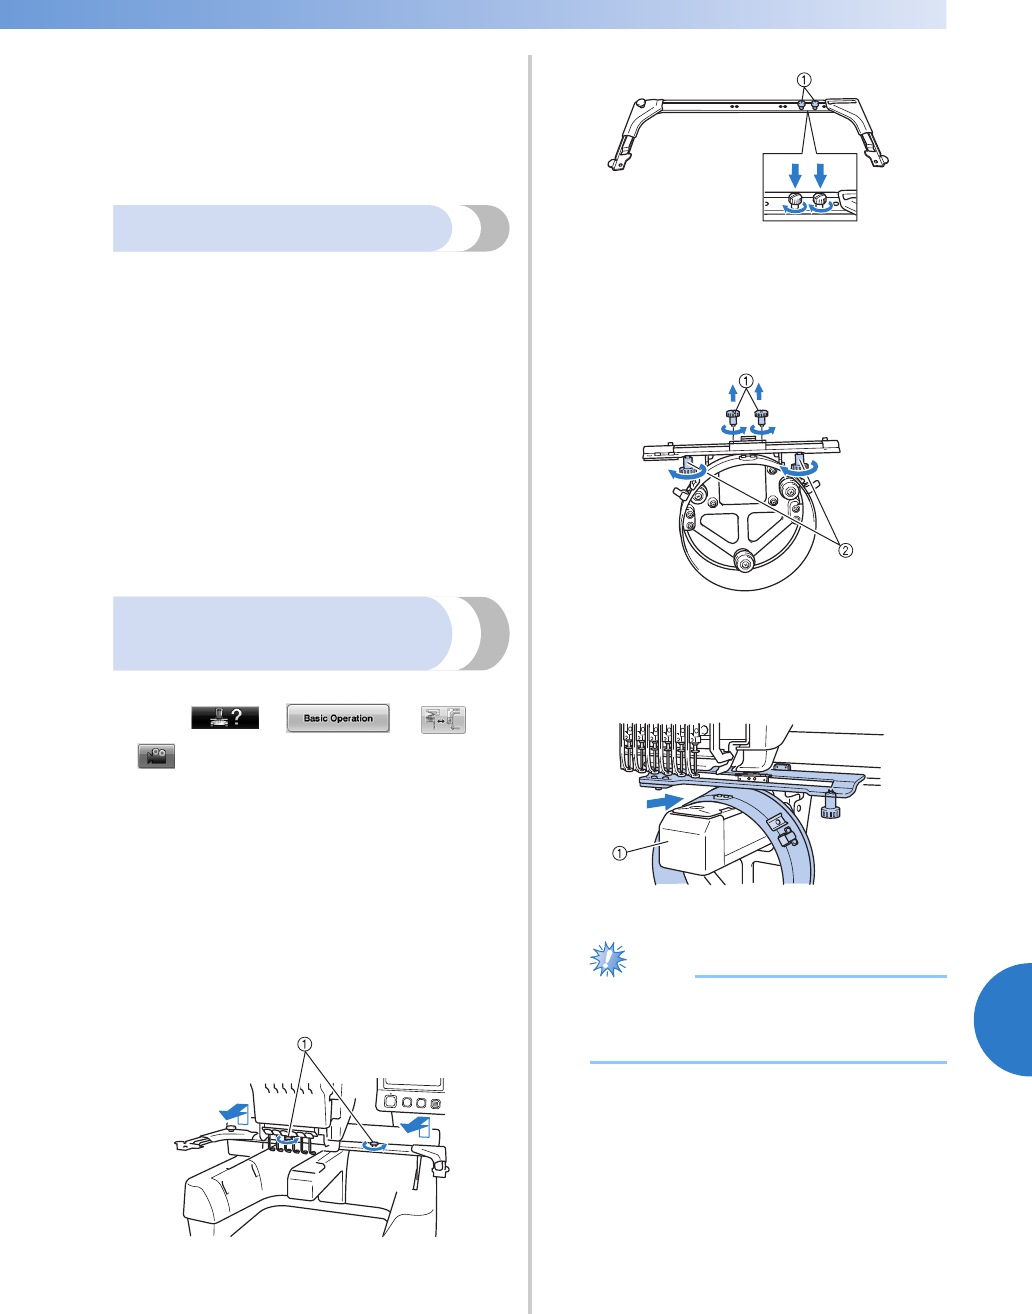
1
Loosen and then remove the two thumb
screws and the embroidery frame holder.
1 Thumb screws
• The removed thumb screws remain
attached to the embroidery frame holder.
1 Put the two thumb screws back in the
embroidery frame holder.
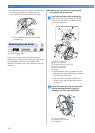
2
Remove the two upper thumb screws of the
cap frame driver and set aside. Loosen the
two lower thumb screws (4 turns).
1 Upper thumb screws
2 Lower thumb screws
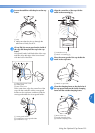
3
Pass the machine bed through the ring of the
cap frame driver.
1 Machine bed
Note
● Be careful that the cap frame driver does
not hit any nearby parts, such as the
presser foot.
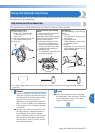
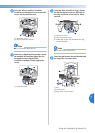
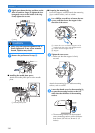
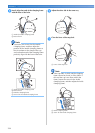
Attach the cap frame driver to the carriage as
described below in steps
4 through 7.