II. Control System
4. Installation
II
16
In Case of Installing wired remote controller together
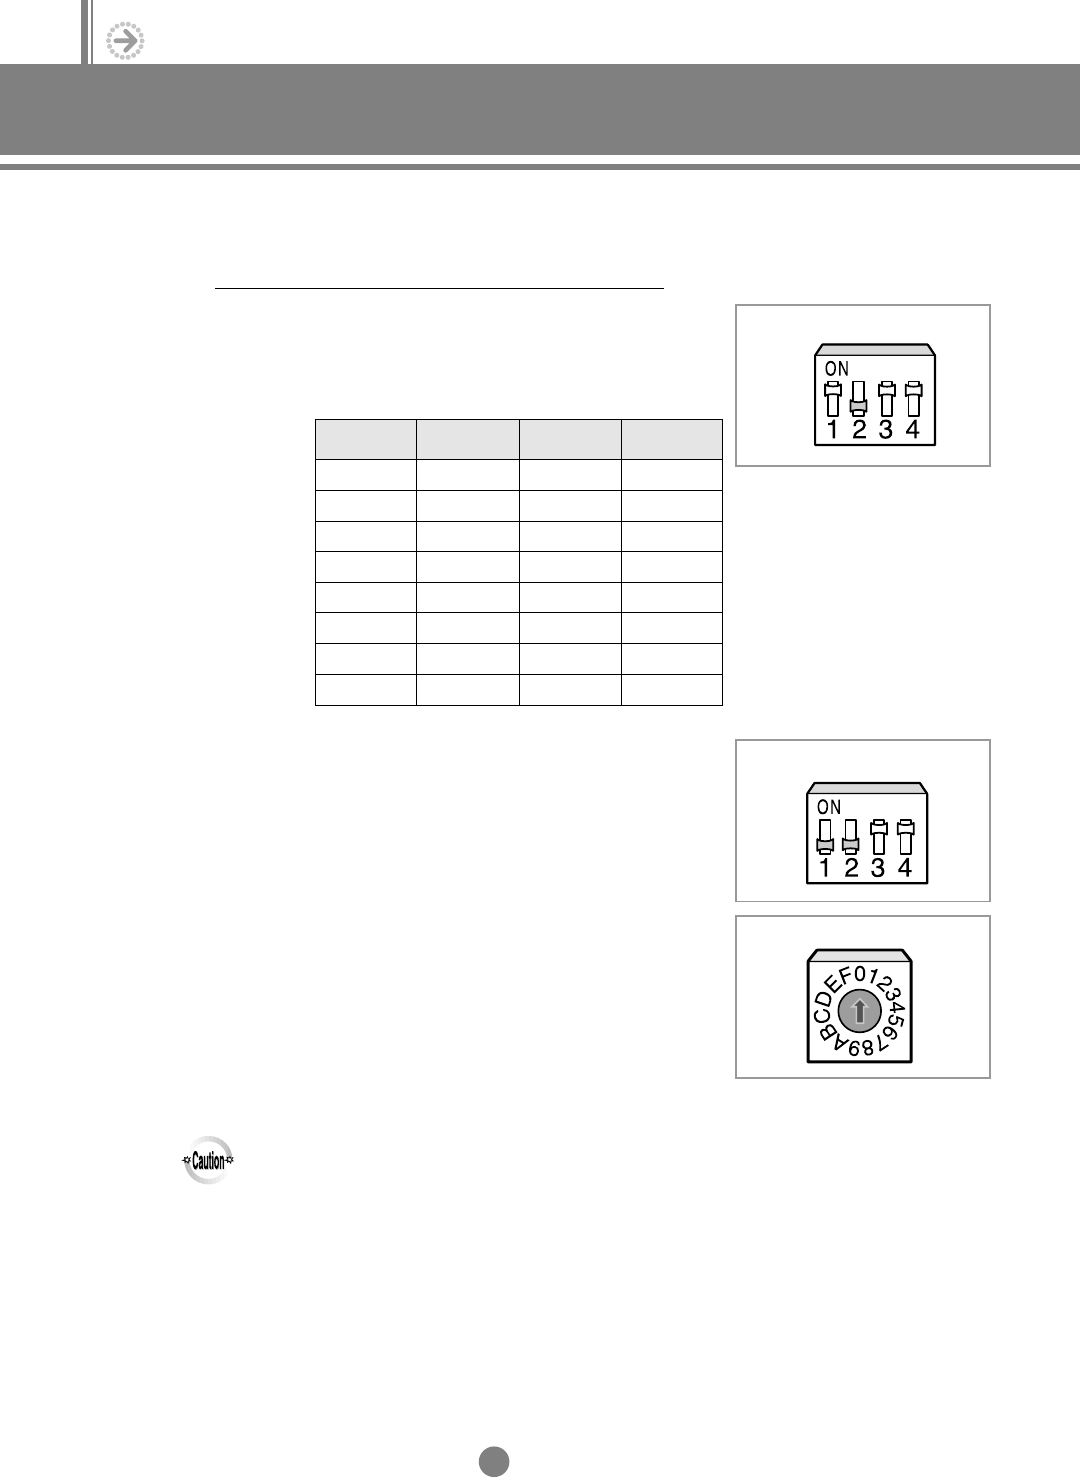
1) Adjust K2 DIP switch(SW03) on the indoor unit PCB to the
“OFF” position. It means use of the centralized controller.
2) Adjust K1 DIP switch(SW03) on the indoor unit PCB to the
“OFF” position. It means use of the wired remote controller.
3) Assign an address to the wired remote controller by turning
the arrow of rotary switch.
RMC SW01
K1 K2 K3 K4
SW03
K1 K2 K3 K4
SW03
◆
The number of button on the centralized controller is decided by
the RMC addresses of indoor units. Refer to the table below.
NN
NN
oo
oo
tt
tt
ee
ee
◆
The address of wired remote controller and the RMC address
of indoor units should be the same.
NN
NN
oo
oo
tt
tt
ee
ee
If an indoor unit’s RMC address is ‘0’, the indoor unit will be
operated by the address ‘0’ wired remote controller and the
address ‘0’ centralized controller.
EE
EE
xx
xx
aa
aa
mm
mm
pp
pp
ll
ll
ee
ee
0
1
2
3
4
5
6
7
Button No.
0
1
2
3
4
5
6
7
RMC
Address
8
9
10
11
12
13
14
15
Button No.
8
9
A
B
C
D
E
F
RMC
Address
◆ A group is made up of indoor units controlled with the same wired remote
controller.
◆ If the wired remote controller is installed for group controlling, you can
install/use the centralized controller to control the same group.
DVM E-D/B(chapter2)-E<03759 3/21/02 7:33 PM Page 16


