


Ridge Tool Company
21
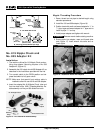
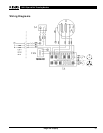
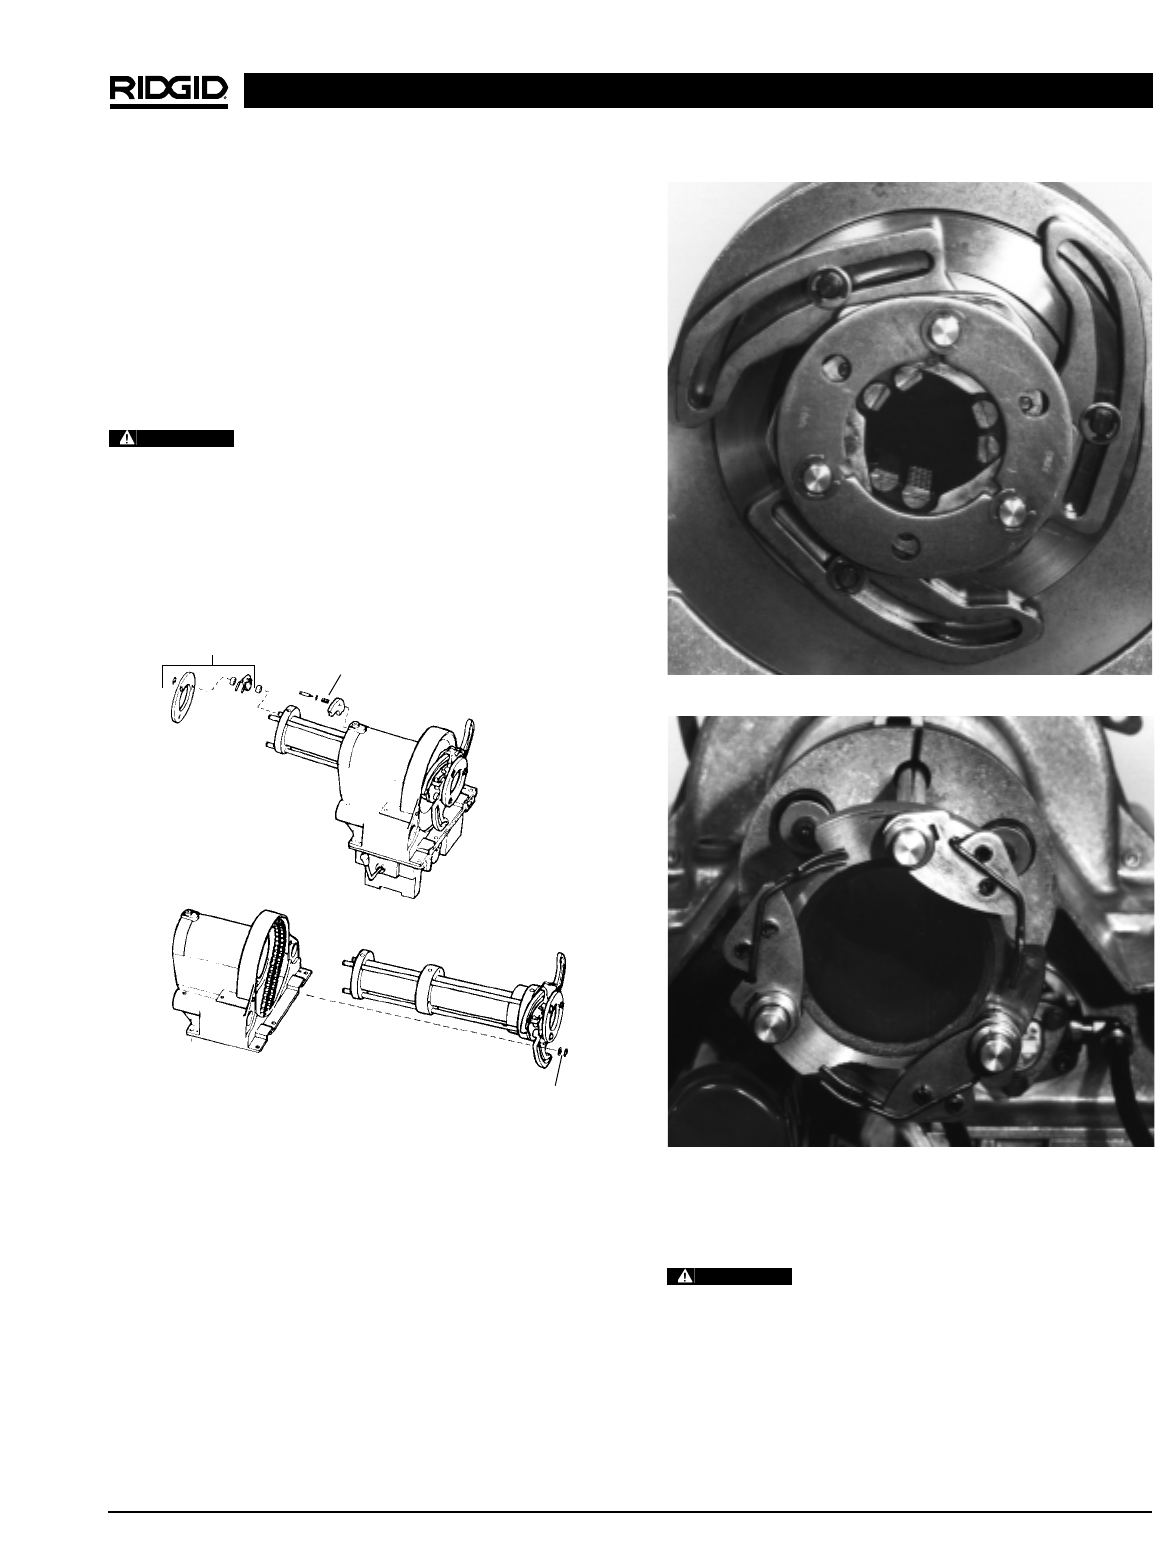
2. Install the E-clips and washers on the front jaws.
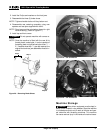
3. Reassemble the three (3) brake shoes.
NOTE! Tighten shoulder bolts until they bottom out.
4. Reassemble rear centering assembly using new
spacers and rear jaws supplied with the kit.
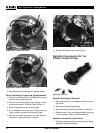
NOTE! Rear jaws must be oriented as shown for right
hand threading. (Refer to Figure 27.)
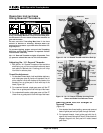
5. Install top and front covers.
Do not operate machine with covers re-
moved.
NOTE! Once the machine is fitted with the new kit to
thread plastic coated pipe, it is also capable of
threading steel and galvanized pipe sizes
1
/
2
″ –
2″. If smaller sizes than
1
/
2
″ pipe are required, the
original front and rear jaw assemblies must be in-
stalled.
Figure 26 – Removing Brake Shoes
Figure 27A – Jaw Orientation
Figure 27B – Jaw Orientation
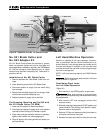
Machine Storage
Motor-driven equipment must be kept in-
doors or well covered in rainy weather. Store the machine
in a locked area that is out of reach of children and peo-
ple unfamiliar with threading machines. This machine
can cause serious injury in the hands of untrained users.
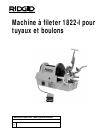
1822-I Pipe and Bolt Threading Machine
WARNING
Step 3
Step 2
Step 1
WARNING