Ridge Tool Company
20
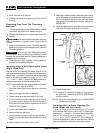
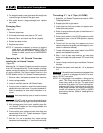
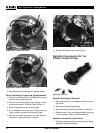
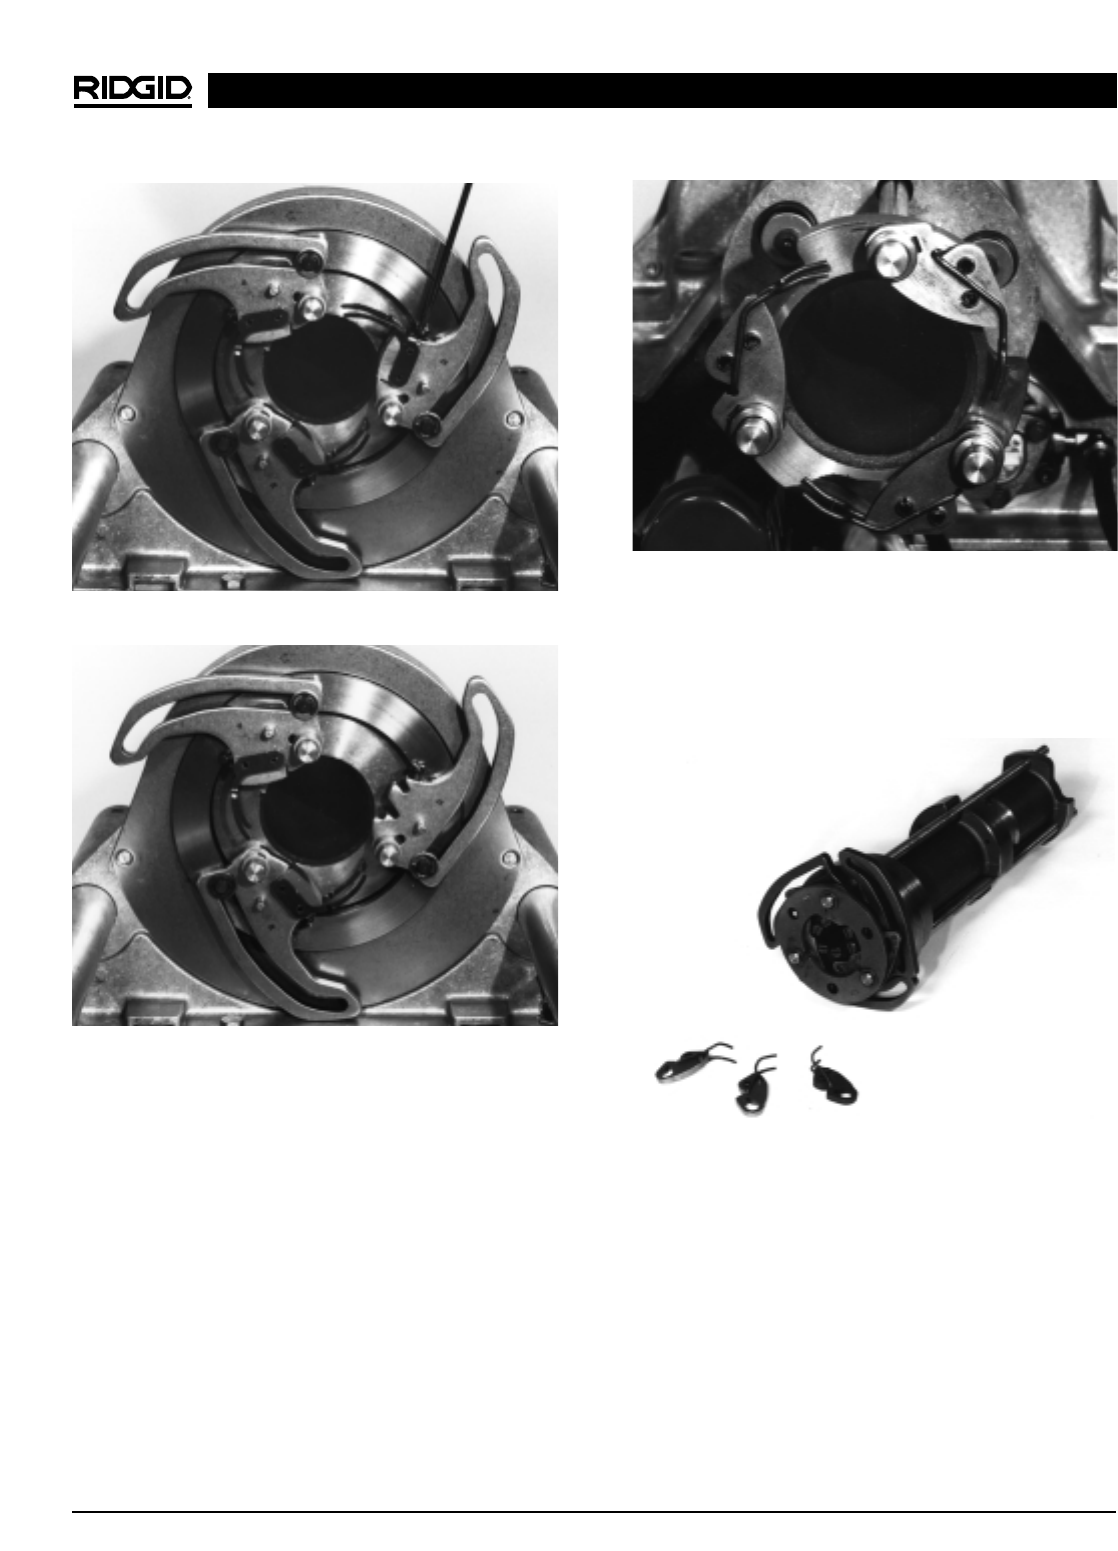
Figure 23A – Remove Jaw Insert
Figure 23B – Remove Jaw Insert
5. Reinstall jaw insert and finger, and tighten screw.
Rear Centering Finger/Jaw Replacement
1. With rear centering jaw in the OPEN position unplug
machine and remove rear cover.
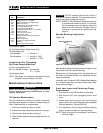
2. Remove three e-clips holding rear retainer in place
and remove retainer. (Refer to Figure 26 Step 1.)
3. Remove spacers and rear centering jaws.
4. On a workbench, drive out pins holding centering
finger in place and install new centering finger.
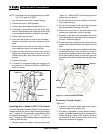
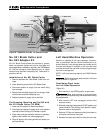
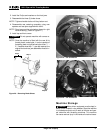
5. Reinstall rear jaws and spacers on rods. (Refer to
Figure 24.) Locate square pin in jaw slot.
Figure 24 – Reinstall Rear Jaws and Spacers on Rods
6. Reinstall rear retainer and retaining clips.
Spindle Conversion Kit for
Plastic Coated Pipe
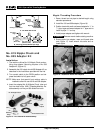
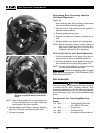
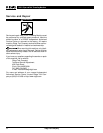
Figure 25 – PCP Kit
Spindle Assembly Removal
1. With machine OFF and unplugged, remove front and
top covers.
2. Remove rear centering assembly.
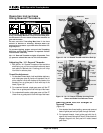
3. Remove three (3) brake shoes. (Refer to Figure 26.)
4. Remove small E-clips and washers holding front jaws
to drive sprocket. Slide out spindle assembly.
Spindle Assembly Installation
1. Following reverse procedure, install new spindle as-
sembly for plastic coated pipe.
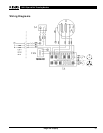
1822-I Pipe and Bolt Threading Machine


