1-77
1. Specifications
6-3. Placing the Unit Inside the Ceiling
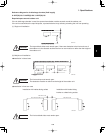
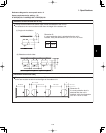
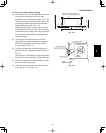
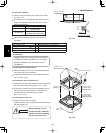
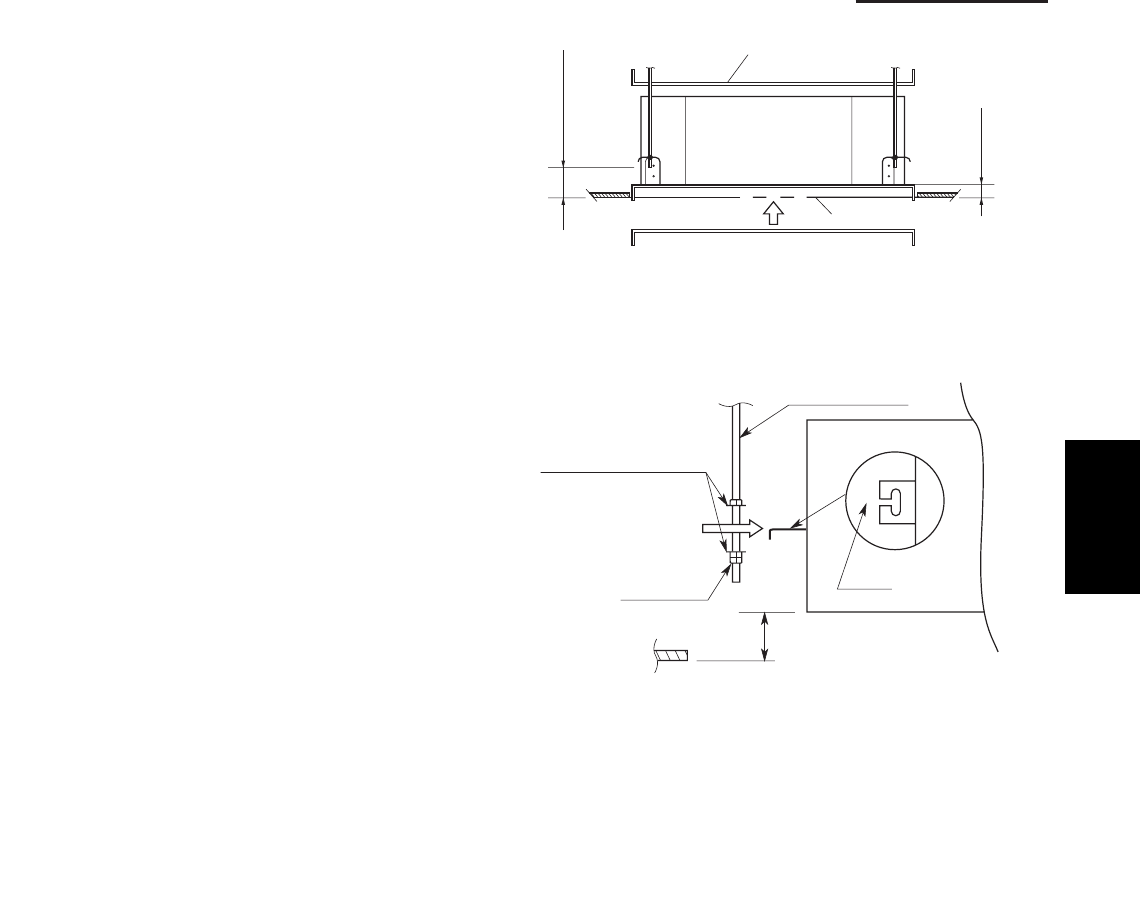
(1) When placing the unit inside the ceiling, determine
the pitch of the suspension bolts using the
supplied full-scale installation diagram. (Fig. 1-15)
The size of the opening for the indoor unit can be
confirmed by attaching the full-scale installation
diagram beneath the unit. (Fig. 1-15)
Tubing and wiring must be laid inside the ceiling
when suspending the unit. If the ceiling is already
constructed, lay the tubing and wiring into position
for connection to the unit before placing the unit
inside the ceiling.
(2) The length of each suspension bolt must be
appropriate for a distance between the bottom of
the bolt and the bottom of the ceiling of 5/8" or
more as shown in Fig. 1-15.
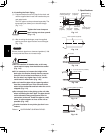
(3) Thread the 2 hexagonal nuts (field supply) and
washers onto the 4 suspension bolts as shown in
Fig. 1-16.
Use 2 sets of nuts and washers (upper and lower),
so that the unit will not fall off the suspension lugs.
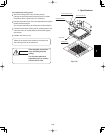
(4) Remove the protective cardboard used to protect
the fan parts during transport.
(5) Adjust the distance between the unit and surface
of the ceiling. (1-7/8") (Fig. 1-15)
5/8" or more
8"/7-
1
Full-scale installation diagram
(printed on a cardboard packing)
Full-scale installation
diagram
Fig. 1-15
Nuts and washers
Double nuts
(Use above and below)
Suspension bolt
Suspension lug
Upper
Lower
Notch
1-7/8"
Fig. 1-16
1


